1. Introduksjon
Takk for kjøpetasing the Atlanta 1669/19 Quartz Alarm Clock. This digital alarm clock features a silent movement, a light sensor for automatic display illumination, and a snooze function. This manual provides detailed instructions for setup, operation, and maintenance to ensure optimal performance and longevity of your device.
2. Sikkerhetsinformasjon
- Hold enheten unna vann og høy luftfuktighet.
- Unngå å utsette klokken for direkte sollys eller ekstreme temperaturer.
- Ikke forsøk å demontere eller reparere klokken selv. Kontakt kvalifisert servicepersonell.
- Kast brukte batterier på en ansvarlig måte i henhold til lokale forskrifter.
- Ikke bland gamle og nye batterier, eller forskjellige typer batterier.
3. Pakkens innhold
- Atlanta 1669/19 Quartz Alarm Clock Unit
- Brukerhåndbok (dette dokumentet)
Merk: Batterier er ikke inkludert og må kjøpes separat.
4. Produktet er overview
The Atlanta 1669/19 features a clear digital display, intuitive controls, and a light sensor for enhanced visibility in low-light conditions.
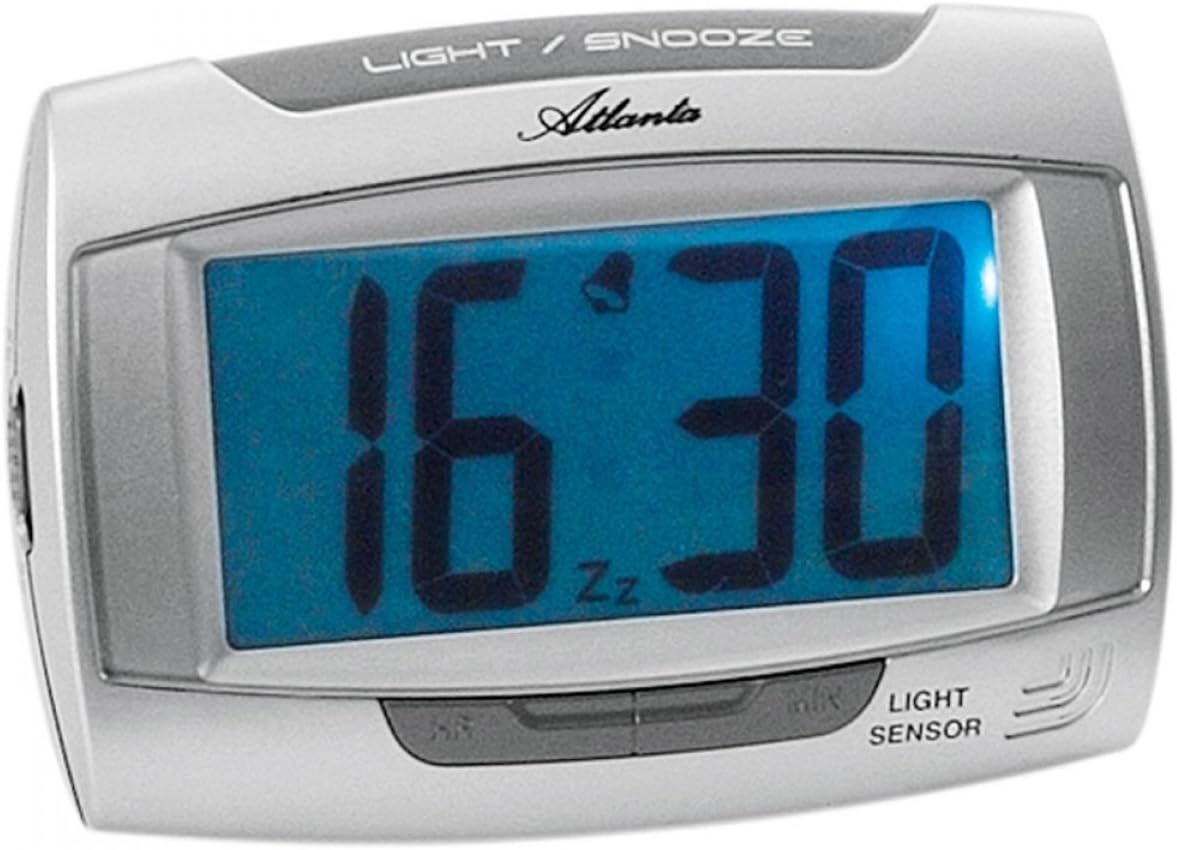
Figur 1: Front view of the Atlanta 1669/19 Quartz Alarm Clock. The clock features a large digital display, a "LIGHT / SNOOZE" button at the top, and a "LIGHT SENSOR" indicator at the bottom right. The display shows the time 16:30, with an alarm bell icon and 'Zz' indicating snooze functionality.
Nøkkelkomponenter:
- Digital skjerm: Viser tid og alarmstatus.
- LIGHT / SNOOZE Button: Activates temporary backlight and snooze function.
- Lyssensor: Automatically illuminates the display in dark environments.
- Control Buttons (Rear/Side): For innstilling av tid og alarm.
- Battery Compartment (Rear): Har de nødvendige batteriene.
5. Oppsett
5.1. Installasjon av batteri
- Finn batteridekselet på baksiden av vekkerklokken.
- Fjern dekselet ved å skyve eller løfte det.
- Insert the required batteries (typically 1x AA, refer to compartment markings) ensuring correct polarity (+ and -).
- Sett batteridekselet godt på plass.
5.2. Innstilling av starttidspunkt
Upon battery installation, the display will typically show a default time. You will need to set the current time.
- Locate the time setting buttons, usually labeled "SET", "HOUR", and "MINUTE" or similar, on the back or side of the clock.
- Press the "SET" button (or equivalent) to enter time setting mode. The hour digits may start flashing.
- Use the "HOUR" button to adjust the hour.
- Press "SET" again to move to minute setting. The minute digits may start flashing.
- Use the "MINUTE" button to adjust the minutes.
- Press "SET" one more time to confirm and exit time setting mode.
6. Bruksanvisning
6.1. Stille inn alarmen
- Locate the alarm setting buttons, typically labeled "ALARM SET", "ALARM HOUR", and "ALARM MINUTE" or similar.
- Press the "ALARM SET" button to enter alarm setting mode. The alarm hour digits may flash.
- Use the "ALARM HOUR" button to adjust the desired alarm hour.
- Press "ALARM SET" again to move to alarm minute setting. The alarm minute digits may flash.
- Use the "ALARM MINUTE" button to adjust the desired alarm minutes.
- Press "ALARM SET" one more time to confirm and exit alarm setting mode.
6.2. Aktivering/deaktivering av alarmen
There is usually a switch or button to turn the alarm on or off. Look for a switch labeled "ALARM ON/OFF" or an alarm icon button. When the alarm is active, an alarm icon (e.g., a bell) will typically appear on the display.
6.3. Snooze-funksjon
When the alarm sounds, press the large "LIGHT / SNOOZE" button located on the top of the clock. This will temporarily silence the alarm, and it will sound again after a few minutes (typically 5-9 minutes). The "Zz" icon on the display indicates that the snooze function is active.
6.4. Light Sensor and Display Backlight
- Automatic Backlight (Light Sensor): The clock is equipped with a light sensor. When enabled, the display will automatically illuminate with a soft, constant light in dark environments, making it easy to read the time at night without pressing any buttons. Look for a switch or button labeled "SENSOR ON/OFF" or similar to enable or disable this feature.
- Midlertidig bakgrunnsbelysning: To briefly illuminate the display in any lighting condition, press the "LIGHT / SNOOZE" button on the top of the clock. The backlight will stay on for a few seconds and then turn off automatically.
7. Vedlikehold
- Rengjøring: Wipe the clock with a soft, dry cloth. Do not use abrasive cleaners or solvents, as these may damage the casing eller skjerm.
- Batteribytte: When the display dims or the clock stops functioning correctly, it is time to replace the batteries. Follow the battery installation steps in Section 5.1.
- Lagring: If the clock will not be used for an extended period, remove the batteries to prevent leakage and damage.
8. Feilsøking
| Problem | Mulig årsak | Løsning |
|---|---|---|
| Klokkedisplayet er tomt eller svakt. | Lave eller døde batterier; feil batteriinstallasjon. | Bytt ut batteriene med nye, og sørg for riktig polaritet. |
| Alarmen lyder ikke. | Alarm is not activated; alarm time is incorrect; low batteries. | Ensure alarm is switched ON (bell icon visible); verify alarm time setting; replace batteries. |
| Automatic backlight not working. | Light sensor feature is disabled; insufficient darkness. | Ensure the light sensor switch is ON; test in a completely dark room. |
| Tidspunktet er feil. | Time was not set correctly; batteries were removed/replaced. | Reset the current time following Section 5.2. |
9. Spesifikasjoner
| Modell | 1669/19 |
| Merke | Atlanta |
| Driftsmodus | Digital |
| Spesielle funksjoner | Alarm, Lighting (Light Sensor) |
| Materiale | Plast |
| Rammemateriale | Plast |
| Monteringstype | Bordplate |
| Farge | Blue (display), Silver-coloured (case) |
| Batterier påkrevd | Yes (Type not specified, typically AA or AAA for such clocks) |
| Batterier inkludert | Ingen |
| Dimensjoner (ca.) | 11 x 7 cm |
10. Garanti og støtte
For garantiinformasjon eller teknisk støtte, se dokumentasjonen som fulgte med ved kjøpstidspunktet, eller kontakt forhandleren din. Ta vare på kjøpsbeviset for eventuelle garantikrav.