Introduksjon
This manual provides detailed instructions for the setup, operation, maintenance, and troubleshooting of your Coby CRA54 Digital AM/FM Alarm Clock Radio. Please read this manual thoroughly before using the device to ensure proper function and longevity.
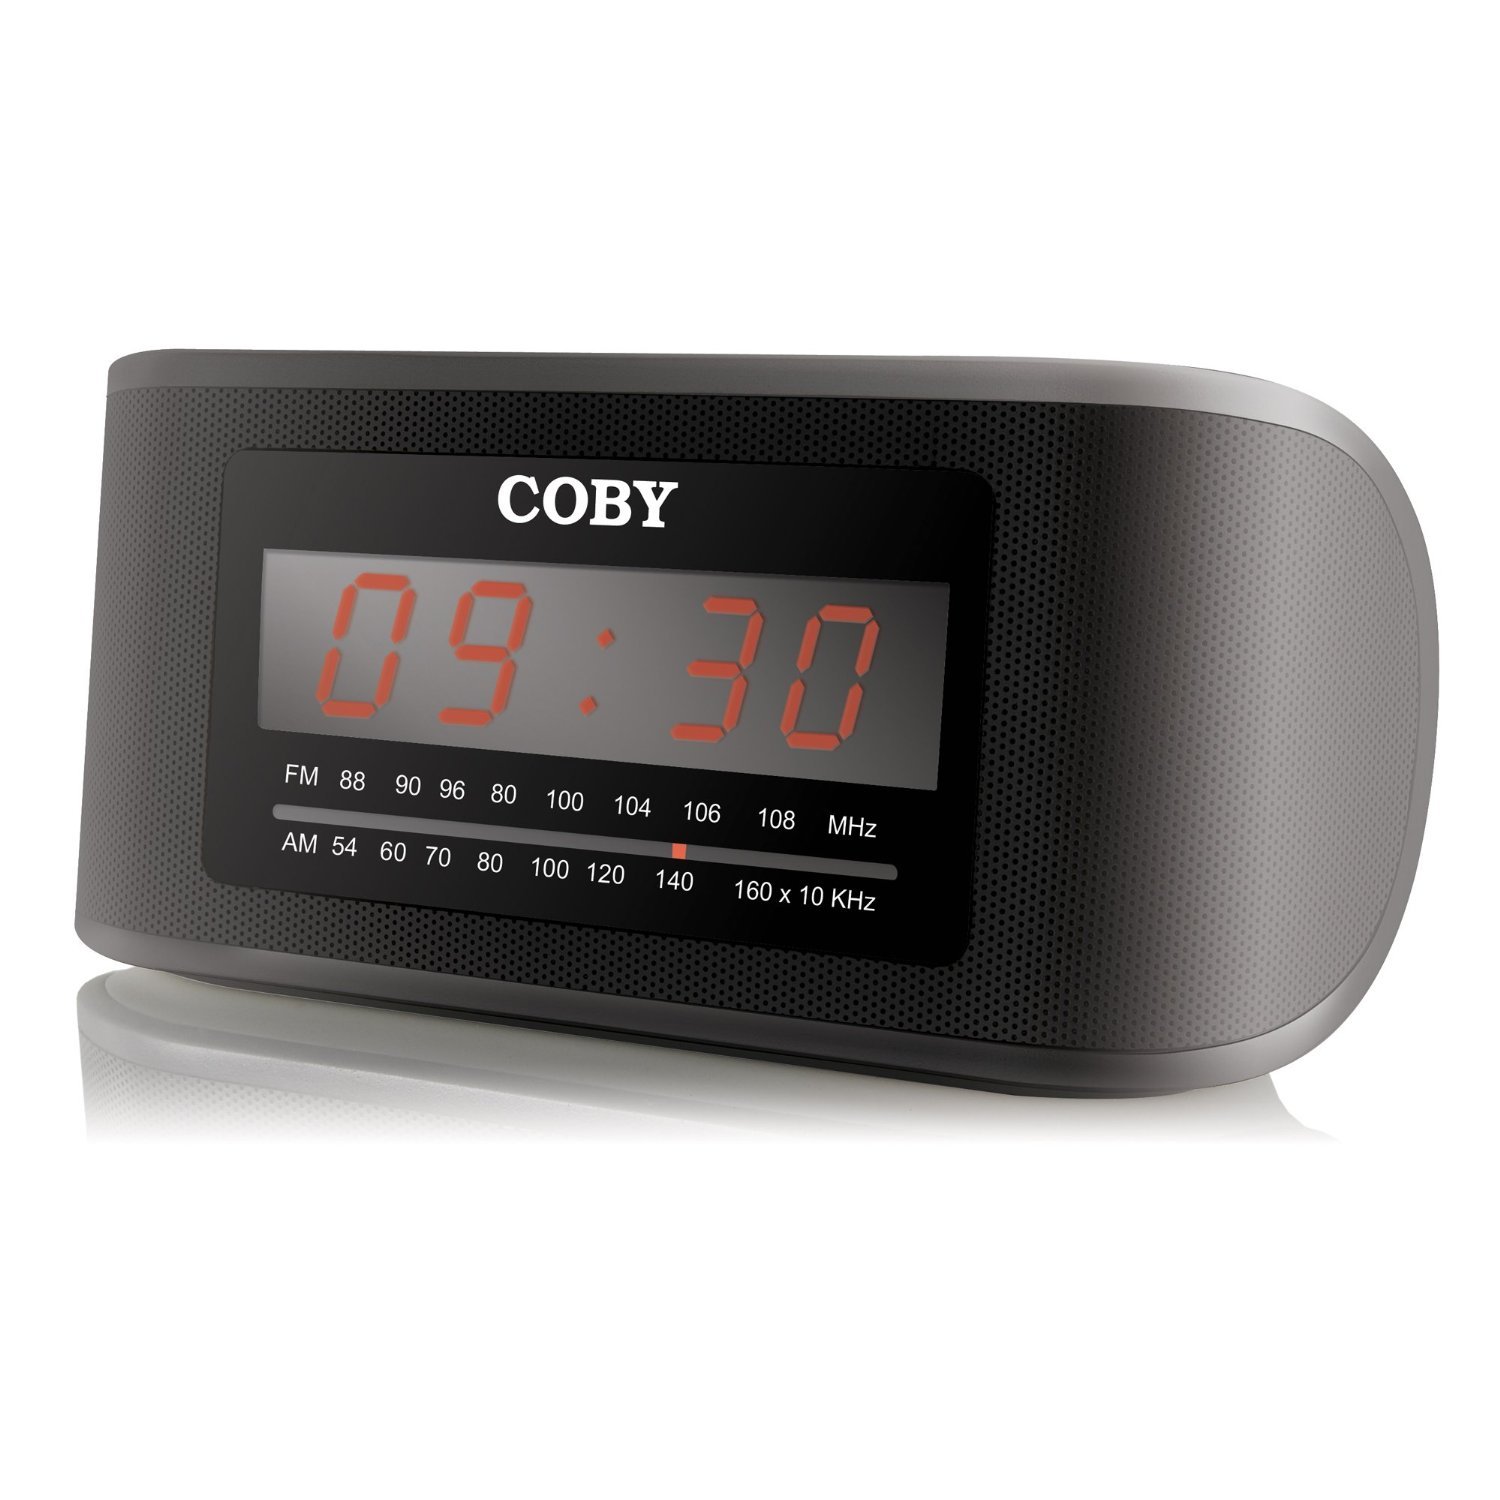
Figur 1: Foran view of the Coby CRA54 Digital AM/FM Alarm Clock Radio, showing the digital display and control buttons.
Oppsett
- Utpakking: Carefully remove the alarm clock radio from its packaging. Retain the packaging materials for future transport or storage.
- Strømtilkobling: Connect the AC power cord to the 110V power outlet. The unit is designed for wired operation.
- Batteribackup (valgfritt): While the unit operates on AC power, it may have a compartment for backup batteries (not included) to maintain time settings during power outages. Refer to the battery compartment cover for the correct battery type and polarity. Merk: Batterier er ikke inkludert i dette produktet.
- Antennejustering: Extend the FM wire antenna fully for optimal FM reception. For AM reception, rotate the unit for the best signal.
Bruksanvisning
Stille inn tiden
- Trykk og hold inne TIDEN SATT button (location may vary, typically on the front or top panel) until the display flashes.
- Bruk TIME og MINUTT buttons to adjust the time. Observe the AM/PM indicator if present.
- Pressen TIDEN SATT igjen for å bekrefte og avslutte tidsinnstillingsmodus.
Stille inn alarmen
- Trykk og hold inne ALARM SETT knappen til alarmtidsdisplayet blinker.
- Bruk TIME og MINUTT buttons to set your desired alarm time.
- Pressen ALARM SETT again to confirm. You may then be prompted to select the alarm source (radio or buzzer) using the ALARM-MODUS knapp.
- Ensure the alarm is activated by checking for an alarm indicator icon on the display.
Radiodrift
- Slå på/av: Trykk på MAKT -knappen for å slå radioen av eller på.
- Bandvalg: Trykk på AM/FM -knappen for å bytte mellom AM- og FM-båndene.
- tuning: Bruk TUNING ring eller TUNE +/- buttons to find your desired station. Some models may feature auto-scan functionality.
- Volumkontroll: Juster volumet med VOLUM ring eller VOL +/- knapper.
Snooze-funksjon
Når alarmen går, trykker du på den store SLUM button (usually located on the top of the unit) to temporarily silence the alarm. The alarm will sound again after a few minutes (typically 9 minutes).
Vedlikehold
- Rengjøring: Koble fra strømmen før rengjøring. Bruk en myk, tørr klut til å tørke av utsiden av enheten. Ikke bruk slipende rengjøringsmidler eller løsemidler.
- Plassering: Place the unit on a stable, flat surface. Avoid placing it in direct sunlight, near heat sources, or in areas with high humidity.
- Ventilasjon: Sørg for tilstrekkelig ventilasjon rundt enheten for å forhindre overoppheting. Ikke blokker ventilasjonsåpningene.
Feilsøking
| Problem | Mulig årsak | Løsning |
|---|---|---|
| Enheten slås ikke på. | Strømledningen er ikke riktig tilkoblet. | Ensure the power cord is securely plugged into both the unit and a working 110V outlet. |
| Dårlig radiomottak. | Antenna not extended or unit position. | Extend the FM wire antenna fully. For AM, rotate the unit to improve signal. Avoid interference from other electronic devices. |
| Alarmen lyder ikke. | Alarm not set or activated. | Verify that the alarm time is correctly set and the alarm function is activated (check for alarm icon on display). Ensure volume is not at minimum. |
| Time display is incorrect or runs fast/slow. | Internal clock deviation or power interruption. | Reset the time. If the issue persists, ensure stable power supply and consider using fresh backup batteries if applicable. |
Spesifikasjoner
- Merke: Coby
- Modellnummer: CRA54
- Produktdimensjoner: 17.78 x 10.16 x 8.89 cm
- Produktvekt: 522 g
- Voltage: 110 volt
- Visningstype: Digital
- Monteringstype: Bordplate
- Alarm Clock: Ja
- Driftsmodus: Elektrisk
- Innebygde høyttalere: Ja
- Tilkoblingsteknologi: Kablet
Garanti og støtte
For information regarding warranty coverage and customer support, please refer to the warranty card included with your product or contact Coby customer service directly. Keep your purchase receipt as proof of purchase.