1. Introduksjon
This manual provides detailed instructions for the installation, operation, maintenance, and troubleshooting of the ASRock H81M-HDS R2.0 Micro ATX Motherboard. Please read this manual thoroughly before installing or using your motherboard to ensure proper functionality and to prevent damage.
The ASRock H81M-HDS R2.0 is designed for Intel LGA 1150 processors, supporting DDR3 memory and offering essential connectivity for a reliable computing experience.
2. Produktet er overview
The ASRock H81M-HDS R2.0 motherboard features the Intel H81 chipset, providing a stable platform for your system. Key features include:
- Sokkeltype: LGA 1150
- Brikkesett: Intel H81
- Hukommelse: 2x DDR3/DDR3L-1600/1333/1066 DIMM Slots, Dual Channel, Non-ECC, Unbuffered, Max Capacity of 16GB
- Utvidelsesspor: 1x PCI Express 2.0 x16 Slot, 1x PCI Express 2.0 x1 Slot
- Lagring: 2x SATA3 Ports, 2x SATA2 Ports
- Lyd: Realtek ALC662 5.1-kanals HD-lydkodek
- USB-porter: 4x USB 3.0 Ports (2 rear, 2 via header), 8x USB 2.0 Ports (4 rear, 4 via headers)
- Videoutganger: 1x VGA Port, 1x DVI-D Port, 1x HDMI Port
- Nettverk: 1x RJ45 LAN Port
- Formfaktor: MicroATX
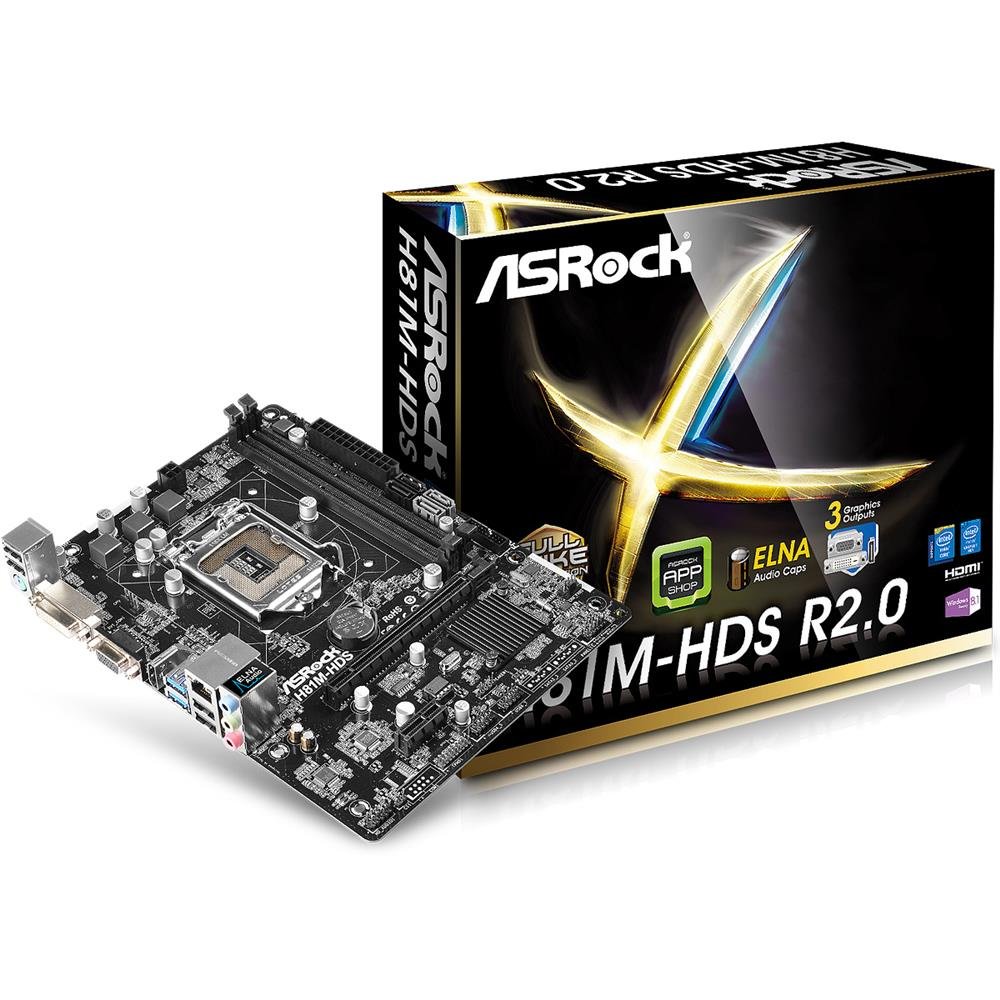
Figur 2.1: ASRock H81M-HDS R2.0 Micro ATX Motherboard. This image displays the overall layout of the motherboard, including the CPU socket, RAM slots, PCIe slots, and various connectors.
3. Oppsett og installasjon
Før du starter installasjonen, må du sørge for at systemet er slått av og koblet fra stikkontakten. Bruk en antistatisk håndleddsstropp for å forhindre skade på komponenter forårsaket av elektrostatisk utladning (ESD).
3.1. Installere CPU-en
- Finn LGA 1150 CPU-sokkelen på hovedkortet.
- Gently push down the load lever and pull it out to open the CPU socket cover.
- Juster det trekantede merket på CPU-en med merket på sokkelen. Plasser CPU-en forsiktig i sokkelen uten å tvinge den.
- Close the load plate and push the load lever back into place until it clicks.
3.2. Installere CPU-kjøleren
Follow the instructions provided with your CPU cooler for proper installation. Ensure thermal paste is applied correctly between the CPU and the cooler's base.
3.3. Installere minne (RAM)
- Åpne klipsene i begge ender av DDR3 DIMM-sporene.
- Juster hakket på minnemodulen med nøkkelen i DIMM-sporet.
- Insert the memory module firmly into the slot until the clips snap into place. For dual-channel operation, install modules in matching colored slots (if applicable, refer to motherboard diagram for specific slots).
3.4. Mounting the Motherboard
- Installer I/O-skjoldet i den bakre åpningen på datamaskinkabinettet.
- Place the motherboard into the case, aligning the screw holes with the standoffs.
- Fest hovedkortet med skruer, og sørg for at det sitter godt fast, men ikke er for strammet.
3.5. Koble til strøm
- Koble 24-pinners ATX-strømkontakten fra strømforsyningen til den tilsvarende kontakten på hovedkortet.
- Connect the 4-pin ATX 12V power connector (CPU power) to its header.
3.6. Koble til lagringsenheter
Connect your SATA hard drives or SSDs to the SATA3 (6Gb/s) or SATA2 (3Gb/s) ports using SATA data cables. Connect power cables from the power supply to each drive.
3.7. Connecting Front Panel and USB Headers
Connect the front panel connectors (power button, reset button, HDD LED, power LED) and USB headers from your case to the corresponding pins on the motherboard. Refer to the motherboard's detailed diagram for correct pin assignments.
4. Bruksanvisning
4.1. BIOS/UEFI-oppsett
Upon initial boot, press Del or F2 during the POST (Power-On Self-Test) to enter the UEFI Setup Utility. Here you can configure system settings such as boot order, date/time, and hardware parameters. The ASRock UEFI is designed to be user-friendly.
4.2. Driverinstallasjon
After installing your operating system, install the necessary drivers for the motherboard's components (chipset, audio, LAN, graphics if using integrated) from the ASRock support website or the provided driver CD (if applicable). Ensure all drivers are up-to-date for optimal performance and stability.
5. Vedlikehold
Regelmessig vedlikehold bidrar til å sikre lang levetid og stabil drift av hovedkortet og systemet.
- Støvfjerning: Periodically clean dust from inside your computer case, especially from CPU coolers, case fans, and heatsinks, using compressed air. Ensure the system is powered off and unplugged before cleaning.
- Kabeladministrasjon: Ensure internal cables are neatly routed to improve airflow and prevent obstruction of components.
- BIOS/UEFI-oppdateringer: Sjekk ASRock-en website for BIOS/UEFI updates. Updates can improve compatibility, stability, and performance. Follow ASRock's specific instructions for BIOS flashing carefully to avoid damaging the motherboard.
- Driveroppdateringer: Keep your system drivers updated to ensure compatibility and optimal performance with your operating system and applications.
6. Feilsøking
If you encounter issues with your ASRock H81M-HDS R2.0 motherboard, refer to the following common troubleshooting steps:
6.1. Ingen strøm / Ingen oppstart
- Kontroller at alle strømkabler (24-pinners ATX, 4-pinners ATX 12V) er ordentlig koblet til hovedkortet og strømforsyningen.
- Sørg for at strømbryteren er i «PÅ»-posisjon.
- Sjekk tilkoblingene på strømknappen på frontpanelet til hovedkortet.
- Test med en annen strømforsyning hvis mulig.
6.2. Ingen skjermutgang
- Ensure your monitor is connected to the correct video output (VGA, DVI-D, or HDMI) on the motherboard or discrete graphics card.
- Kontroller at skjermen er slått på og satt til riktig inngangskilde.
- Reseat the RAM modules. Faulty or improperly seated RAM is a common cause of no display.
- If using a discrete graphics card, ensure it is properly seated in the PCIe slot and has adequate power connected.
6.3. RAM Issues (e.g., one slot not working)
- Sørg for at RAM-modulene er helt på plass i sporene sine.
- Test each RAM module individually in each slot to identify a potentially faulty module or slot.
- Check the motherboard's QVL (Qualified Vendor List) for compatible memory modules.
6.4. Systemustabilitet / Tilfeldige krasj
- Sjekk CPU- og GPU-temperaturene for å sikre at de er innenfor trygge driftsgrenser.
- Verify all drivers are correctly installed and up-to-date.
- Kjør minnediagnostikkverktøy for å se etter RAM-feil.
- Ensure your power supply provides sufficient and stable power to all components.
7. Spesifikasjoner
Detailed technical specifications for the ASRock H81M-HDS R2.0 Motherboard:
| Merke | ASRock |
| Modellnummer | H81M-HDS R2.0 |
| CPU-sokkel | LGA 1150 |
| Brikkesetttype | Intel H81 |
| RAM-minneteknologi | DDR3 |
| Minnespor tilgjengelig | 2 |
| Maksimal RAM-minnestørrelse | 16 GB |
| Minne klokkehastighet | 1333 MHz (Supports up to 1600 MHz) |
| Grensesnitt for grafikkort | PCI Express |
| SATA-porter | 2x SATA3, 2x SATA2 |
| USB-porter | 4x USB 3.0 (2 rear, 2 via header), 8x USB 2.0 (4 rear, 4 via headers) |
| Videoutganger | 1x VGA, 1x DVI-D, 1x HDMI |
| Lyd | Realtek ALC662 5.1-kanal HD-lyd |
| LAN | Gigabit Ethernet |
| Formfaktor | MicroATX |
| Varevekt | 0.6 kilo |
8. Garanti og støtte
ASRock tilbyr en begrenset garanti for sine produkter. For spesifikke garantivilkår, se garantikortet som følger med produktet eller besøk den offisielle ASRock-siden. webnettstedet. Ta vare på kjøpsbeviset for garantikrav.
For technical support, driver downloads, and BIOS updates, please visit the official ASRock support webnettsted:
When contacting support, please have your motherboard model (H81M-HDS R2.0) and serial number ready.