1. Produktet er overview
The Atlanta 1882-19 is a compact, radio-controlled digital alarm clock designed for ease of use. It features an easy-to-read LCD display that shows the current time, date, and temperature. The clock automatically adjusts its time based on the DCF77 atomic clock radio signal, including automatic daylight saving time changes. It includes a convenient snooze function and a blue backlight for visibility in low light conditions.
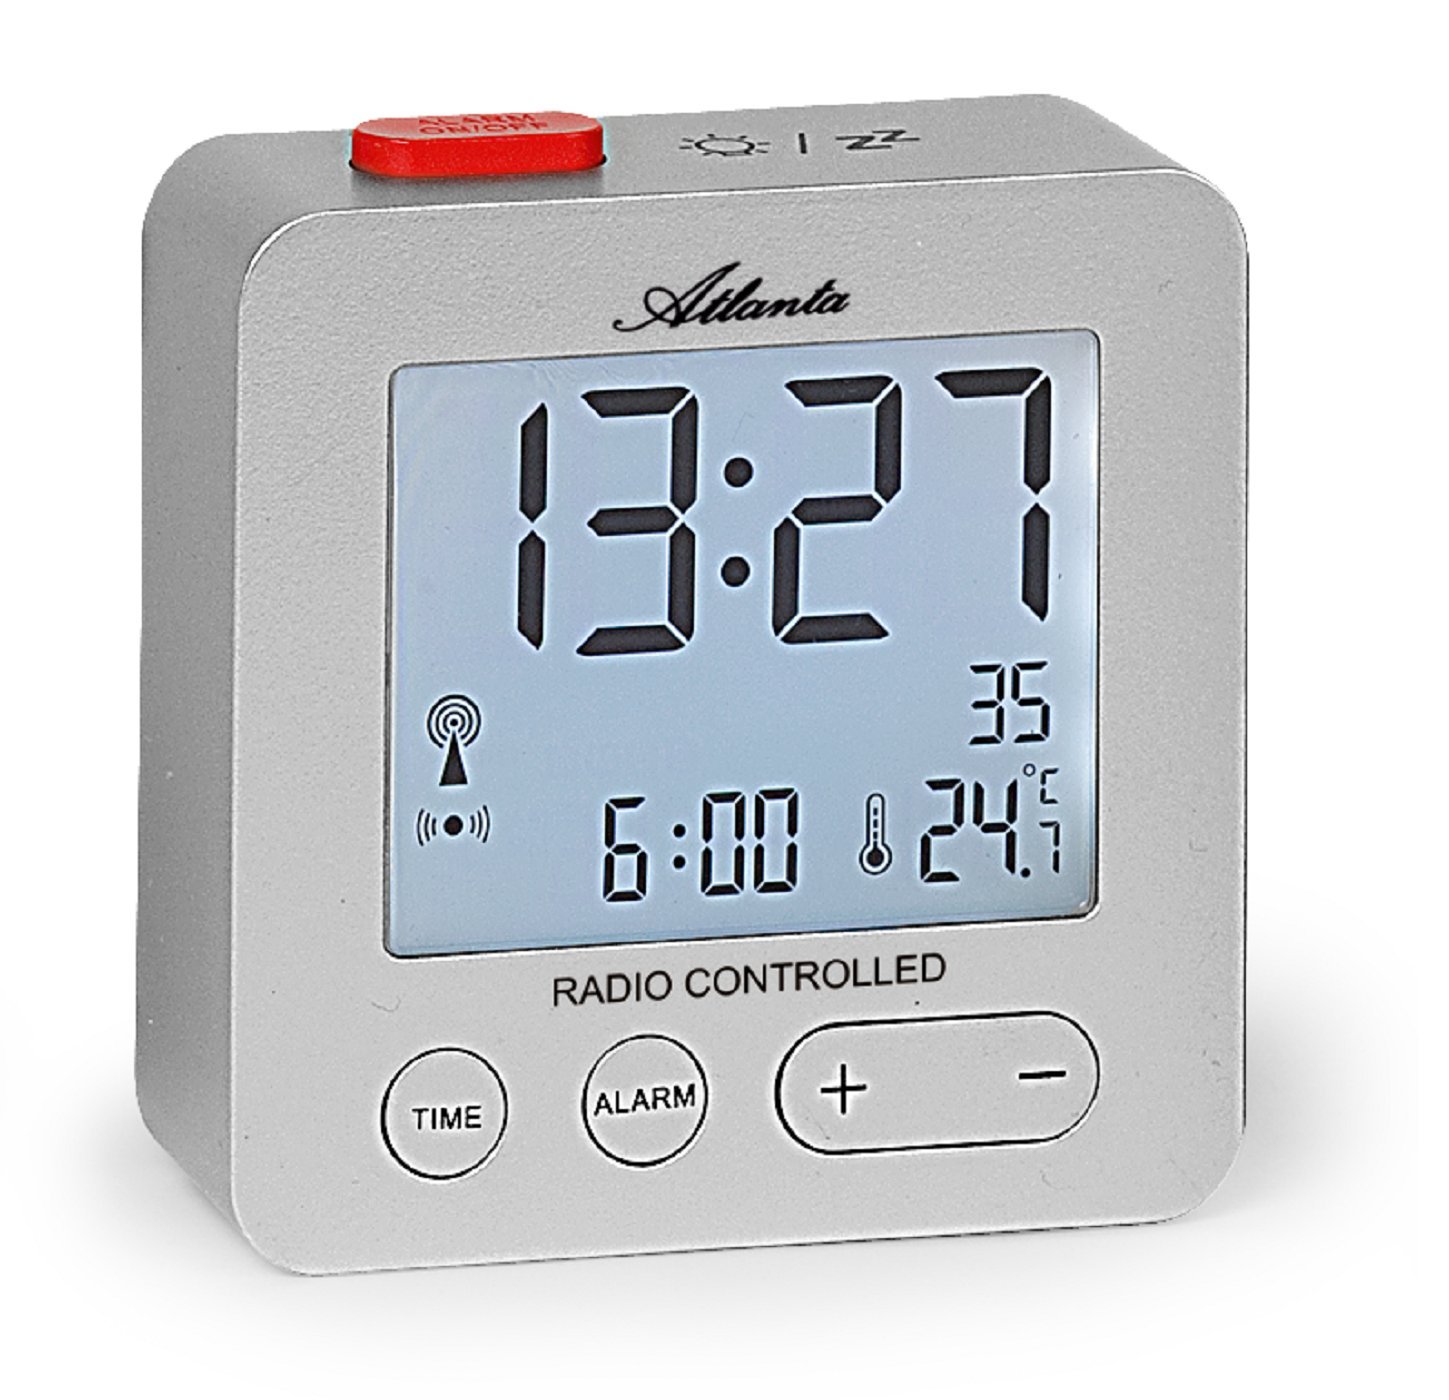
Figur 1: Front view of the Atlanta 1882-19 Digital LCD Alarm Clock. The display shows the time, date, and temperature, along with a radio signal indicator. A red button for alarm on/off is visible on top.
2. Pakkens innhold
- Atlanta 1882-19 Digital LCD Alarm Clock
- Brukerhåndbok (dette dokumentet)
Merk: Batterier er ikke inkludert og må kjøpes separat.
3. Oppsett
3.1 Installasjon av batteri
- Finn batteridekselet på baksiden av vekkerklokken.
- Skyv eller løsne dekselet for å åpne rommet.
- Insert the required batteries (typically 2x AAA, not included) according to the polarity indicators (+ and -) inside the compartment.
- Sett på batteridekselet igjen, og sørg for at det er ordentlig lukket.

Figur 2: Bak view of the alarm clock, illustrating the battery compartment and the 'WAVE' button for radio signal reception.
3.2 Initial Power On and Radio Signal Reception
Upon battery installation, the clock will automatically attempt to receive the DCF77 radio signal to set the time. This process may take several minutes. Ensure the clock is placed away from electronic devices that may cause interference and near a window for optimal signal reception.
- A radio signal icon will appear on the display when the clock is attempting to receive the signal.
- Once the signal is successfully received, the time will automatically set, and the icon will stabilize.
- If the signal is not received after a prolonged period, try relocating the clock or manually setting the time (refer to section 4.1).
4. Bruksanvisning
4.1 Setting Time Manually
In areas with poor radio signal reception, the time can be set manually.
- Trykk og hold inne TID button (located on the front) for a few seconds until the time display starts flashing.
- Bruk + og - knapper for å justere timene.
- Trykk på TID button again to switch to minutes adjustment. Use + og - for å stille minutter.
- Fortsett å trykke TID for å bla gjennom innstillinger for år, måned og dag, og justere hver med + og -.
- Pressen TID en siste gang, eller vent noen sekunder til innstillingene lagres.
4.2 Stille inn alarmen
- Trykk og hold inne ALARM button (located on the front) for a few seconds until the alarm time display starts flashing.
- Bruk + og - buttons to adjust the alarm hours.
- Trykk på ALARM button again to switch to alarm minutes adjustment. Use + og - for å stille minutter.
- Pressen ALARM one last time or wait a few seconds for the alarm setting to be saved.
- To activate or deactivate the alarm, briefly press the red ALARM PÅ / AV button on the top of the clock. An alarm icon will appear on the display when the alarm is active.
4.3 Slumrefunksjon
When the alarm sounds, press the red ALARM PÅ / AV button on the top of the clock to activate the snooze function. The alarm will temporarily stop and sound again after a few minutes (typically 5-10 minutes, depending on the model's default setting).
4.4 Skjermbakgrunnsbelysning
To illuminate the display with a blue backlight, briefly touch the top of the clock. The backlight will remain on for a few seconds, providing temporary visibility in the dark.
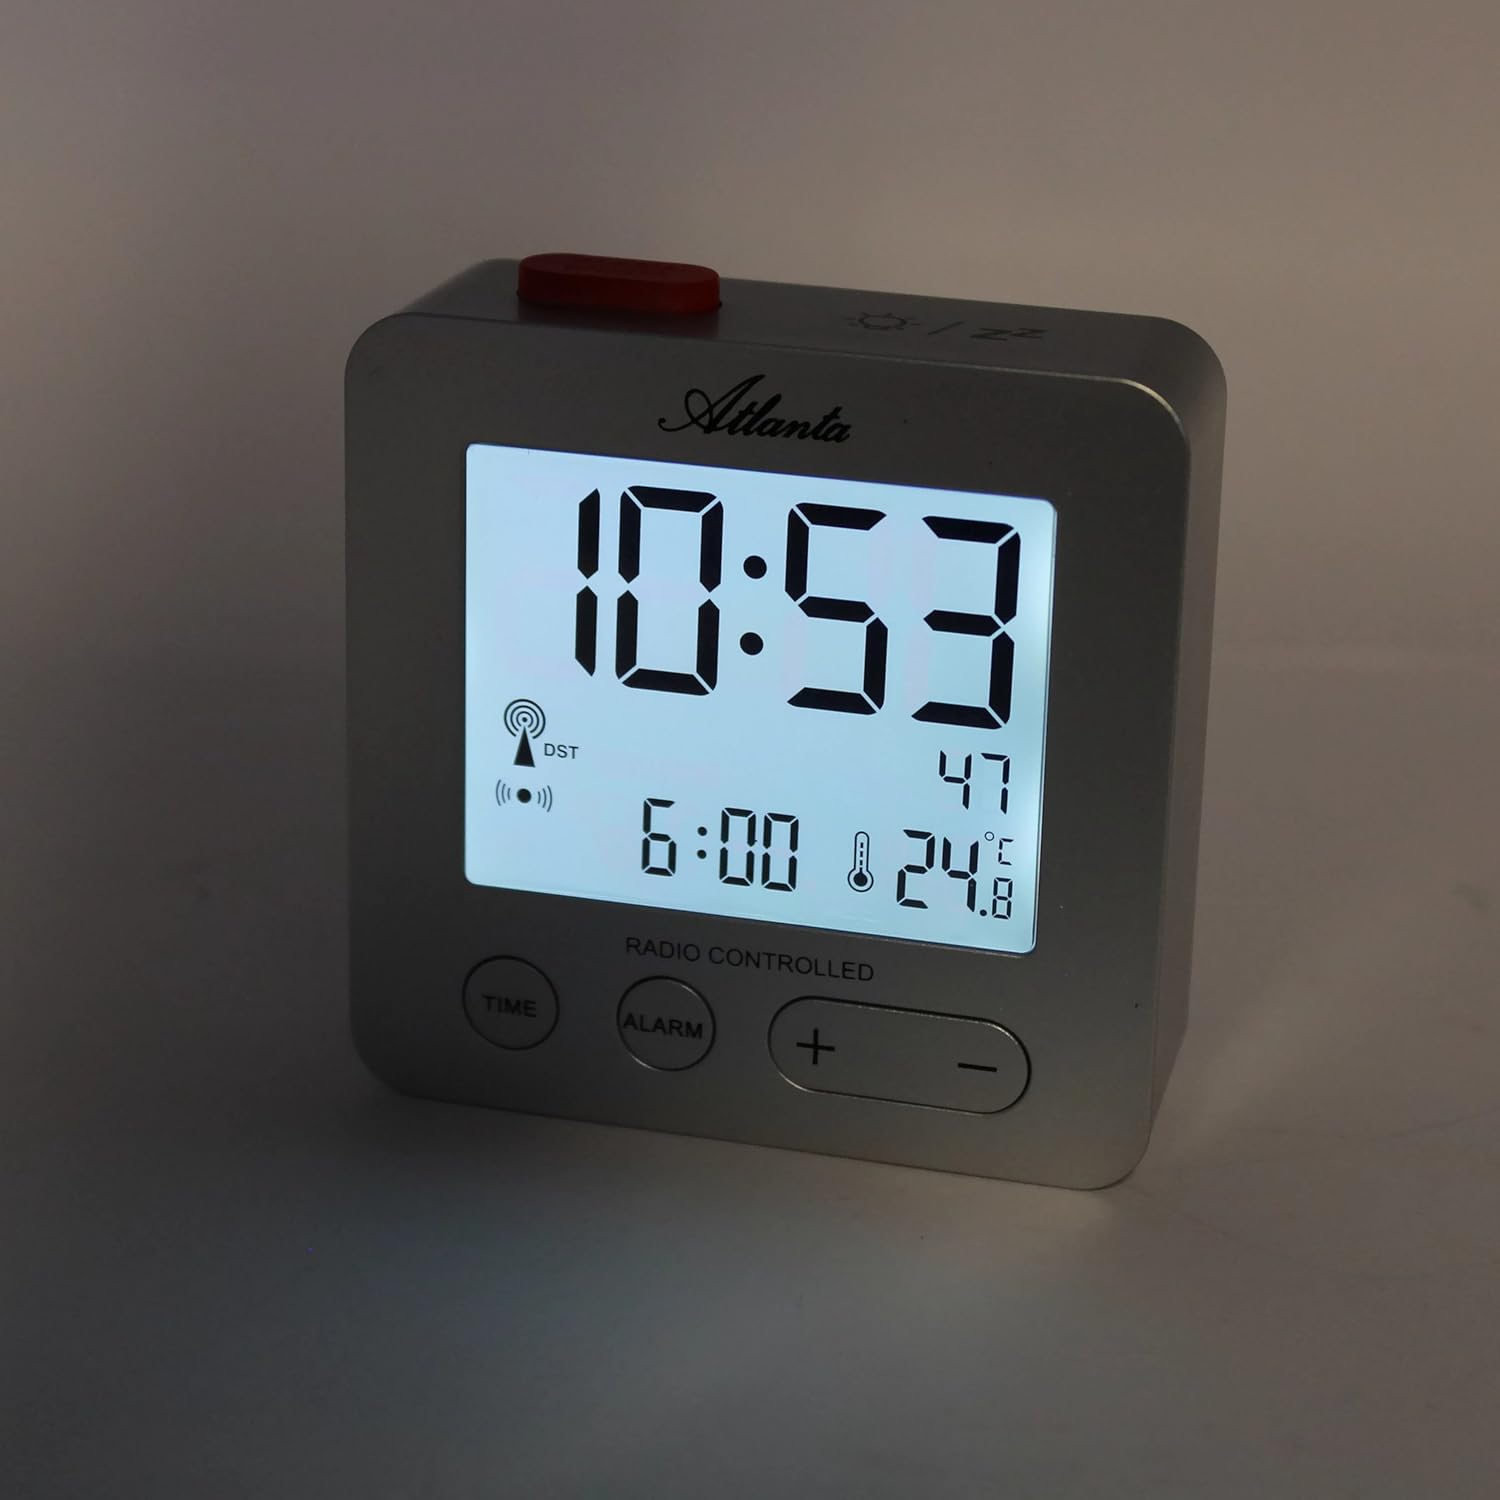
Figur 3: The alarm clock display with the blue backlight activated, enhancing readability in low light.
4.5 Temperature and Date Display
The clock continuously displays the indoor temperature and the current date alongside the time. No specific action is required to view these details.
5. Vedlikehold
- Rengjøring: Tørk av klokken med en myk, tørr klut. Ikke bruk slipende rengjøringsmidler eller løsemidler.
- Batteribytte: Replace batteries when the display dims or the clock functions become unreliable. Always replace all batteries at the same time with new ones of the same type.
- Lagring: Hvis klokken skal oppbevares over lengre tid, må du ta ut batteriene for å forhindre lekkasje.
6. Feilsøking
- Clock not setting time automatically:
Ensure the clock is placed in an open area, away from electronic interference (e.g., TVs, computers, mobile phones). Try placing it near a window. If the issue persists, manually set the time as described in section 4.1. - Alarmen går ikke:
Verify that the alarm is activated (alarm icon visible on display). Check battery levels and replace if necessary. - Skjermen er svak eller tom:
Replace the batteries. Ensure batteries are inserted with correct polarity. - Feil temperaturavlesning:
Ensure the clock is not exposed to direct sunlight or placed near heat sources/vents, which can affect the sensor.
7. Spesifikasjoner
| Modellnummer | 1882/19 |
| Merke | Atlanta |
| Visningstype | Digital LCD |
| Spesielle funksjoner | Temperature Display, Alarm, Snooze, Radio-Controlled (DCF77), Backlight |
| Dimensjoner (L x B x H) | 7 x 3.81 x 7 cm (ca. 2.76 x 1.5 x 2.76 tommer) |
| Vekt | 65 gram (ca. 2.3 unser) |
| Strømkilde | Batteridrevet (batterier ikke inkludert) |
| Materiale | Plast (akrylnitrilbutadienstyren) |
| Farge | Sølv |
8. Garanti og støtte
This product comes with a standard manufacturer's warranty. For detailed warranty information, please refer to the packaging or contact Atlanta customer support. For technical assistance or further inquiries, please visit the official Atlanta webnettstedet eller kontakt deres kundeserviceavdeling.