1. Introduksjon
Takk for kjøpetasing the DACOM GF7 TWS V4.2 Bluetooth Earbuds. This manual provides detailed instructions on how to set up, operate, and maintain your earbuds to ensure optimal performance and longevity. Please read this manual thoroughly before using the product and retain it for future reference.
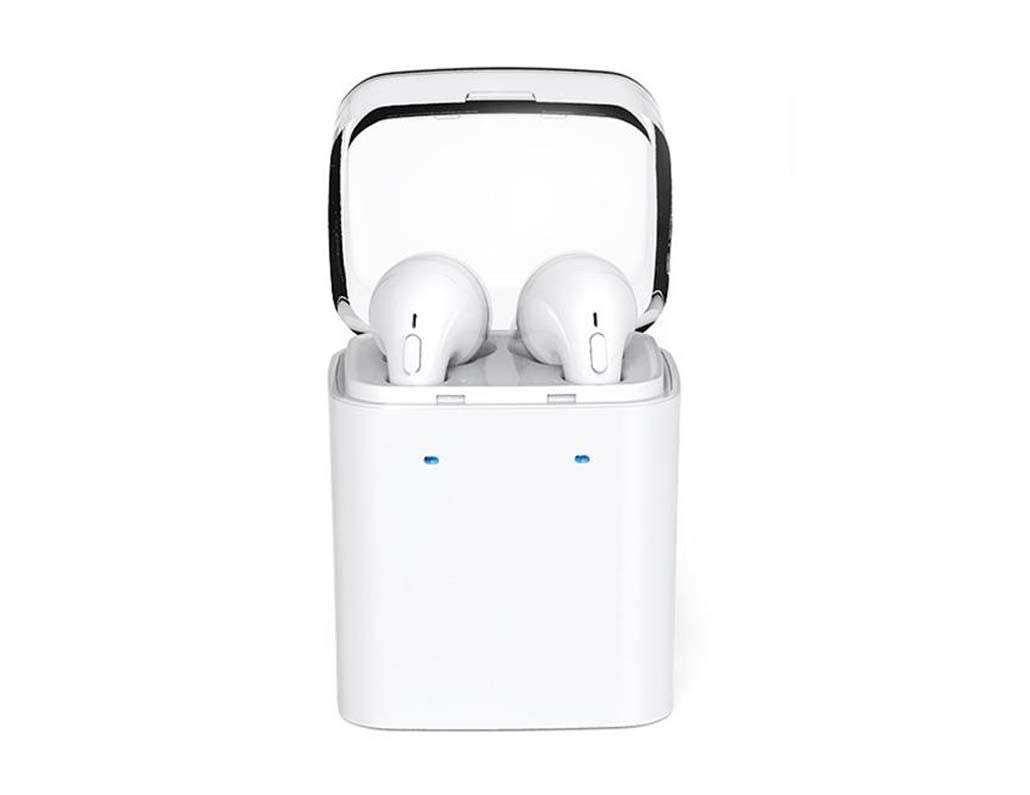
Image 1.1: DACOM GF7 TWS V4.2 Bluetooth Earbuds in their charging case.
2. Pakkens innhold
Sjekk innholdet i pakken når du pakker ut den. Kontakt forhandleren din hvis noen av delene mangler eller er skadet.
- DACOM GF7 TWS V4.2 Bluetooth Earbuds (Left and Right)
- Bærbar ladeveske
- USB ladekabel
- Øreputer (forskjellige størrelser)
- Brukerhåndbok (dette dokumentet)
3. Produktet er overview
Familiarize yourself with the components of your DACOM GF7 TWS V4.2 Earbuds and charging case.

Image 3.1: Detailed diagram showing the Multifunction Button (MFB), Indicator Light, Microphone (Mic), Air Gate, DC5V Charge Jack Cover, Headphone Charging Indicator Light, USB Charging Input Port, and the Charging Indicator Light of the bottom on the DACOM GF7 TWS V4.2 Earbuds and Charging Case.
- Multifunksjonsknapp (MFB): Used for power, playback, call management, and voice assistant activation.
- Indikatorlys: Displays pairing status, charging status, and power status.
- Mic: Built-in microphone for calls and voice commands.
- Luftport: Acoustic vent for sound performance.
- DC5V Charge Jack Cover: Protects the charging port on the earbuds.
- Headphone Charging Indicator Light: Shows charging status of individual earbuds within the case.
- USB-ladeinngang: For charging the portable charging case.
- Charging Indicator Light of the bottom: Shows charging status of the case.
4. Oppsett
4.1. Lade øreproppene og ladeetuiet
- Lader dekselet: Connect the USB charging cable to the USB Charging Input Port on the charging case and the other end to a 5V USB power adapter (not included). The Charging Indicator Light at the bottom of the case will illuminate to indicate charging. Once fully charged, the indicator light may change color or turn off.
- Lading av ørepluggene: Place the earbuds into their respective slots in the charging case. Ensure the earbuds are properly seated. The Headphone Charging Indicator Light on the case will show the charging status of the earbuds. The earbuds' indicator lights will also show charging status (e.g., red while charging, off when fully charged).
- For first-time use, fully charge both the earbuds and the charging case.
4.2. Bluetooth-paring
- Strøm på: Take both earbuds out of the charging case. They will automatically power on and attempt to pair with each other. You will hear an audible prompt indicating they are connected to each other.
- Paringsmodus: Once the earbuds are paired with each other, one earbud's indicator light will flash red and blue alternately, indicating it is in pairing mode and ready to connect to your device.
- Koble til enheten: On your smartphone or Bluetooth-enabled device, go to the Bluetooth settings and search for available devices. Select "DACOM GF7 TWS" (or similar name) from the list.
- Vellykket tilkobling: Once connected, the earbud's indicator light will stop flashing, and you will hear a confirmation sound.
- Automatisk tilkobling: After initial pairing, the earbuds will automatically connect to the last paired device when taken out of the charging case, provided Bluetooth is enabled on your device.
5. Bruksanvisning
The DACOM GF7 TWS V4.2 Earbuds feature a Multifunction Button (MFB) for various controls.
5.1. Slå på/av
- Strøm på: Take the earbuds out of the charging case. They will power on automatically. Alternatively, press and hold the MFB on both earbuds for approximately 3 seconds until you hear a power-on prompt.
- Slå av: Place the earbuds back into the charging case. They will power off automatically. Alternatively, press and hold the MFB on both earbuds for approximately 5 seconds until you hear a power-off prompt.
5.2. Musikkavspilling
- Spill av/pause: Trykk én gang på MFB-knappen på en av øreproppene.
- Neste spor: Double press the MFB on the right earbud.
- Forrige spor: Double press the MFB on the left earbud.
5.3. Samtalebehandling
- Svar/avslutt samtale: Trykk én gang på MFB-knappen på en av øreproppene.
- Avvis anrop: Press and hold the MFB on either earbud for approximately 2 seconds.
5.4. Stemmeassistent
- Aktiver stemmeassistent: Triple press the MFB on either earbud to activate your device's voice assistant (e.g., Siri, Google Assistant).
5.5. Støydemping
- The DACOM GF7 TWS V4.2 features active noise cancellation. Specific activation methods may vary. Refer to the product's quick start guide or manufacturer's website for precise instructions if not detailed here. Typically, a long press or specific tap sequence on an MFB or dedicated button activates/deactivates ANC.
6. Vedlikehold
Riktig vedlikehold sikrer øreproppenes levetid og ytelse.
- Rengjøring: Rengjør øreproppene og ladeetuiet regelmessig med en myk, tørr og lofri klut. Ikke bruk sterke kjemikalier eller slipende materialer.
- Øretips: Fjern og rengjør øreproppene med jevne mellomrom med en annonse.amp klut og mild såpe, skyll deretter og tørk grundig før du setter den på igjen.
- Lagring: Når de ikke er i bruk, oppbevar øreproppene i ladeetuiet for å beskytte dem mot støv og skader.
- Unngå fuktighet: Keep the earbuds and charging case away from water, excessive humidity, and extreme temperatures.
7. Feilsøking
If you encounter issues with your earbuds, refer to the following common problems and solutions.
| Problem | Løsning |
|---|---|
| Øreproppene kobler seg ikke til hverandre. |
|
| Øreproppene kobler seg ikke til enheten. |
|
| Ingen lyd fra øreproppene. |
|
| Charging case or earbuds not charging. |
|
8. Spesifikasjoner
| Merkenavn | DACOM |
| Modellnavn | GF7 TWS |
| Modellnummer | 7TWS |
| Farge | Hvit |
| Hodetelefoner Form Factor | In-Ear |
| Støykontroll | Aktiv støyreduksjon |
| Tilkoblingsteknologi | Trådløs (Bluetooth) |
| Trådløs kommunikasjonsteknologi | Bluetooth V4.2 (inferred from title) |
| Inkluderte komponenter | Øreputer |
| Spesielle funksjoner | Noise Cancellation, Microphone Included |
| Kontrollmetode | Røre |
| Kompatible enheter | Alle enheter |
| Materiale | PU Metal Eraser (likely referring to ear tip material or casing finish) |
9. Sikkerhetsinformasjon
Please read and follow these safety guidelines to prevent injury or damage to your device.
- Ikke demonter, reparer eller modifiser produktet. Dette kan forårsake brann, elektrisk støt eller fullstendig skade på produktet.
- Keep the product away from extreme temperatures (hot or cold), direct sunlight, and sources of heat.
- Unngå å utsette produktet for vann eller andre væsker.
- Ikke bruk produktet på høyt volum over lengre tid for å unngå hørselsskade.
- Bruk kun de medfølgende eller anbefalte ladekablene og adapterne.
- Oppbevares utilgjengelig for barn og kjæledyr. Små deler kan utgjøre en kvelningsfare.
- Be aware of your surroundings when using the earbuds, especially in traffic or other potentially dangerous situations.
10. Garanti og støtte
DACOM products are designed and manufactured to the highest quality standards. For detailed warranty information, please refer to the warranty card included with your purchase or visit the official DACOM webnettstedet.
For technical support, troubleshooting assistance, or to inquire about replacement parts, please contact DACOM customer service through their official webnettstedet eller kontaktinformasjonen som er oppgitt på produktemballasjen.
- Online støtte: Visit the official DACOM webnettsted for vanlige spørsmål, støtteartikler og kontaktskjemaer.
- E-poststøtte: Refer to your product packaging for customer service email addresses.