
1. Introduksjon
The Norwii N29 is a multifunctional wireless presentation remote designed to enhance your presentations. It features a bright laser pointer, long control range, and customizable buttons for seamless navigation through slides, controlling volume, and managing hyperlinks. Its plug-and-play design ensures easy setup across various operating systems and presentation software.

Image 1.1: Norwii N29 Wireless Presentation Remote
2. Pakkens innhold
Vennligst sjekk pakken for følgende varer:
- 1 x Norwii N29 Wireless Presenter
- 1 x USB mottaker
- 1 x brukerhåndbok
- 1 x Veske
3. Produktet er overview
Familiarize yourself with the buttons and features of your Norwii N29 Wireless Presentation Remote:

Image 3.1: Detailed button functions of the Norwii N29 remote.
- LED-indikator: Shows connection status and low power alert.
- På/av-bryter: Located on the side to conserve battery.
- Volum opp/ned: Side buttons for system volume control.
- Top Key (Square icon): Single click for Tab, Long press for Alt+Tab (switch windows). Double click to open hyperlinks.
- Page Up (Left Arrow): Single click for Page Up.
- Page Down (Right Arrow): Single click for Page Down.
- Laser Key (Yellow button): Activates the red laser pointer.
- Integrated USB Receiver: Stored securely in the tail of the presenter.

Image 3.2: The USB receiver is stored in the tail of the presenter for convenience.

Image 3.3: The bumped design on the 'Page Down' key allows for tactile navigation without looking.
4. Oppsett
The Norwii N29 is a plug-and-play device, requiring no driver installation for basic functionality.
- Sett inn batteri: Open the battery cover and insert one AAA battery (not included) into the presenter, ensuring correct polarity.
- Hent USB-mottaker: Gently pull out the USB receiver from the tail of the presenter.
- Koble til datamaskin: Plug the USB receiver into an available USB-A port on your computer (Laptop, Mac, Personal Computer).
- Strøm på: Slide the Power On/Off switch on the side of the presenter to the 'ON' position.
- Klar til bruk: Your computer should automatically detect the device. You are now ready to use the presenter.
For a visual guide on setup, please refer to the video below:
Video 4.1: Official Norwii N29 'How to Use' video, demonstrating initial setup and basic functions.
5. Bruksanvisning
5.1. Slide Navigation
- Trykk på Page Up (Left Arrow) key to move to the previous slide.
- Trykk på Page Down (Right Arrow) key to move to the next slide.
5.2. Laserpeker
- Trykk og hold inne Yellow Laser Key to activate the red laser pointer. Release to turn off.
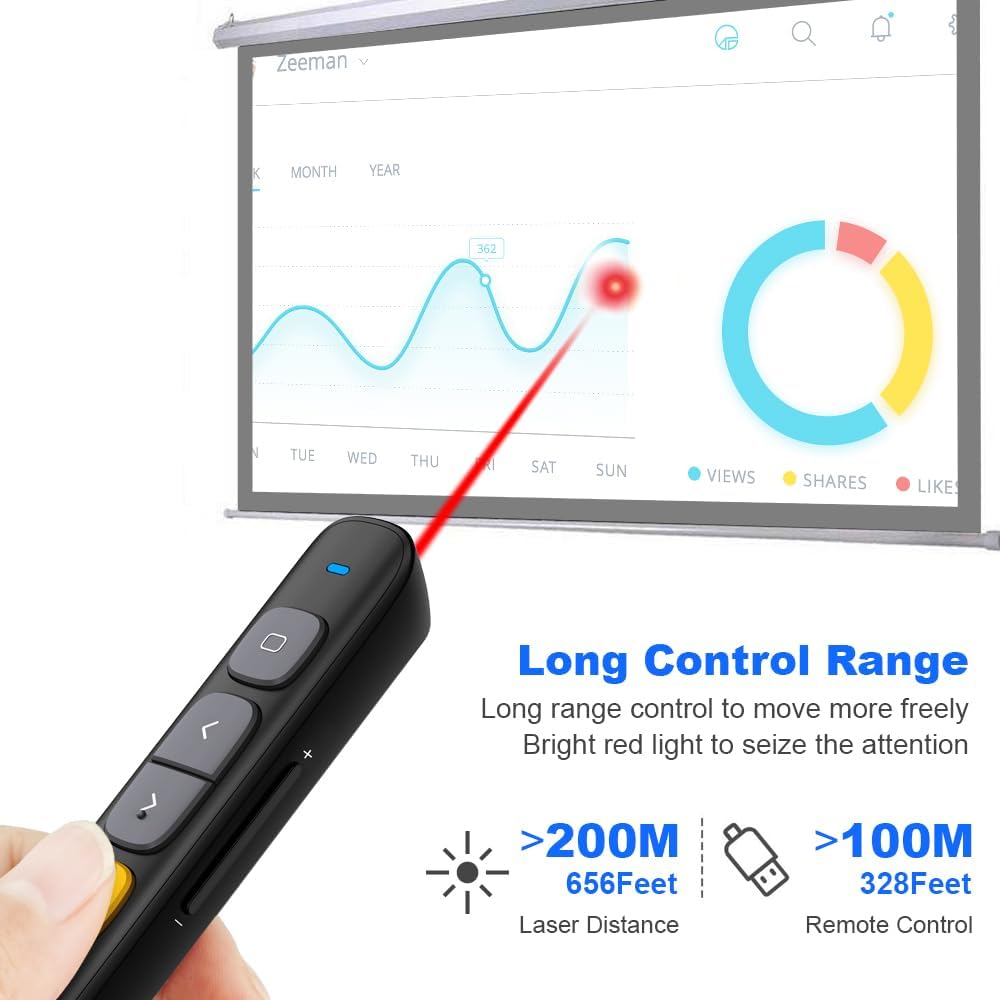
Image 5.1: The Norwii N29 offers a long control range for both the remote and the laser pointer.
5.3. Full Screen / Black Screen
- Fullskjerm: Trykk lenge på Page Up (Left Arrow) key to enter full screen mode in presentation software.
- Svart skjerm: Trykk lenge på Page Down (Right Arrow) key to turn the screen black during a presentation. Press any page turning key to exit black screen.
5.4. Hyperlink Control
- Select Hyperlink: Enkeltklikk på Top Key (Square icon) to select a hyperlink on your slide. A dashed box will appear around the selected hyperlink.
- Open Hyperlink: Dobbeltklikk på Top Key (Square icon) to open the selected hyperlink.

Image 5.2: The top key allows for selection and activation of hyperlinks within presentations.
5.5. Volumkontroll
- Trykk lenge på Volum opp (+) key on the side to increase system volume.
- Trykk lenge på Volum ned (-) key on the side to decrease system volume.

Image 5.3: Side buttons provide convenient control over system volume.
5.6. Switching Active Windows
- Trykk lenge på Top Key (Square icon) to switch between active windows (equivalent to Alt+Tab).
6. Modes Switching
The Norwii N29 supports three different modes for its page navigation keys, allowing compatibility with various presentation software. You can switch between these modes by long pressing the '<' and '>' keys simultaneously for 1-3 seconds. The device automatically remembers the last used mode.

Image 6.1: Visual representation of the three operating modes for page navigation.
- Mode 1: Up/Down Keys (Default) - Usually used in PowerPoint, Keynote.
- Mode 2: Left/Right Keys - Usually used in Prezi.
- Mode 3: PgUp/PgDn Keys - Usually used in browser or photo viewer programvare.
7. Tilpassbare knapper
The Norwii N29 allows you to reprogram button functions using the Norwii Presenter software. This software can be downloaded from the official Norwii webnettstedet.
- Download and install the Norwii Presenter software.
- Ensure the USB receiver is plugged into your computer and the presenter is turned on.
- Open the Norwii Presenter software.
- Navigate to the 'Customize' tab.
- Select the key you wish to customize.
- Choose the desired function from the available options for short press, long press, or double click.
- Lagre endringene dine.

Image 7.1: Screenshot of the Norwii Presenter software interface for customizing key functions.
8. Kompatibilitet
The Norwii N29 Wireless Presentation Remote offers broad compatibility with various operating systems and presentation software.
8.1. Operativsystemer
- Windows
- macOS
- Android
- Linux
8.2. Presentation Software
- PowerPoint
- Prezi
- Keynote
- Google Slides
- Propresenter
- MediaShout
- Word, Excel, ACD See, OneNote, Pages, Numbers, Photos (for PgUp/PgDn mode)

Image 8.1: The Norwii N29 is compatible with major operating systems and presentation applications.
9. Feilsøking
If you encounter issues with your Norwii N29, please refer to the following common problems and solutions:

Image 9.1: Troubleshooting steps for common issues with the Norwii N29.
9.1. Weak Laser
- Ensure the battery has sufficient power. Replace if necessary.
- Note: Laser may appear weak on TV screens due to prohibitive regulations. For TV screens, consider Norwii N95s Pro or N97s models.
9.2. Short Control Range
- Sørg for at batteriet har tilstrekkelig strøm.
- An obstruction between the wireless presenter and the USB receiver may shorten the control distance. Ensure a clear line of sight or reduce distance.
9.3. Laser Works, But Page Turn Does Not Respond
- Ensure that the presentation window is the currently active window on your computer.
- Long press the '<' and '>' keys for 3 seconds to switch among the 3 or 4 working modes (Up & Down, Left & Right, Scroll, PgUp & PgDn). Ensure the correct mode is selected for your software.
- For the first time on macOS, set the keyboard type to ANSI after plugging the USB receiver into your computer.
If these steps do not resolve your issue, please contact technical support.
10. Spesifikasjoner
| Trekk | Detalj |
|---|---|
| Modellnavn | N29 |
| Tilkoblingsteknologi | Radio Frequency (2.4GHz RF) |
| Kontrollområde | Opptil 328 fot (100 meter) |
| Laseravstand | Opptil 656 fot (200 meter) |
| Laser type | Class II, Red |
| Utgangseffekt | <1mW |
| Batteritype | 1 x AAA batteri (ikke inkludert) |
| Dimensjoner | 139.2 x 19.2 x 15.4 mm |
| Varevekt | 26.9 gram |
| Kompatible enheter | Laptop, Mac, Personal Computer |
| Spesielle funksjoner | Reprogrammable buttons, Hyperlink & Volume Control, Integrated USB receiver storage, Bumped design for tactile feedback |
11. Garanti og støtte
11.1. Garantiinformasjon
The Norwii N29 Wireless Presentation Remote comes with a 1 års garanti fra kjøpsdatoen. Denne garantien dekker produksjonsfeil og funksjonsfeil ved normal bruk. Vennligst ta vare på kjøpsbeviset for garantikrav.
11.2. Teknisk støtte
For technical assistance or further inquiries, please contact Norwii customer support. You can find contact information on the official Norwii webnettstedet eller gjennom forhandleren din.