Introduksjon
This manual provides essential information for the proper setup, operation, and maintenance of your Schubert Preludio 88-Key Digital Piano. Please read this manual thoroughly before using the instrument to ensure optimal performance and longevity. Keep this manual for future reference.
Sikkerhetsinstruksjoner
- Sørg for at strømadapterens volumtage samsvarer med din lokale strømforsyning.
- Do not expose the instrument to rain, moisture, or extreme temperatures.
- Avoid placing the instrument near heat sources or in direct sunlight.
- Ikke åpne c-enasing; overlat all service til kvalifisert personell.
- Oppbevares utilgjengelig for små barn for å unngå ulykker.
- Disconnect power during thunderstorms or when not in use for extended periods.
Oppsett
Utpakking og montering
Carefully remove all components from the packaging. Ensure all items listed in the "Included in Delivery" section are present.
- Place the keyboard on a stable, flat surface or a compatible keyboard stand.
- Attach the music stand to the designated slot on the keyboard.
- Connect the sustain pedal to the "PEDAL" input on the rear panel of the keyboard.
- Connect the power adapter to the "DC 12V" input and then to a power outlet.

Figur 1: Inkludert tilbehør. The image displays the Schubert Preludio keyboard's accessories, including the music stand, sustain pedal, power adapter, and various USB cables for connectivity.

Figure 2: Connection Options. This image shows the various input/output ports on the rear of the keyboard, including Audio In, Audio Out, USB, pedal input, and two 6.3mm headphone jacks.
Bruksanvisning
Slå på/av
Trykk på MAKT -knappen for å slå tastaturet av eller på.
Volumkontroll
Juster hovedvolumet ved hjelp av HOVEDVOLUM knob. Individual volumes for Upper and Lower voices can be adjusted via the VOL+ og VOL- buttons in Function mode.
Selecting Voices (Sounds)
The Schubert Preludio offers 140 different voices. To select a voice:
- Trykk på STEMME knapp.
- Bruk talltastaturet eller +/- buttons to select the desired voice number. The selected voice number will be displayed on the LED screen.

Figure 3: Control Panel and Voice Selection. The image highlights the control panel with buttons for voice selection, layering, splitting, and reverb, along with categories like Piano, Organ, Guitar, and Strings.
Layer and Split Functions
- Lag: Trykk på LAG button to combine two voices simultaneously. Select the second voice using the voice selection method.
- Dele: Trykk på SPLIT button to divide the keyboard into two sections, each with a different voice. The split point can be adjusted. This is useful for teaching or playing duets.
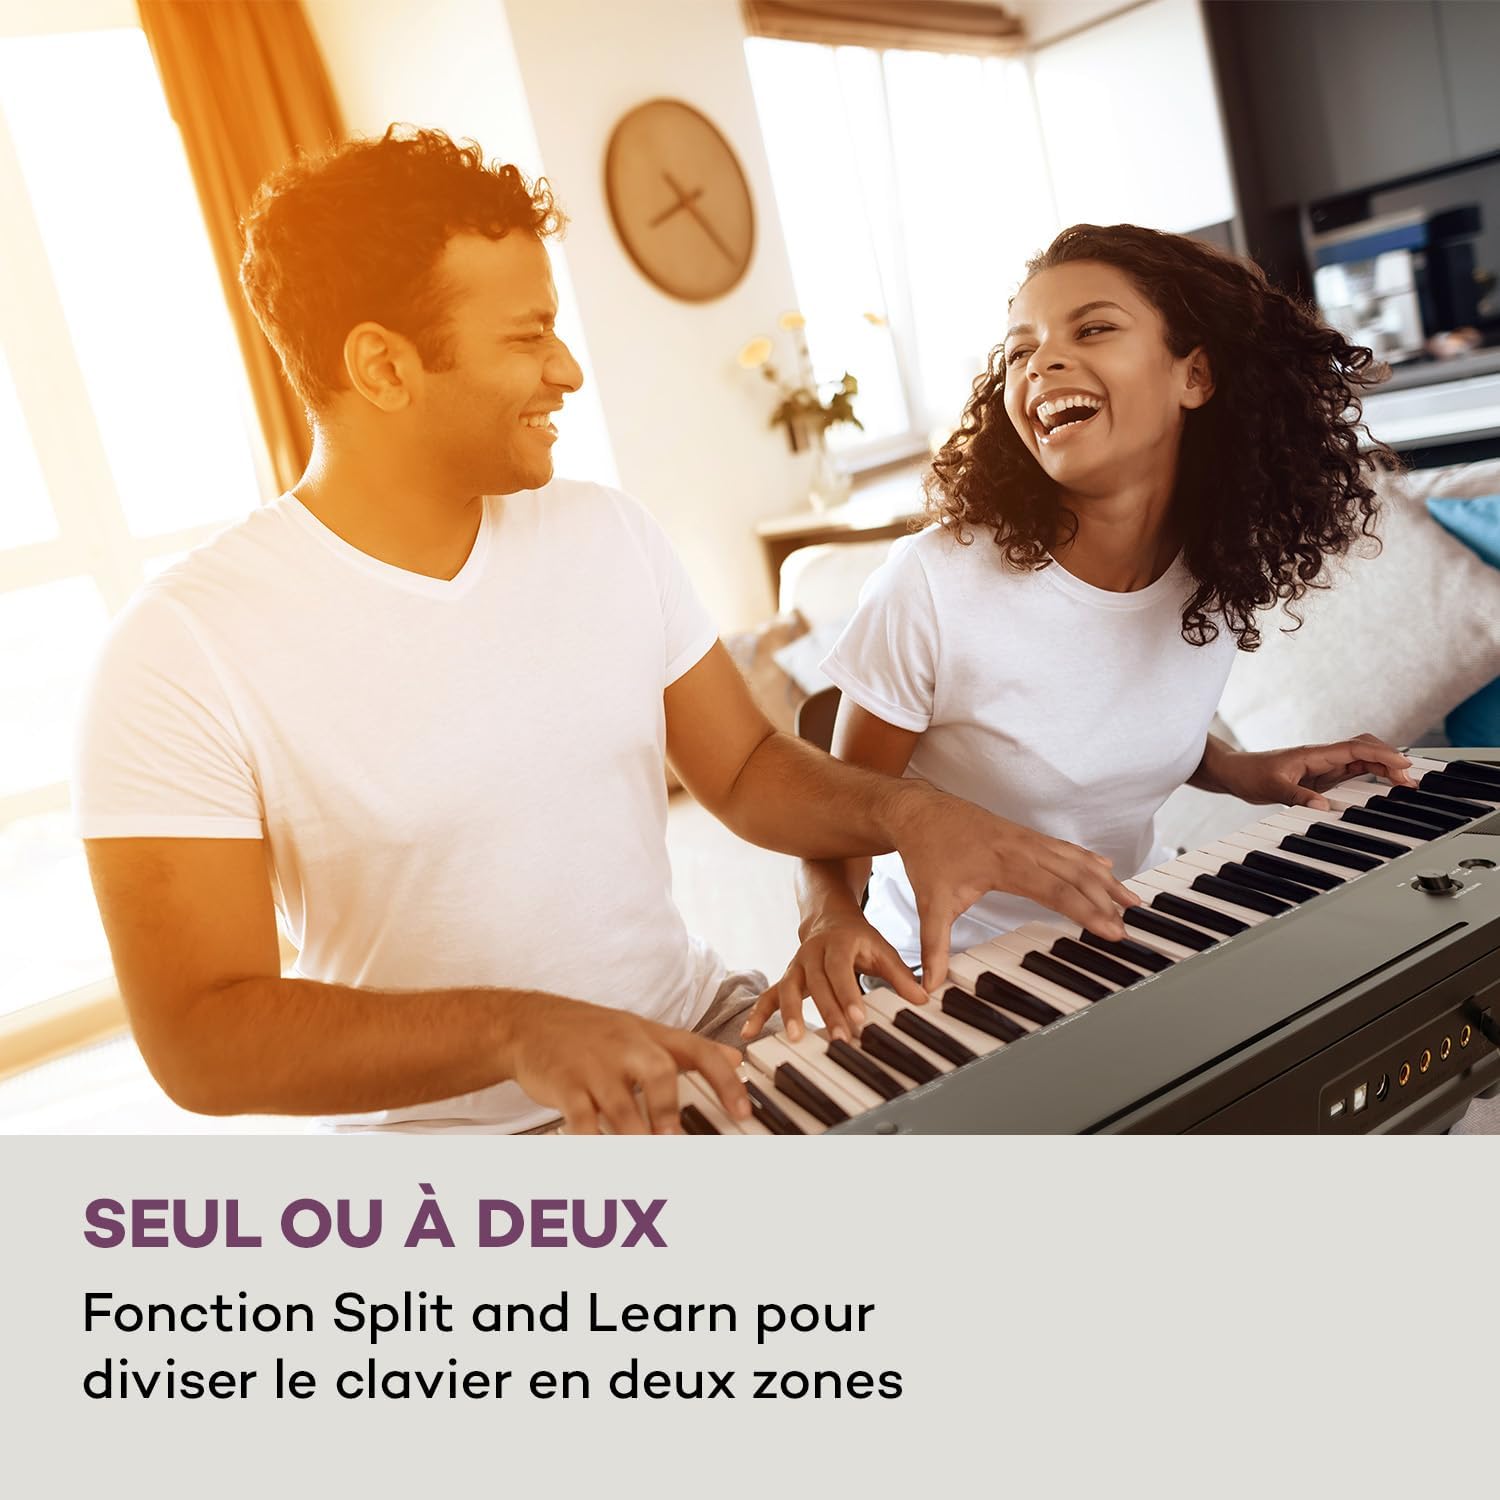
Figure 4: Split and Learn Function. This image shows two individuals playing the keyboard simultaneously, demonstrating the Split function which divides the keyboard into two playable zones.
Metronome and Tempo
Activate the metronome by pressing the METRO button. Adjust the tempo using the TEMPO knapper.
Opptak og avspilling
The keyboard features a recording function:
- Trykk på REKORD button to start recording your performance.
- Pressen SPILLE to listen to your recorded track.
USB-tilkobling
The integrated USB port allows for MP3 playback and MIDI connectivity:
- MP3-avspilling: Sett inn en USB-stasjon som inneholder MP3 files inn i USB-porten. Bruk SANG buttons to navigate and play tracks.
- USB-MIDI: Connect the keyboard to a computer using the provided USB-MIDI cable for use with educational and recording software.

Figure 5: Recording and USB Playback. The image depicts the keyboard's capability for recording performances and playing MP3 files via its integrated USB port, enhanced by its 5-watt RMS speakers.
Vedlikehold
- Rengjøring: Use a soft, dry cloth to clean the surface of the keyboard. Do not use abrasive cleaners or solvents.
- Lagring: When not in use, store the keyboard in a dry, dust-free environment. If storing for a long period, disconnect the power adapter.
- Nøkkelpleie: Avoid excessive force on the keys. Clean keys gently with a slightly damp klut om nødvendig, og tørk deretter umiddelbart.
Feilsøking
| Problem | Mulig årsak | Løsning |
|---|---|---|
| Ingen lyd | Strøm ikke tilkoblet, volumet for lavt, hodetelefoner tilkoblet. | Check power connection, increase master volume, disconnect headphones. |
| Taster svarer ikke | Function mode active, internal error. | Exit Function mode, power cycle the instrument. |
| Sustain-pedalen fungerer ikke | Pedal not fully inserted, pedal polarity issue. | Ensure pedal is firmly connected. Some pedals require the keyboard to be powered on with the pedal already pressed to set polarity. |
| Problemer med USB-avspilling | Støttes ikke file format, corrupted USB drive. | Sikre files are MP3 format. Try a different USB drive or reformat the current one. |
Spesifikasjoner
- Modellnavn: Preludio
- Antall nøkler: 88
- Nøkkel Type: Full-size, touch-sensitive (3 levels)
- Sounds (Voices): 140
- Demo sanger: 16
- Funksjoner: Sustain, Vibrato, Transposition, Octave, Split, Layer, Metronome, Record, Playback, Learning Function
- Tilkobling: 1 x 6.3 mm Audio In, 1 x 6.3 mm Audio Out, 2 x 6.3 mm Headphone Outputs, 1 x USB (Type A for MP3), 1 x USB-MIDI (Type B)
- Strømforsyning: AC adapter (220-240 V~ | 50/60 Hz)
- Dimensjoner (L x H x D): Ca. 130 x 29 x 35 cm (51.2 x 11.4 x 13.8 tommer)
- Vekt: Ca. 6.2 kg (13.7 lbs)
- Materiale: Plast

Figur 6: Produktmål. A visual representation of the keyboard's length, height, and depth measurements.
Garanti og støtte
For detailed warranty information and technical support, please refer to the warranty card included with your product or visit the official Schubert webnettstedet. Ta vare på kjøpsbeviset for eventuelle garantikrav.
Produktvideoer
Sustain Pedal Overview
Denne videoen gir et nærbilde view and demonstration of the M-Audio SP-2 sustain pedal, which is compatible with digital pianos like the Schubert Preludio. It shows how the pedal functions to extend notes, similar to an acoustic piano.
Keyboard Features Overview
This video offers a detailed close-up view of the digital piano, showcasing its keys, control panel, and various functions. It provides a visual guide to the instrument's design and user interface.