PROVISION ISR B08P4QLQNM
BESTEMMELSE ISR Webkam med lys brukermanual
Model: B08P4QLQNM
1. Introduksjon
This manual provides comprehensive instructions for the setup, operation, and maintenance of your PROVISION ISR Webcam with Light. Please read this manual thoroughly before using the device to ensure optimal performance and longevity.
The PROVISION ISR Webcam with Light is designed to offer a superior video streaming experience with its Full HD 1080p resolution, adjustable integrated lighting, and a built-in noise-reduction microphone. It is ideal for various applications including live streaming, video conferencing, online classes, and content creation.
2. Nøkkelfunksjoner
- Profesjonell Webcam with Adjustable Light: Features an innovative design with an integrated LED light offering 3 adjustable brightness levels for optimal illumination in any environment.
- Full HD 1080p-oppløsning: Delivers crystal-clear images and high color reproduction with a 1080p resolution and a 100-degree wide viewing angle for a natural, undistorted picture.
- Innebygd støydempende mikrofon: Equipped with a microphone that reduces background noise and echoes, ensuring clear audio during calls and recordings.
- Allsidig applikasjon: Suitable for live streaming, video conferences, online courses, vlogging, and gaming.
- Plug and Play installasjon: Requires no driver installation; simply connect the USB cable to your device. Compatible with most popular operating systems.
3. Pakkens innhold
Vennligst sjekk at alle varene er til stede og i god stand når du åpner pakken.
- BESTEMMELSE ISR Webkam med lys
- Integrert USB-kabel
- Brukerhåndbok (dette dokumentet)
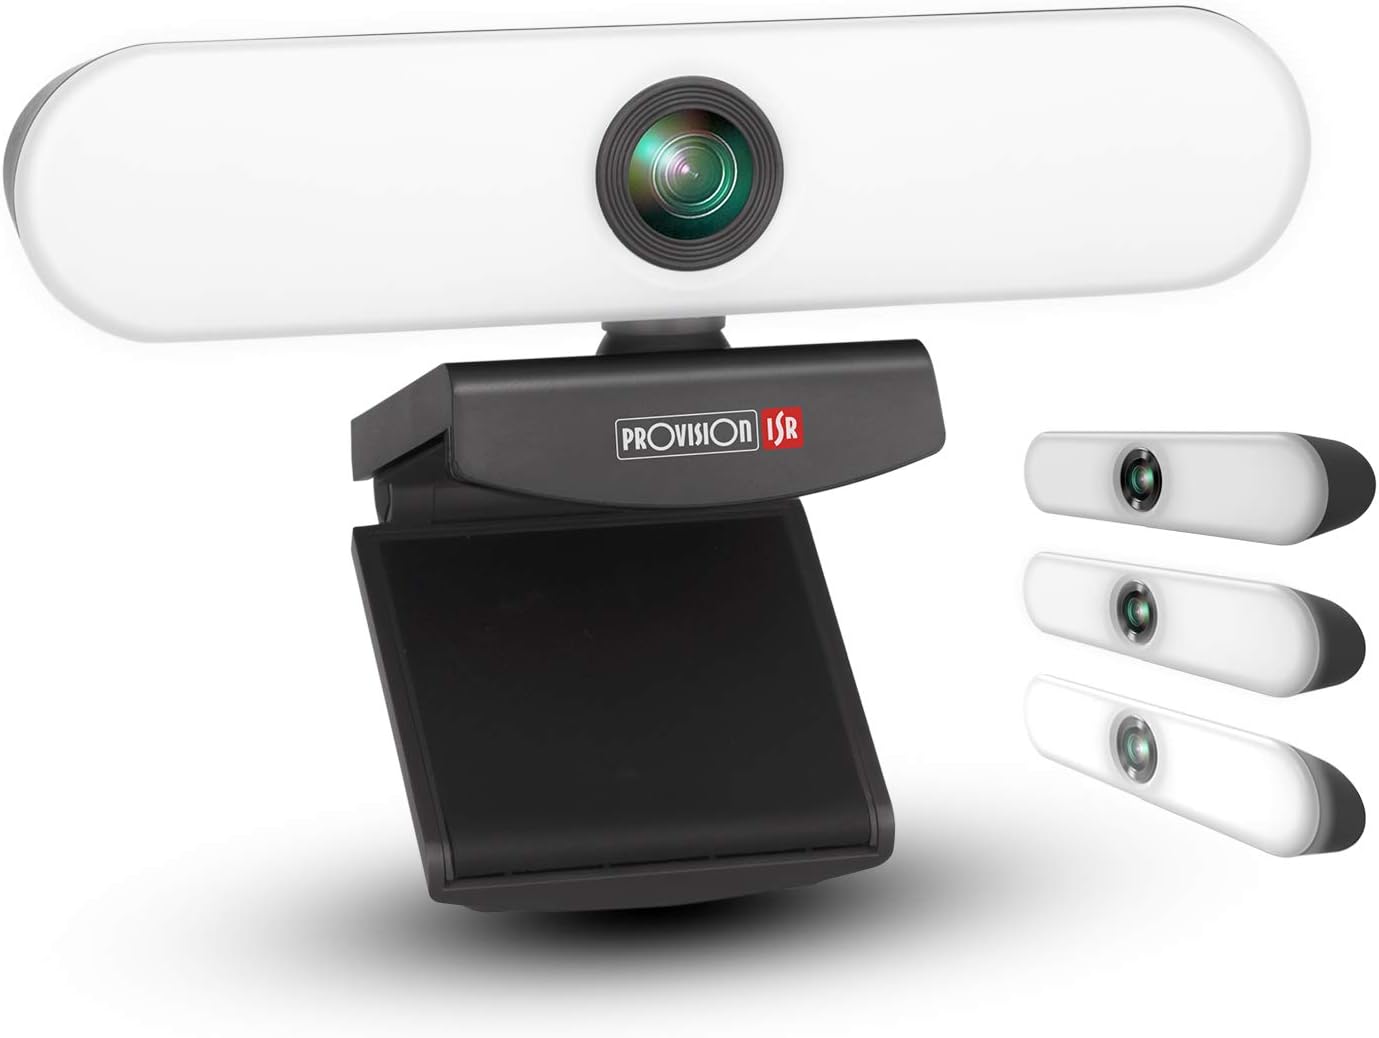
Image: The PROVISION ISR Webcam with Light, showing its integrated light bar and adjustable clip.
4. Oppsettveiledning
4.1 Koble til Webkam
- Pakke ut: Fjern forsiktig webkameraet fra emballasjen.
- Feste: Open the adjustable clip base and securely place the webcam on top of your computer monitor, laptop screen, or a flat surface. Ensure the webcam is stable and facing the desired direction.
- Koble til: Koble den integrerte USB-kabelen fra webcam inn i en ledig USB-port på datamaskinen.

Bilde: Den webcam shown with its USB cable, illustrating its plug-and-play compatibility with Windows, Mac OS, and Android devices.
4.2 Driver Installation (Plug & Play)
The PROVISION ISR Webcam is designed for plug-and-play operation. Your operating system (Windows, macOS, Linux, Android) should automatically detect and install the necessary drivers upon connection. No manual driver installation is typically required.
- Wait a few moments after connecting the USB cable for your system to recognize the device.
- You may see a notification indicating that a new device has been detected and is ready for use.
4.3 Initial Setup in Applications
Once connected, you can select the webcam and its microphone within your preferred video conferencing or streaming application (e.g., Zoom, Skype, Microsoft Teams, OBS Studio).
- Open your desired application.
- Navigate to the application's settings or preferences, usually under "Audio" or "Video" settings.
- Select "PROVISION ISR Webcam" som videoinndataenhet.
- Select "PROVISION ISR Webcam Microphone" (or similar) as your audio input device.
- Adjust video and audio settings as needed within the application.

Image: A woman on a video call, demonstrating the webcam's clear image and sound quality when used with a laptop.
5. Bruksanvisning
5.1 Adjusting the Integrated Light
De webcam features an integrated LED light with three brightness levels. To adjust the light:
- Locate the touch button on the top of the webkamera.
- Tap the button once to cycle through the brightness levels: Low, Medium, High, and Off.
- Select the level that provides optimal illumination for your environment.

Image: Illustration showing the webcam and three examples of lighting levels (Low, Medium, High) on a person's face.
5.2 Justering Viewing vinkel
De webcam's clip base allows for flexible positioning and angle adjustment.
- Gently tilt the webcam up or down to adjust the vertical viewing vinkel.
- Roter webcam left or right on its base to adjust the horizontal viewing vinkel.
- Sørg for at webcam is securely positioned after adjustment.

Image: Diagram illustrating the 90-degree wide-angle view av webcam, showing it capturing a group meeting.
6. Vedlikehold
Riktig vedlikehold sikrer levetiden og optimal ytelse til din webkamera.
- Rengjøring av linsen: Bruk en myk, lofri klut som er spesielt utviklet for optiske linser til å tørke forsiktig av webkamlinse. Unngå slipende materialer eller sterke kjemikalier.
- Rengjøring av kroppen: Tørk av kroppen til webcam with a soft, dry cloth. If necessary, a slightly damp En klut kan brukes, men sørg for at det ikke kommer fuktighet inn i enheten.
- Lagring: Når den ikke er i bruk over lengre tid, oppbevar den webkameraet på et rent og tørt sted, unna direkte sollys og ekstreme temperaturer.
- Kabelpleie: Unngå å bøye eller knekke USB-kabelen for mye. Ikke dra i kabelen for å koble fra. webcam; always grasp the plug.
7. Feilsøking
| Problem | Mulig årsak | Løsning |
|---|---|---|
| Webcam ikke oppdaget | Loose USB connection, faulty USB port, driver issue, application not recognizing device. | Ensure USB cable is fully inserted. Try a different USB port. Restart your computer. Check device manager for driver status. Select the webcam in your application settings. |
| Ingen videoutgang | Webcam not selected in application, privacy settings blocking camera, lens cap (if applicable). | Verifisere webcam selection in application settings. Check operating system privacy settings (e.g., Windows Camera Privacy). Ensure nothing is obstructing the lens. |
| Dårlig videokvalitet | Insufficient lighting, dirty lens, low bandwidth, application settings. | Adjust the integrated light to a higher brightness level. Clean the webcam lens. Ensure stable internet connection. Check application video resolution settings. |
| Microphone not working or poor audio | Microphone not selected, privacy settings, background noise. | Velg webcam's microphone in your application's audio settings. Check operating system microphone privacy settings. Reduce ambient noise. |
| Integrated light not working | Not turned on, faulty unit. | Tap the touch button on top of the webcam to cycle through brightness levels. If still not working, contact customer support. |
8. Spesifikasjoner
| Trekk | Detalj |
|---|---|
| Modellnummer | B08P4QLQNM |
| Videoopptaksoppløsning | 1080p full HD |
| Fotosensorteknologi | CMOS |
| Tilkoblingsteknologi | USB |
| Spesialfunksjon | Integrated Adjustable Light (3 Levels), Low Light Performance |
| Mikrofon | Built-in Noise-Reduction Microphone |
| Viewing vinkel | 100-degree (approx.) |
| Dimensjoner (ca.) | 15.9 x 7.1 x 6.3 cm |
| Vekt (ca.) | 237 g |
| Kompatibilitet | Windows, macOS, Android (Plug & Play) |
9. Garanti og støtte
PROVISION ISR products are manufactured to high quality standards. For specific warranty information, please refer to the warranty card included with your purchase or visit the official PROVISION ISR webnettstedet. Ta vare på kjøpskvitteringen som kjøpsbevis.
For technical support, troubleshooting assistance beyond this manual, or warranty claims, please contact PROVISION ISR customer service through their official channels. Contact information can typically be found on the product packaging or the brand's official webnettstedet.
Merk: Garantivilkår og tilgjengelighet av støtte kan variere fra region til region.