1. Introduksjon
Thank you for choosing the THOMSON Coffee Maker with Integrated Grinder, Model THCOG6. This appliance is designed to provide you with a rich and authentic coffee experience, whether you prefer freshly ground beans or pre-ground coffee. Its compact design and user-friendly features make it an ideal addition to any kitchen. Please read this manual carefully before using the appliance to ensure safe and optimal operation.
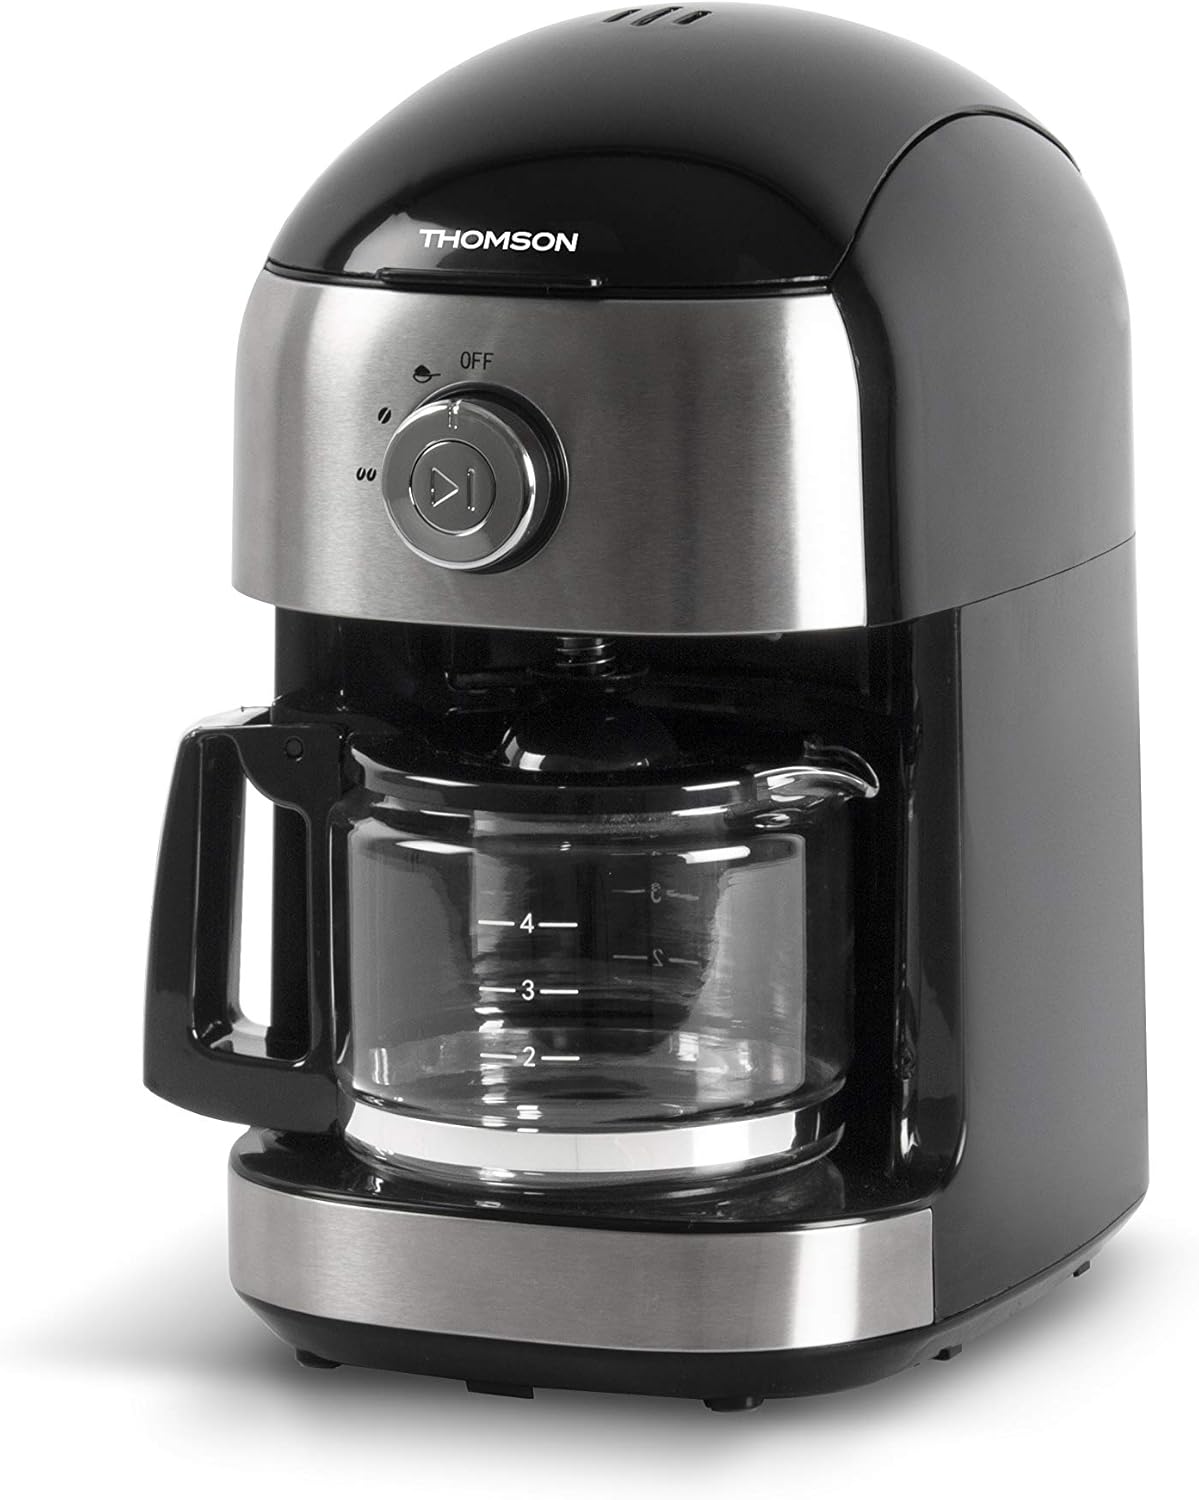
Bilde 1.1: Foran view of the THOMSON Coffee Maker, showcasing its sleek black and stainless steel design with the glass carafe in place.
2. Sikkerhetsinstruksjoner
To prevent personal injury or damage to the appliance, always observe basic safety precautions when using electrical appliances. Keep this manual for future reference.
- Les alle instruksjonene før bruk.
- Ikke senk apparatet, ledningen eller pluggen i vann eller andre væsker.
- Nøye tilsyn er nødvendig når et apparat brukes av eller i nærheten av barn.
- Koble fra stikkontakten når den ikke er i bruk og før rengjøring. La det avkjøles før du setter på eller tar av deler, og før du rengjør apparatet.
- Ikke bruk noe apparat med en skadet ledning eller støpsel, eller etter at apparatet ikke fungerer eller har blitt skadet på noen måte.
- Bruk av tilbehør som ikke er anbefalt av produsenten av apparatet kan føre til brann, elektrisk støt eller personskade.
- Ikke bruk utendørs.
- Ikke la ledningen henge over kanten av et bord eller benke, eller ta på varme overflater.
- Ikke plasser på eller i nærheten av en varm gass- eller elektrisk brenner, eller i en oppvarmet ovn.
- Koble alltid støpselet til apparatet først, og deretter ledningen til stikkontakten. For å koble fra, slå av en hvilken som helst kontroll og ta deretter støpselet ut av stikkontakten.
- Ikke bruk apparatet til annet enn tiltenkt bruk.
- Vær ekstremt forsiktig når du kaster varm damp.
- Karaffelen er kun beregnet på bruk med dette apparatet. Den må aldri brukes på en rekkevidde.
- Ikke plasser en varm kanne på en kald eller våt overflate.
- Ikke bruk en sprukket karaffel eller en karaffel med løst eller svekket håndtak.
- Ikke rengjør karaffel med rensemidler, stålullputer eller annet slipende materiale.
3. Deler og komponenter
Familiarize yourself with the different parts of your THOMSON Coffee Maker.
- Lokk
- Vanntank
- Bean Hopper (with lid)
- Kvernmontering
- Filterkurv (avtakbar)
- Control Dial (OFF / Grind / Brew)
- Start/stopp-knapp
- Glasskaraffel med håndtak
- Varmeplate
- Strømledning

Image 3.1: The coffee maker with its main removable components, including the water tank and filter basket, displayed separately for clarity.
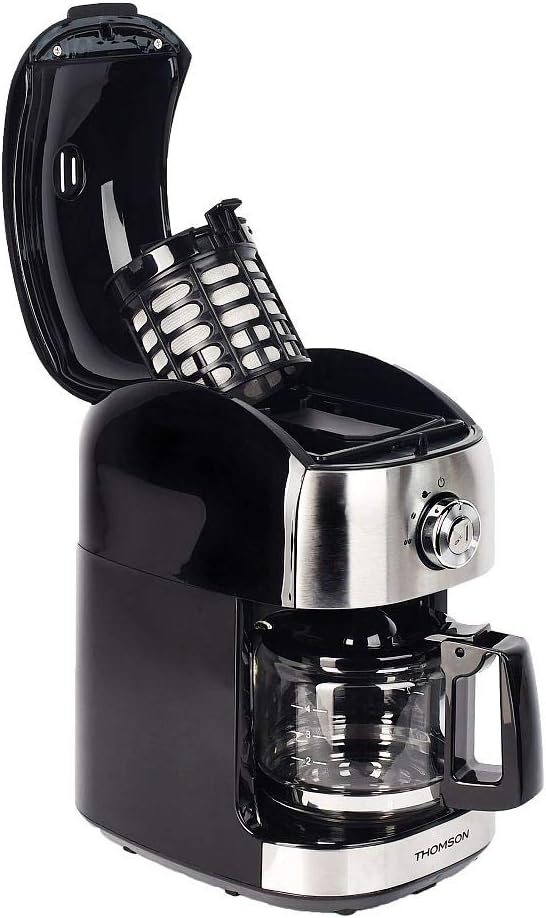
Bilde 3.2: Topp view of the coffee maker with the lid open, showing the internal filter basket and bean hopper area.
4. Oppsett
Before first use, and for optimal performance, follow these setup steps:
- Utpakking: Carefully remove the coffee maker and all its components from the packaging. Retain packaging for future storage or transport.
- Rengjøring: Wash the glass carafe, filter basket, and water tank with warm, soapy water. Rinse thoroughly and dry. Wipe the exterior of the appliance with a damp klut.
- Førstegangsbruk (rengjøringssyklus):
- Fill the water tank with clean water up to the MAX level (500 ml).
- Plasser den tomme filterkurven på plass.
- Sett glasskaraffelen på varmeplaten.
- Koble apparatet til en passende stikkontakt (240 V).
- Turn the control dial to the "Brew" position.
- Press the Start/Stop button to begin the brewing cycle without coffee.
- Allow the full cycle to complete. Discard the hot water.
- Repeat this process 2-3 times to ensure the appliance is thoroughly cleaned and free of any manufacturing residues.
- Plassering: Place the coffee maker on a stable, flat, heat-resistant surface, away from the edge of the counter and out of reach of children. Ensure adequate ventilation around the unit.
5. Bruksanvisning
Your THOMSON Coffee Maker offers two brewing options: using whole coffee beans with the integrated grinder, or using pre-ground coffee.
5.1. Brewing with Whole Coffee Beans (Grind & Brew)
- Fyll vanntank: Open the lid and fill the water tank with fresh, cold water. The capacity is 500 ml, suitable for 4 to 6 cups. Do not exceed the MAX fill line.
- Tilsett kaffebønner: Open the bean hopper lid and add up to 32g of whole coffee beans. Close the bean hopper lid securely.
- Sett inn filterkurv: Ensure the filter basket is correctly placed in its compartment.
- Stedskaraffelen: Plasser den tomme glasskannen på varmeplaten.
- Select Grind & Brew: Turn the control dial to the "Grind" position. This setting activates both the grinder and the brewing function.
- Start bryggingen: Press the Start/Stop button. The grinder will activate first, grinding the beans, followed by the brewing process.
- Nyte: Once the brewing cycle is complete, the appliance will automatically switch to the keep-warm function for up to 30 minutes. Carefully remove the carafe to pour and serve.

Image 5.1: The THOMSON Coffee Maker positioned on a kitchen counter, accompanied by a freshly brewed cup of coffee, illustrating its use in a home environment.
5.2. Brewing with Pre-Ground Coffee
- Fyll vanntank: Open the lid and fill the water tank with fresh, cold water up to the desired level (max 500 ml).
- Tilsett malt kaffe: Place the desired amount of pre-ground coffee into the filter basket. Do not overfill.
- Sett inn filterkurv: Ensure the filter basket is correctly placed in its compartment.
- Stedskaraffelen: Plasser den tomme glasskannen på varmeplaten.
- Velg brygging: Turn the control dial to the "Brew" position.
- Start bryggingen: Press the Start/Stop button. The brewing process will begin immediately.
- Nyte: Once the brewing cycle is complete, the appliance will automatically switch to the keep-warm function for up to 30 minutes.
5.3. Anti-Drip System
The appliance features an anti-drip system, allowing you to temporarily remove the carafe during the brewing cycle to pour a cup of coffee. The flow of coffee will pause. Return the carafe to the warming plate within 20 seconds to prevent overflow from the filter basket.
5.4. Hold varm-funksjonen
After brewing, the warming plate will keep your coffee warm for up to 30 minutes. After 30 minutes, the appliance will automatically shut off for safety and energy saving.
6. Vedlikehold og rengjøring
Regelmessig rengjøring sikrer optimal ytelse og forlenger levetiden til kaffetrakteren. Trekk alltid ut støpselet og la det avkjøles helt før rengjøring.
- Karaffel og filterkurv: Wash the glass carafe and filter basket with warm, soapy water after each use. Rinse thoroughly and dry. These parts are not dishwasher safe.
- Ytre: Tørk av de ytre overflatene på kaffetrakteren med en myk klutamp klut. Ikke bruk slipende rengjøringsmidler eller skuresvamper, da de kan ripe opp overflaten.
- Grinder Assembly: Periodically clean the grinder assembly. Use a small brush to remove any residual coffee grounds from the bean hopper and grinder blades. Do not use water directly on the grinder.
- Avkalking: Mineralavleiringer fra vann kan bygge seg opp over tid og påvirke ytelsen. Avkalk kaffetrakteren hver 2.–3. måned, eller oftere hvis du har hardt vann.
- Prepare a descaling solution by mixing white vinegar and water in a 1:2 ratio (e.g., 1 part vinegar to 2 parts water).
- Hell løsningen i vanntanken.
- Sett den tomme karaffelen på varmeplaten.
- Kjør en bryggesyklus uten kaffe.
- After the cycle, let the solution sit in the carafe for 15 minutes.
- Discard the solution and rinse the carafe and water tank thoroughly.
- Kjør 2–3 sykluser med friskt, rent vann for å fjerne eventuell gjenværende eddik-smak.
- Lagring: When not in use, store the coffee maker in a clean, dry place.
7. Feilsøking
Hvis du støter på problemer med kaffetrakteren, kan du se følgende tabell for vanlige problemer og løsninger.
| Problem | Mulig årsak | Løsning |
|---|---|---|
| Kaffetrakteren slår seg ikke på. | Ikke koblet til; slå av strømmentage; defekt stikkontakt. | Sørg for at strømledningen er ordentlig koblet til en stikkontakt som fungerer. Sjekk husets sikringsbryter. |
| Kaffe brygges ikke. | No water in tank; carafe not correctly placed; control dial not set to "Brew" or "Grind". | Fill water tank. Ensure carafe is properly seated on the warming plate. Set control dial to the correct position and press Start/Stop. |
| Kvernen virker ikke. | No beans in hopper; bean hopper lid not closed; grinder clogged. | Add coffee beans. Ensure bean hopper lid is securely closed. Clean the grinder assembly to remove any blockages. |
| Kaffen smaker svakt eller vannaktig. | Insufficient coffee grounds/beans; too much water; appliance needs descaling; grind setting too coarse. | Increase amount of coffee. Use less water. Descale the appliance. If using beans, ensure the grinder is set to a finer grind (if adjustable, though this model has a fixed grind). |
| Kaffen renner over fra filterkurven. | Too much coffee grounds; carafe removed for too long; filter clogged. | Reduce amount of coffee. Return carafe quickly if removed. Clean filter basket thoroughly. |
| Høy støy under drift. | Normal grinding noise; foreign object in grinder; appliance needs descaling. | Grinding is naturally noisy. Check bean hopper for foreign objects. Descale the appliance if noise persists during brewing. |
Hvis problemet vedvarer etter at du har prøvd disse løsningene, kan du kontakte kundestøtte.
8. Spesifikasjoner
Key technical specifications for the THOMSON Coffee Maker (Model THCOG6):
| Trekk | Detalj |
|---|---|
| Modellnummer | THCOG6 |
| Merke | Thomson |
| Type | Filter Coffee Maker with Integrated Grinder |
| Kapasitet | 500 ml (approx. 4-6 cups) |
| Kapasitet for bønnebeholder | 32 g |
| Makt | 680 watt |
| Voltage | 240V |
| Dimensjoner (L x B x H) | 24 x 17 x 27 cm |
| Vekt | 2.1 kg |
| Materiale | Plast |
| Spesielle funksjoner | Keep Warm Function (up to 30 min), Anti-drip System, Mechanical Control |

Image 8.1: Diagram showing the dimensions of the coffee maker (24cm x 17cm x 27cm) and icons indicating its compatibility with coffee beans and ground coffee, along with the 30-minute keep-warm function.
9. Garanti og støtte
THOMSON products are manufactured to high-quality standards. This product is covered by a manufacturer's warranty against defects in materials and workmanship. The specific terms and duration of the warranty may vary by region. Please retain your proof of purchase for warranty claims.
For technical support, warranty inquiries, or spare parts, please contact your local THOMSON customer service or the retailer from whom you purchased the product. You may also visit the official THOMSON webnettstedet for mer informasjon og kontaktinformasjon.
Kundeservicekontakt: Refer to your regional THOMSON website or product packaging for specific contact information.