
Flycatcher smART Sketcher 2.0 Projector
Flycatcher smART Sketcher 2.0 Projector Instruction Manual
Model: smART Sketcher 2.0 Projector
1. Introduksjon
The Flycatcher smART Sketcher 2.0 Projector is an educational tool designed to assist users in drawing and tracing. This device projects images onto paper, allowing for easy tracing and creative development. It features pre-loaded activities and can connect to a mobile application for custom image projection.
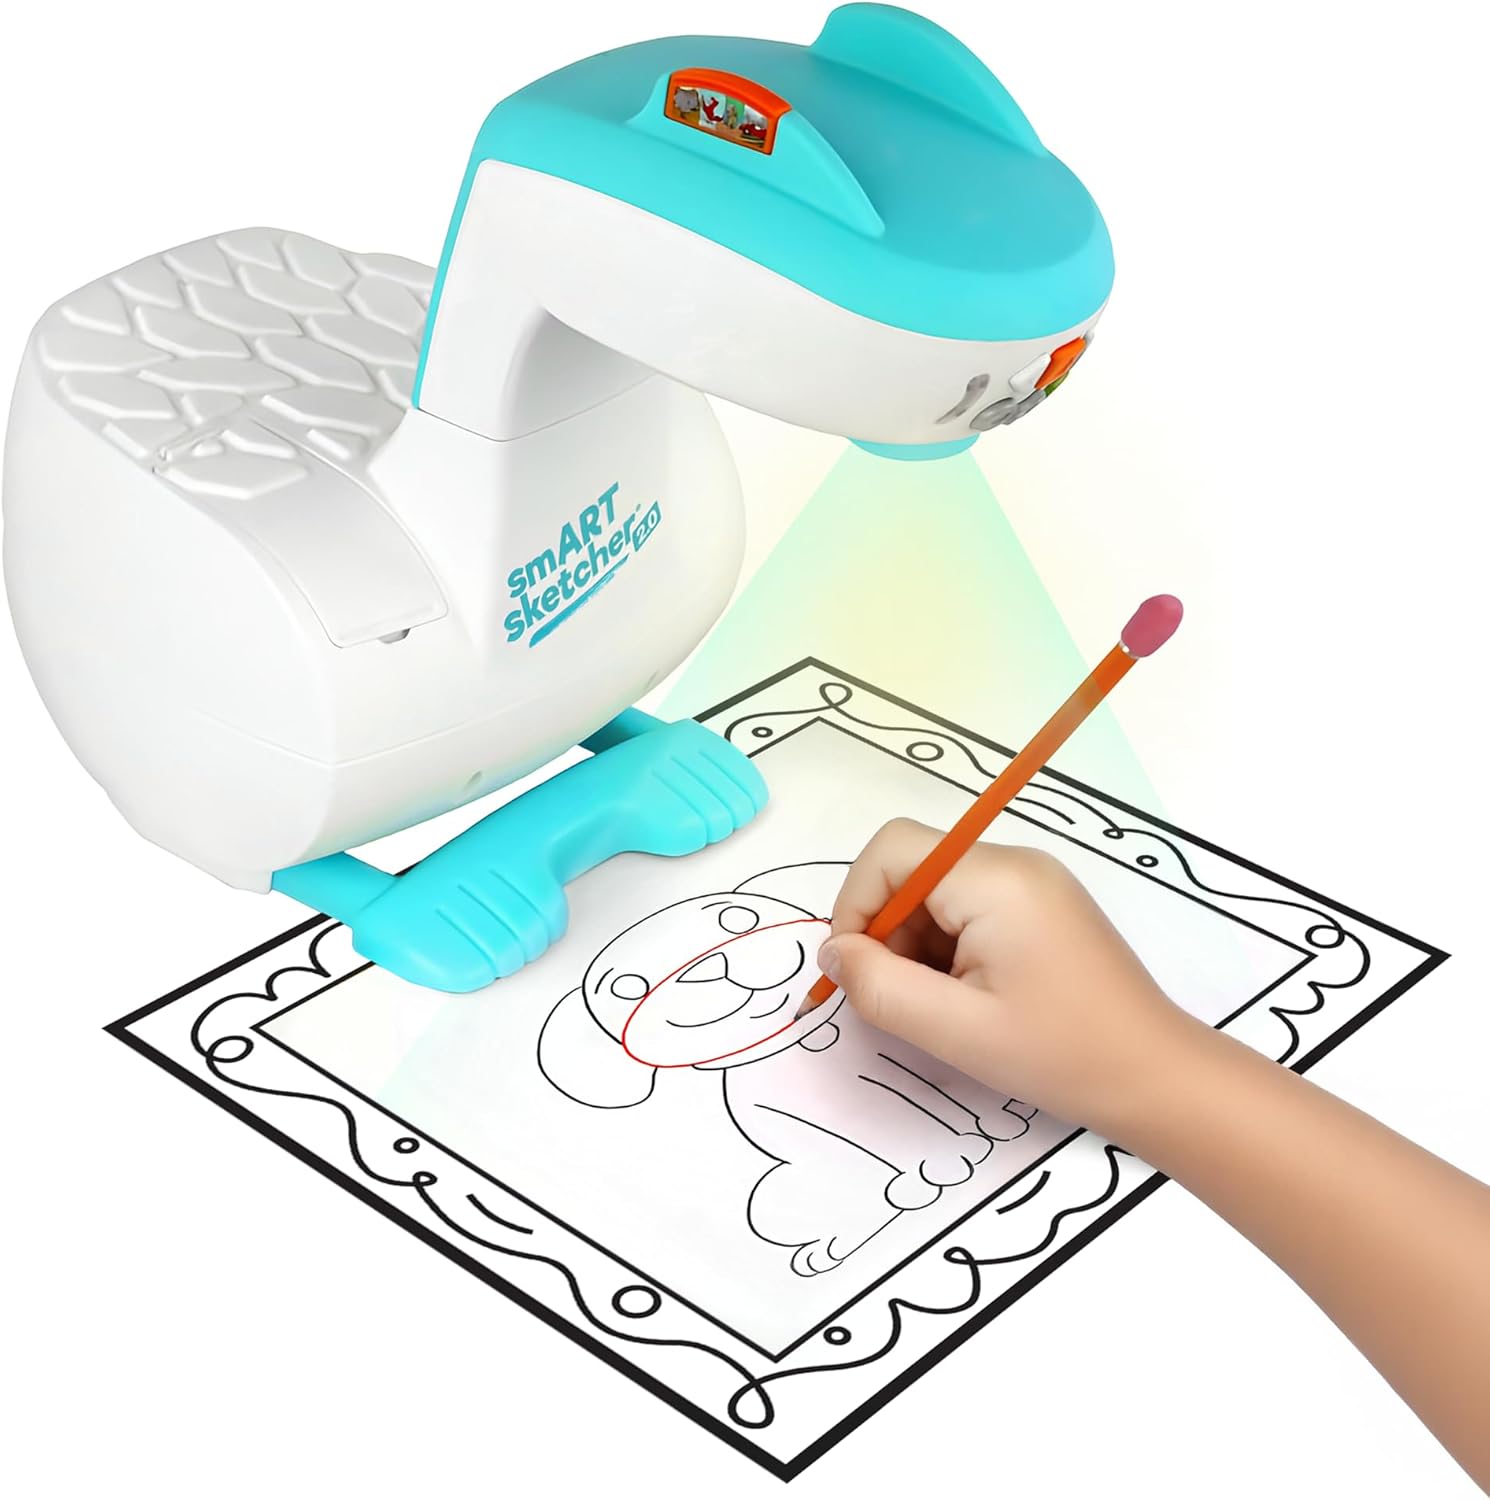
Image 1.1: The smART Sketcher 2.0 Projector in operation, demonstrating a child tracing a projected image.
2. Sikkerhetsinformasjon
ADVARSEL: KVELNINGSFARE - Små deler. Ikke for barn under 3 år.
Please ensure all small components are kept out of reach of young children to prevent choking hazards. Adult supervision is recommended during use.
3. Hva er i esken
Verify that all components are present before assembly and use:
- smART Sketcher 2.0 Projector Unit
- USB-kabel
- Activity Cartridge with 60+ pre-loaded step-by-step drawing activities
- Bruksanvisning (dette dokumentet)
Note: Drawing materials such as paper, pencils, and markers are not included.

Image 3.1: Packaging contents, including the projector, USB cable, and activity cartridge.
4. Montering
Follow these steps to assemble your smART Sketcher 2.0 Projector:
- Forbered basen: Place the main projector base unit on a stable, flat surface. Ensure the base is oriented correctly with the feet facing downwards.
- Attach the Projector Head: Take the projector head unit. Align the connector on the projector head with the corresponding slot on the main base unit.
- Fest hodet: Gently push the projector head down into the base until it clicks securely into place. Ensure it is firmly attached and does not wobble.

Image 4.1: The projector base unit, ready for head attachment.

Image 4.2: The detachable projector head unit.

Image 4.3: Projector head securely attached to the base.
5. Strømforsyning
The smART Sketcher 2.0 Projector can be powered via the included USB cable. Connect the USB cable to the projector and to a compatible USB power source (e.g., a wall adapter, computer USB port, or power bank). The projector can also operate on batteries (not included) for portable use, though battery life may vary.
6. Grunnleggende betjening
Once assembled and powered, the projector is ready for use.
- Slå på/av: Locate the power button on the projector head. Press it to turn the device on or off.
- Navigasjonsknapper: Use the arrow buttons (left, right, up, down) to navigate through the pre-loaded activities or app content. The 'Select' button (often a central button) confirms your choice.
- Fokusjustering: If the projected image appears blurry, gently rotate the lens on the projector head to adjust the focus until the image is clear.

Image 6.1: The projector's control panel and projection area.
7. Using Pre-loaded Activities
The smART Sketcher 2.0 comes with an activity cartridge containing over 60 step-by-step drawing activities.
- Sett inn patron: Locate the cartridge slot on the projector. Gently insert the activity cartridge until it clicks into place.
- Select Activity: Use the navigation buttons to browse through the available activities. Each activity provides step-by-step instructions for drawing.
- Start Drawing: Place a piece of paper under the projector lens. The selected image will be projected onto the paper. Follow the projected lines to trace and draw.

Image 7.1: The activity cartridge displaying a selection of pre-loaded drawing options.
8. App-tilkobling
Enhance your drawing experience by connecting the projector to the smART Sketcher 2.0 app on your smartphone or tablet.
- Last ned appen: Download the free smART Sketcher 2.0 app from the App Store (for iOS devices) or Google Play Store (for Android devices).
- Aktiver Bluetooth: Sørg for at Bluetooth er aktivert på mobilenheten din.
- Connect to Projector: Open the smART Sketcher 2.0 app. The app will search for nearby projectors. Select your projector from the list to establish a Bluetooth connection.
- Project Custom Images: Within the app, you can take photos or select images from your device's gallery. The app will process the image, allowing you to project it onto your paper for tracing.

Image 8.1: Demonstrating Bluetooth connectivity between a smartphone and the projector for custom image projection.
9. Projection Adjustment
For optimal tracing, ensure the projected image is clear and appropriately sized.
- Fokus: Use the focus ring on the projector lens to sharpen the image.
- Størrelse: Adjust the distance between the projector and the paper to change the size of the projected image. Moving the projector closer will make the image smaller, and moving it further away will make it larger.
- Belysning: For best visibility, use the projector in a dimly lit room.
10. Vedlikehold
Proper care will extend the life of your smART Sketcher 2.0 Projector.
- Rengjøring: Wipe the exterior of the projector with a soft, dry cloth. Do not use abrasive cleaners or solvents.
- Linsepleie: If the projector lens becomes dusty, gently clean it with a lens cleaning cloth. Avoid touching the lens directly with your fingers.
- Lagring: Store the projector in a cool, dry place away from direct sunlight and extreme temperatures.
11. Feilsøking
| Problem | Mulig årsak | Løsning |
|---|---|---|
| Projektoren slår seg ikke på. | Ingen strømforsyning eller lave batterier. | Ensure USB cable is securely connected to a power source, or replace batteries. |
| Det projiserte bildet er uskarpt. | Lens is out of focus. | Rotate the focus ring on the projector lens until the image is clear. |
| Kan ikke koble til appen via Bluetooth. | Bluetooth is off on mobile device or app issue. | Ensure Bluetooth is enabled on your device. Restart the app and the projector. Check app permissions. |
| Image is too small/large or off the paper. | Incorrect distance from paper. | Adjust the projector's distance from the paper to achieve the desired image size and position. |
12. Spesifikasjoner
- Merke: Fluesnapper
- Modellnavn: smART sketcher 2.0
- Varemodellnummer: smART Sketcher 2.0 Projector
- Dimensjoner (L x B x H): 8 x 9.25 x 11 tommer
- Varevekt: 2.7 pund (omtrent 1.22 kg)
- Materiale: Plast
- Spesialfunksjon: Bluetooth-tilkobling
- Inkluderte komponenter: Projector, USB Cable, Activity Cartridge
- UPC: 810099030082
13. Garanti og støtte
For warranty information and customer support, please refer to the official Flycatcher webnettstedet eller kontakt kundeservicen deres direkte. Ta vare på kjøpskvitteringen som kjøpsbevis for eventuelle garantikrav.
For ytterligere hjelp, besøk Flycatcher Store on Amazon.
Ask a question about this manual
Ask about setup, troubleshooting, compatibility, parts, safety, or missing instructions. Manuals+ will review the question and use this page’s manual context to help answer it.