Introduksjon
The RESET-008 Combination Locking Bolt provides a secure, keyless solution for various applications. This manual outlines the proper installation, operation, and maintenance procedures to ensure optimal performance and security.
Produkt overview og komponenter
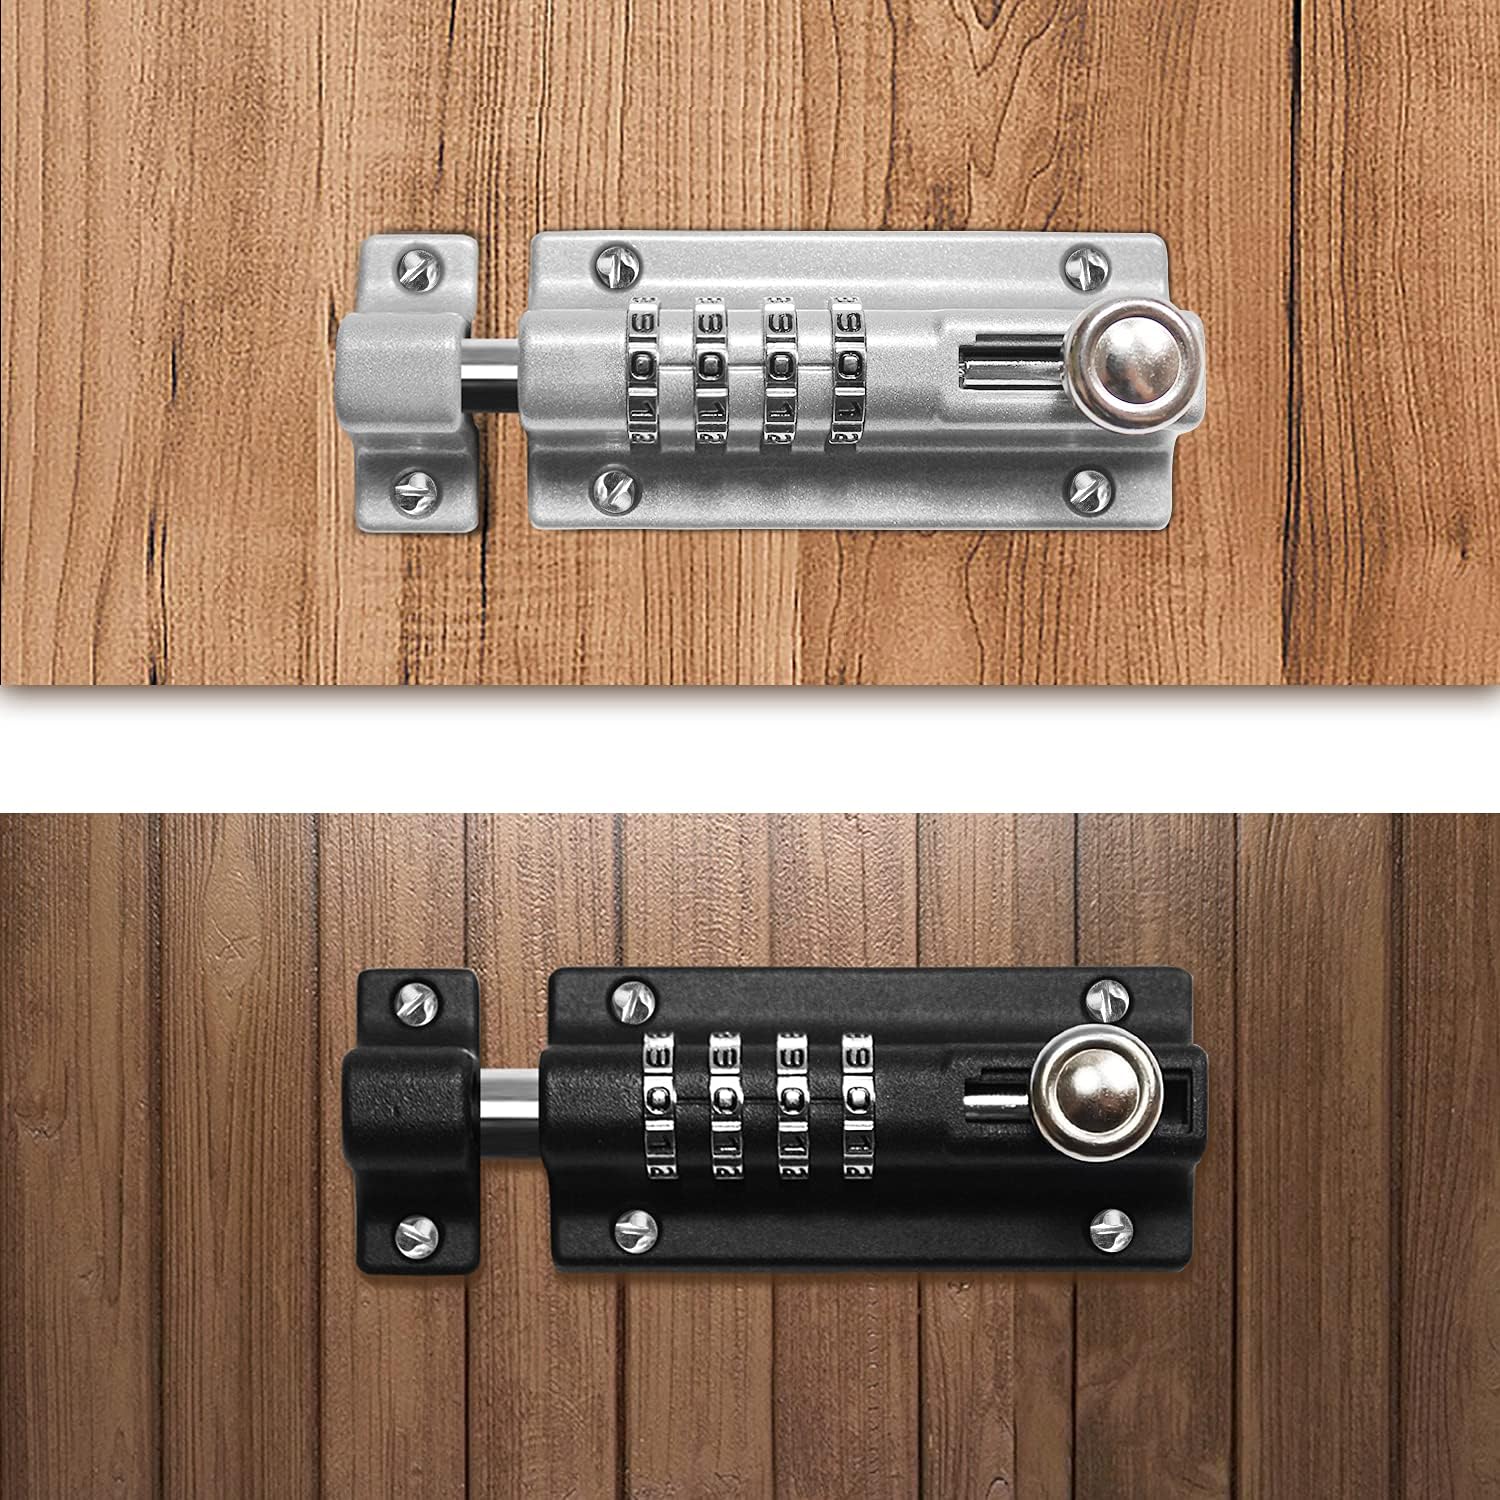
The RESET-008 Combination Locking Bolt is constructed from solid metal with a rust-resistant coating, designed for durability and long-lasting use. It features a 4-digit combination mechanism, offering 10,000 possible combinations for enhanced security.
Inkluderte komponenter:
- 1x Combination locking bolt
- 6 x Screws (one-way security screws)

The lock consists of a durable polyester coated zinc alloy body and a chrome-plated bolt. The design ensures robust security for your property.

Spesifikasjoner
| Trekk | Detalj |
|---|---|
| Merke | TILBAKESTILL |
| Modellnavn | RST-008 |
| Lås type | Combination Lock, Deadbolt |
| Materiale | Metall |
| Farge | Svart |
| Varedimensjoner (L x B x H) | 4.79 x 1.89 x 0.2 tommer |
| Varevekt | 11.3 unser |
| Spesielle funksjoner | Passcode Unlock, Weather Resistant, Cannot be removed normally after installation |
Installasjon
The RESET-008 Combination Locking Bolt is designed for straightforward installation. The included one-way screws ensure that the lock cannot be easily removed once installed, providing enhanced security. Two installation methods are supported: flush mounting and groove mounting.
Installasjonstrinn:
- Klargjør overflaten: Choose a suitable location on your door, gate, or cabinet. Ensure the surface is clean and flat.
- Plasser låsen: Place the main body of the lock and the receiver in the desired positions. Mark the screw holes accurately.
- Bor pilothull: Drill small pilot holes at the marked locations. This prevents wood splitting and ensures a secure fit.
- Sikre låsen: Attach the main lock body and the receiver using the provided one-way security screws. Ensure the lock is aligned correctly and operates smoothly before fully tightening the screws. Note: One-way screws are designed for permanent installation and cannot be easily removed. Ensure the lock is in the correct position before driving them in.


Operating Instructions: Setting the Combination
The lock is factory set to open on 0-0-0-0. You can change this combination at any time without special tools. The combination can only be set or changed when the knob is placed in the end square recess on the slide rail, not in normal open/close sliding mode.
Steps to Set Your Own Combination:
- Åpne låsen: Ensure the lock is currently set to the correct combination (factory default is 0-0-0-0). Slide the bolt knob to the open end of the slide rail.
- Aktiver tilbakestillingsmodus: Pull the spring-loaded knob out and move it over the two small metal tabs in the slide rail until it locks fully home into the end square recess.
- Angi ny kombinasjon: With the knob in the end square recess, rotate the digits to your desired new 4-digit combination. Record this new code immediately to avoid forgetting it.
- Deaktiver tilbakestillingsmodus: Lift the spring-loaded knob and slide it back over the two small metal tabs, allowing it to sit back into the normal open/close slide position.
- Test ny kombinasjon: Scramble the dials and then enter your new combination to verify it opens the lock.


Video Guide: How to Reset the Combination
Vedlikehold
To ensure the longevity and smooth operation of your RESET-008 Combination Locking Bolt, follow these maintenance guidelines:
- Regelmessig rengjøring: Wipe the lock surface with a soft, damp cloth to remove dust and grime. Avoid abrasive cleaners that could damage the finish.
- Smøring: Periodically apply a small amount of silicone-based lubricant to the sliding bolt mechanism and the combination dials to ensure smooth movement. Do not use oil-based lubricants as they can attract dirt.
- Værbeskyttelse: While the lock is weather-resistant, extreme conditions can affect its performance over time. Consider adding a protective cover if the lock is exposed to harsh elements.
- Sjekk festemidler: Periodically check the mounting screws to ensure they are secure.


Feilsøking
| Problem | Mulig årsak | Løsning |
|---|---|---|
| Combination does not open the lock. | Incorrect combination entered; combination was reset incorrectly. | Double-check the entered combination. Ensure all digits are aligned. If recently reset, verify the new code was correctly set and recorded. The lock can only be reset when the correct 4-digit code has been used to open it. |
| Bolten er stiv eller vanskelig å skyve. | Accumulation of dirt or lack of lubrication; misalignment during installation. | Clean the sliding mechanism and apply a silicone-based lubricant. Check for any obstructions. If the issue persists, verify the installation alignment. |
| Combination dials are hard to turn. | Dirt or debris in the dial mechanism. | Clean the dials thoroughly. Apply a small amount of silicone lubricant if necessary. |
Sikkerhetsinformasjon
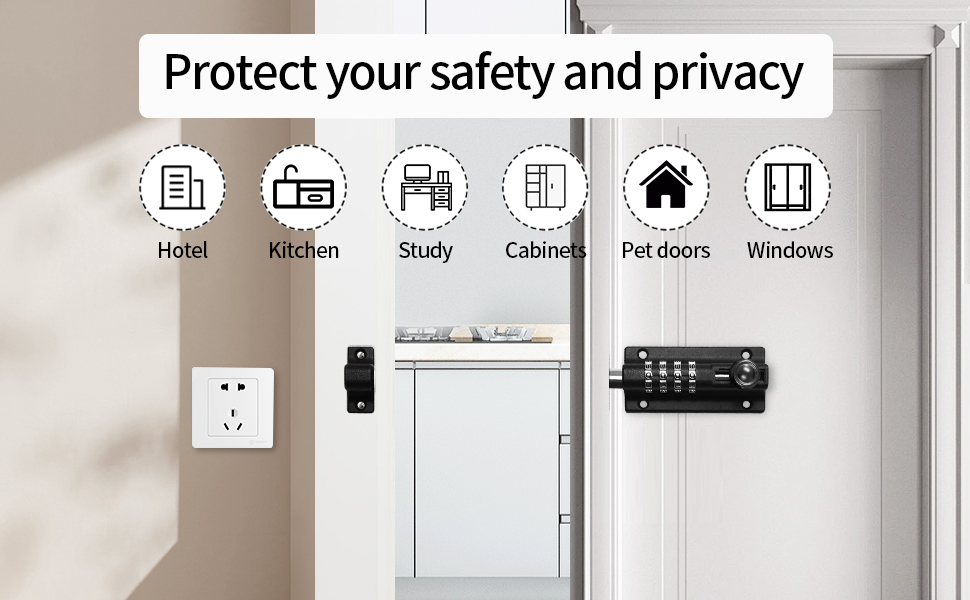
The RESET-008 Combination Locking Bolt is designed for maximum security and childproofing. Its robust construction and permanent installation method contribute to a safe environment.
- Once installed, the lock cannot be removed normally, ensuring the safety of your property.
- This latch lock is superior to hasp and padlock designs with exposed shackles, reducing vulnerability.
- Ideal for securing gates, sheds, barns, fences, iron gates, wooden gates, and cupboards to prevent unauthorized access or to childproof areas.