1. Introduksjon
Thank you for choosing the InFocus P120 INL412 Multimedia Projector. This manual provides essential information for the safe and efficient operation of your projector. Please read it thoroughly before using the device and retain it for future reference. The InFocus P120 INL412 is designed for versatile multimedia presentations, offering clear and vibrant images for various applications.
2. Sikkerhetsinformasjon
To ensure safe operation and prevent damage to the projector, please observe the following safety precautions:
- Ikke blokker ventilasjonsåpningene. Sørg for tilstrekkelig plass rundt projektoren for riktig luftstrøm for å forhindre overoppheting.
- Unngå å se direkte inn i projektorlinsen når lamp er på, da det sterke lyset kan forårsake øyeskader.
- Do not place the projector on an unstable cart, stand, or table. The projector may fall, causing serious injury to a child or adult, and serious damage to the unit.
- Koble strømledningen fra stikkontakten hvis projektoren ikke skal brukes over lengre tid.
- Overlat all service til kvalifisert servicepersonell. Ikke forsøk å åpne eller reparere projektoren selv.
- Keep the projector away from water or moisture. Do not expose it to rain or immerse it in liquid.
- Use only the power cord supplied with the projector or an authorized replacement.
3. Pakkens innhold
Verify that all items listed below are included in your projector package:
- InFocus P120 INL412 Multimedia Projector
- Strømledning
- Fjernkontroll med batterier
- VGA-kabel
- Brukerhåndbok (dette dokumentet)
- Hurtigstartguide
4. Produktet er overview
Familiarize yourself with the main components of your InFocus P120 INL412 projector.
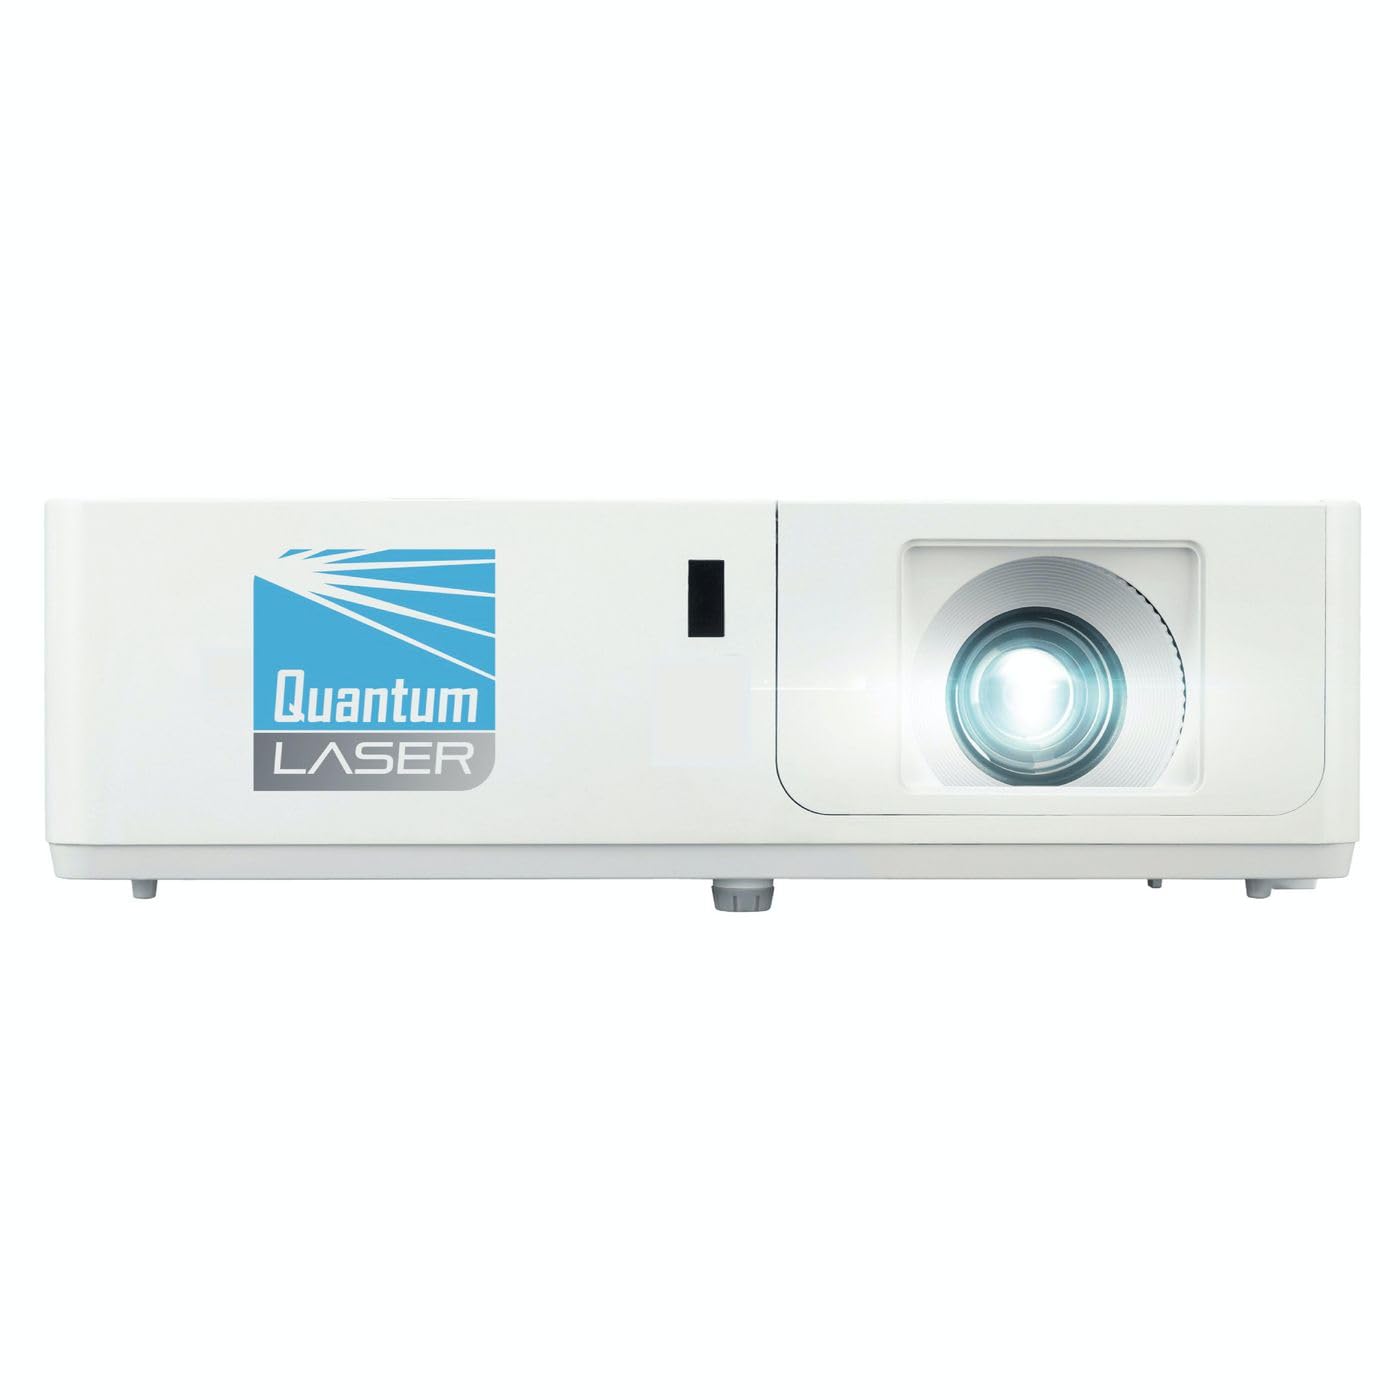
Bilde 1: Foran view of the InFocus P120 INL412 Multimedia Projector, showing the lens and ventilation grilles.
4.1 Frontpanel
- Projeksjonsobjektiv: Sender bildet ut på skjermen.
- Fokusring: Justerer klarheten til det projiserte bildet.
- Zoomring: Justerer størrelsen på det projiserte bildet.
- IR-mottaker: Mottar signaler fra fjernkontrollen.
4.2 Topppanel
- Kontrollpanel: Buttons for power, menu navigation, source selection, and keystone correction.
- Indikatorlamper: Display the projector's status (e.g., power, lamp, temperature).
4.3 Rear Panel (Connectivity)
- HDMI -inngang: Connects to HDMI-enabled devices (laptops, Blu-ray players).
- VGA-inngang: Connects to computers with VGA output.
- USB-port: For service or connecting USB devices (if supported by model).
- Lyd inn/ut: For tilkobling av eksterne lydkilder eller høyttalere.
- Strøminntak: Kobler til strømledningen.
5. Oppsett
Følg disse trinnene for det første oppsettet av projektoren:
- Plassering: Place the projector on a stable, flat surface or mount it securely. Ensure the projector is positioned at an appropriate distance from the screen to achieve the desired image size.
- Strømtilkobling: Koble strømledningen til projektorens strøminntak og deretter til en jordet stikkontakt.
- Koble til kildeenhet: Connect your source device (e.g., laptop, DVD player) to the projector using an appropriate cable (HDMI, VGA, etc.). Ensure the cable is securely connected to both the source and the projector.
- Strøm på: Press the power button on the projector's control panel or the remote control to turn on the projector. The power indicator light will illuminate.
- Adjust Focus and Zoom: Once an image is projected, rotate the focus ring on the lens until the image is sharp and clear. Use the zoom ring to adjust the image size to fit your screen.
- Keystone-korreksjon: If the image appears trapezoidal, use the keystone correction function (either via buttons on the projector/remote or through the on-screen menu) to square the image.
6. Bruksanvisning
6.1 Strøm på/av
- For å slå på: Press the power button once. The projector will go through a warm-up sequence.
- Slik slår du av: Press the power button twice. The first press will prompt a shutdown confirmation; the second press will initiate shutdown. Allow the projector to cool down completely before unplugging.
6.2 Kildevalg
Press the 'Source' button on the projector or remote control to cycle through available input sources (HDMI, VGA, etc.) until your desired source is displayed.
6.3 Menynavigasjon
Press the 'Menu' button to access the on-screen display (OSD) menu. Use the arrow buttons to navigate through options and 'Enter' or 'OK' to select. Use the 'Exit' or 'Menu' button to close the OSD.
- Bildeinnstillinger: Adjust brightness, contrast, color, aspect ratio, and picture mode.
- Skjerminnstillinger: Configure keystone, projection mode (front/rear, desktop/ceiling), and resolution.
- Lydinnstillinger: Kontrollvolum og alternativer for lydutgang.
- Systeminnstillinger: Manage language, timer, power-saving modes, and factory reset.
7. Vedlikehold
Regelmessig vedlikehold sikrer optimal ytelse og forlenger projektorens levetid.
- Rengjøring av linse: Tørk forsiktig av projektorlinsen med en myk, lofri klut som er spesielt utviklet for optiske overflater. Ikke bruk slipende rengjøringsmidler eller overdreven kraft.
- Skap rengjøring: Use a soft, dry cloth to clean the projector's exterior. For stubborn marks, dampen the cloth slightly with water. Avoid using harsh chemicals.
- Rengjøring/utskifting av luftfilter: Check the air filter periodically. If your model has a removable filter, clean it with a soft brush or vacuum cleaner. Replace the filter as recommended in the on-screen menu or when visibly dirty to maintain proper ventilation.
- Lamp Erstatning: Projektoren lamp har en begrenset levetid. Når lamp life indicator appears, or the image brightness significantly decreases, replace the lamp according to the instructions provided in the full service manual or by a qualified technician. Always allow the projector to cool down completely before attempting lamp erstatning.
8. Feilsøking
Se tabellen nedenfor for vanlige problemer og løsningene på dem:
| Problem | Mulig årsak | Løsning |
|---|---|---|
| Ingen bilder vises | Power cord disconnected, incorrect input source, source device off. | Check power connections. Select correct input source. Ensure source device is powered on. |
| Bildet er uklart | Lens out of focus, incorrect projection distance. | Adjust the focus ring on the lens. Reposition the projector closer or further from the screen. |
| Bildet er trapesformet | Projektoren er ikke vinkelrett på lerretet. | Use keystone correction (manual or automatic) to square the image. |
| Projektoren overopphetes og slår seg av | Blokkert ventilasjon, skittent luftfilter. | Ensure clear space around vents. Clean or replace the air filter. |
| Fjernkontrollen virker ikke | Dead batteries, obstruction between remote and projector, incorrect angle. | Replace batteries. Ensure clear line of sight to IR receiver. Point remote directly at the projector. |
9. Spesifikasjoner
Key technical specifications for the InFocus P120 INL412 Multimedia Projector:
| Trekk | Spesifikasjon |
|---|---|
| Modellnummer | P120 INL412 (Item model number: 7296144) |
| Visningstype | DLP |
| Innfødt oppløsning | 1280 x 800 |
| Maksimal skjermoppløsning | 1280 x 800 |
| Tilkoblingsteknologi | USB (and other standard inputs like HDMI, VGA) |
| Produktdimensjoner | 5.25 x 0.31 x 1.66 tommer |
| Varevekt | 6.6 pund |
| Produsent | I fokus |
10. Garanti og støtte
The InFocus P120 INL412 Multimedia Projector comes with a standard manufacturer's warranty. Please refer to the warranty card included in your package for specific terms and conditions, including warranty duration and coverage details. For technical support, service, or further inquiries, please visit the official InFocus support webnettstedet eller kontakt deres kundeserviceavdeling.
For den mest oppdaterte støtteinformasjonen, vennligst besøk: www.infocus.com/support