1. Introduksjon
Thank you for choosing the Speaka Professional SP-TMS-200 Monitor Stand. This manual provides essential information for the safe and efficient installation, operation, and maintenance of your monitor stand. Please read these instructions carefully before assembly and retain them for future reference.
Sikkerhetsinformasjon
- Sørg for at alle komponenter er til stede og uskadet før montering.
- Ikke overskrid den maksimale vektkapasiteten eller skjermstørrelsen som er spesifisert for dette stativet.
- Always use appropriate tools and follow assembly steps precisely.
- Hold barn og kjæledyr unna under montering.
- Hvis du støter på noen vanskeligheter, bør du kontakte en kvalifisert fagperson.
2. Produktfunksjoner
The Speaka Professional SP-TMS-200 Monitor Stand offers enhanced ergonomics and organization for your workspace. Key features include:
- 10 Height Adjustments: Achieve optimal viewing height for improved comfort.
- 360° Rotatable VESA Plate: Allows for flexible screen orientation (landscape or portrait).
- Verktøyfri justering: Easily modify settings without additional tools.
- Anti-Slip Silicone Pads: Provides enhanced stability and protects your desk surface.
- Kabelklips: Organizes cables for a tidy and professional appearance.
3. Pakkens innhold
Please verify that all parts are included in your package. Refer to the product packaging for a detailed list of components and hardware.

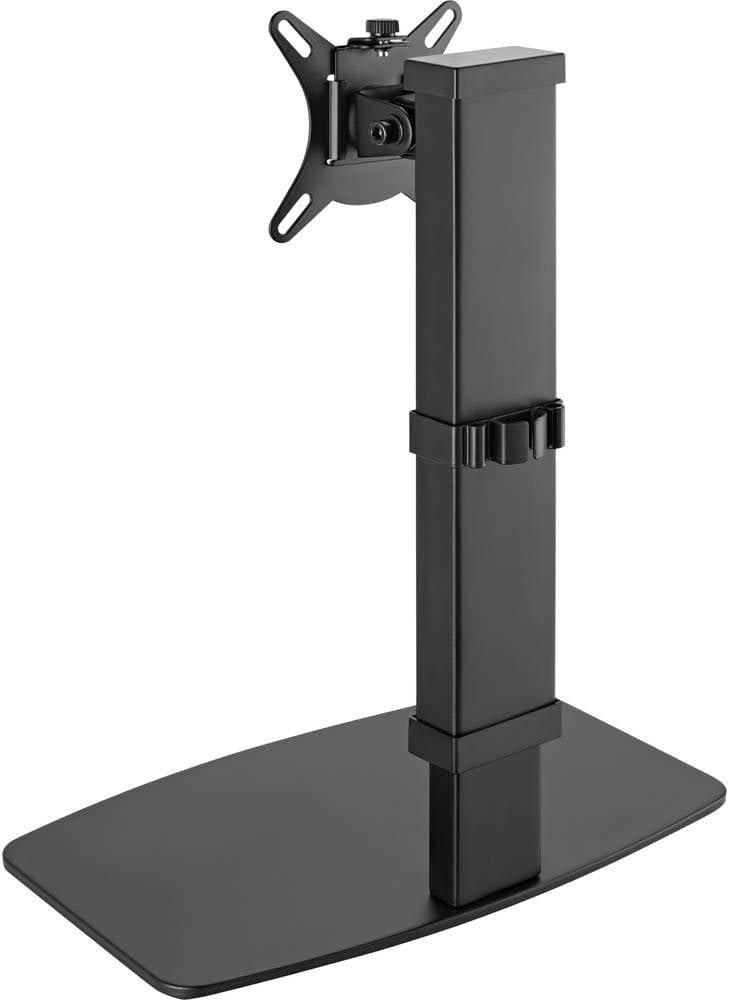
Bilde 1: Foran view of the Speaka Professional SP-TMS-200 Monitor Stand, showing the base, adjustable pole, and VESA mounting plate.
4. Installasjonsinstruksjoner
Follow these general steps to assemble your monitor stand. Specific hardware and detailed steps may vary; always refer to the included assembly guide for precise instructions.
- Pakk ut komponenter: Ta forsiktig alle delene ut av emballasjen og legg dem på en ren, flat overflate.
- Fest base: Secure the vertical pole to the base using the provided screws and tools. Ensure it is firmly tightened.
- Mount VESA Plate: Attach the VESA mounting plate to the back of your monitor using the appropriate screws for your display. Ensure the screws are not overtightened.
- Installer skjerm: Carefully slide the monitor (with the attached VESA plate) onto the top of the vertical pole. Secure it in place according to the stand's design, typically with a locking screw or mechanism.
- Kabeladministrasjon: Route your monitor cables through the integrated cable clip on the stand's pole for a neat setup.

Bilde 2: Vinklet view of the monitor stand, highlighting the height adjustment markings on the vertical pole.
5. Bruksanvisning
Once assembled, the monitor stand allows for various adjustments to optimize your viewopplevelse.
Høydejustering
The stand features 10 height settings. To adjust the height, loosen the locking mechanism on the vertical pole, slide the monitor to your desired height, and then securely tighten the locking mechanism. Ensure the monitor is stable after adjustment.
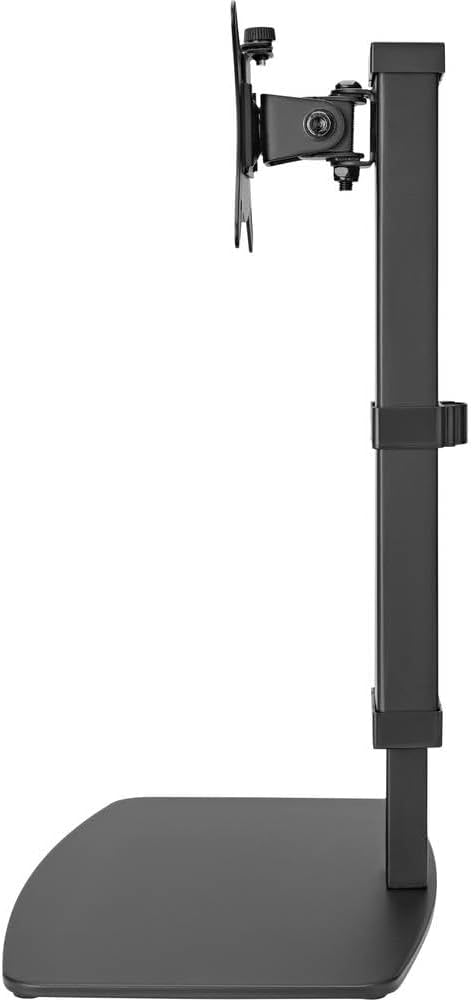
Bilde 3: Side view of the monitor stand, illustrating the range of height adjustment possible with the vertical pole.
Tilt and Swivel Adjustment
The VESA plate allows for tilting and swiveling your monitor. Gently adjust the monitor to your preferred angle. The 360° rotation feature enables easy switching between landscape and portrait orientations.
Kabelhåndtering
Utilize the integrated cable clip on the rear of the stand's pole to route and secure your monitor and power cables. This helps maintain a clean and organized workspace.
Bilde 4: Bak view of the monitor stand, showing the cable management clip on the vertical pole.
6. Vedlikehold
Regular maintenance ensures the longevity and optimal performance of your monitor stand.
- Rengjøring: Tørk av stativet med en myk, tørr klut. For gjenstridige merker, bruk en litt tørr klut.amp en klut med mild såpe kan brukes, etterfulgt av tørking. Unngå slipende rengjøringsmidler eller løsemidler.
- Inspeksjoner: Kontroller regelmessig alle skruer og tilkoblinger for å sikre at de sitter godt fast. Stram til om nødvendig.
- Bevegelse: Ensure the height adjustment mechanism moves smoothly. Do not force any adjustments.
7. Feilsøking
Hvis du støter på problemer med skjermstativet, bør du vurdere følgende vanlige løsninger:
- Stativet er ustabilt: Ensure all assembly screws are securely tightened. Verify the monitor's weight and size are within the stand's specifications. Check that the anti-slip pads on the base are intact and making full contact with the surface.
- Vanskeligheter med å justere høyden: Ensure the height locking mechanism is fully disengaged before attempting to adjust. Do not apply excessive force. Check for any obstructions.
- Monitor not level: Check that the VESA plate is securely attached to both the monitor and the stand. Adjust the tilt mechanism if necessary.
Hvis problemene vedvarer, vennligst kontakt kundestøtte.
8. Spesifikasjoner
| Merke | Speaka Professional |
| Modellnummer | SP-10092880 |
| Kompatible enheter | Monitors (17" to 32") |
| Høydejustering | 10 innstillinger |
| VESA Plate Rotation | 360° |
| Farge | Various (typically black) |
9. Garanti og støtte
This Speaka Professional product comes with a 1 års garanti for spare parts, as per the manufacturer's terms.
For technical support, warranty claims, or further assistance, please refer to the contact information provided with your purchase or visit the official Speaka Professional webnettstedet.