Introduksjon
Thank you for choosing Brightown Snowflake Solar Pathway Lights. This manual provides essential information for the proper setup, operation, and maintenance of your new solar lights. Please read these instructions carefully before use and retain them for future reference.
Pakkeinnhold
Sørg for at alle varene er til stede i pakken din:
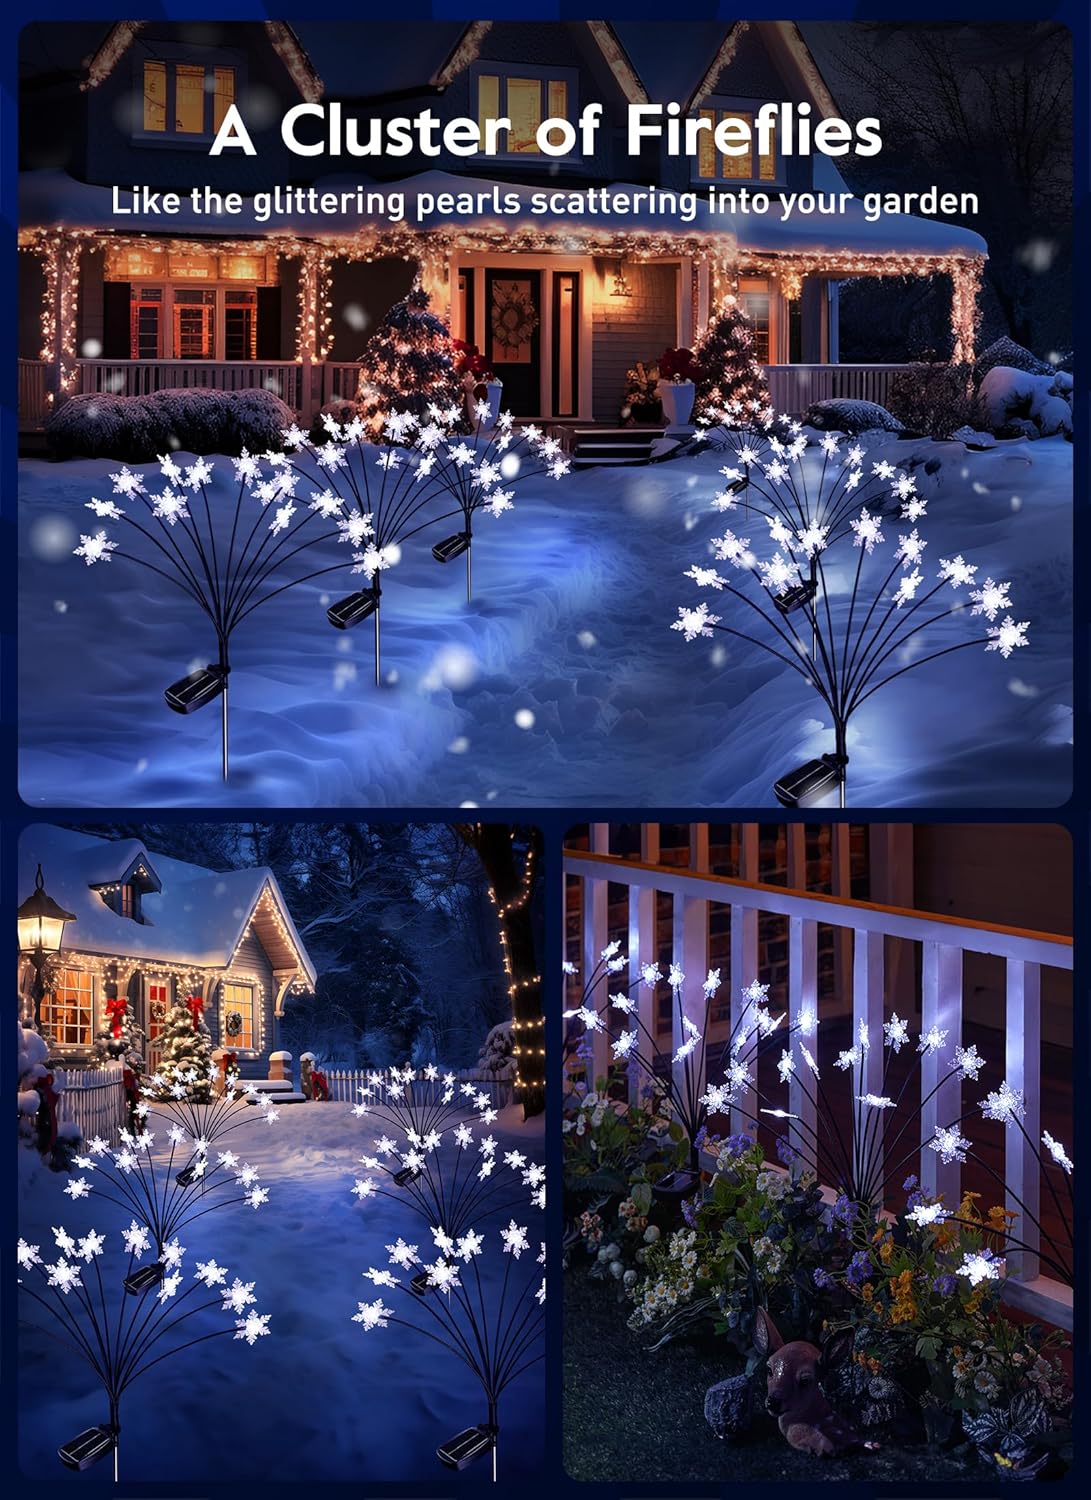
- 4 x 12 LED Snowflake Solar Firefly Lights
- 4 x bakken
- 1 x brukerhåndbok (dette dokumentet)
Oppsett og installasjon
Follow these steps to assemble and install your solar pathway lights:
- Koble til innsatsen: Attach the metal ground stake to the bottom of the solar panel unit. Ensure it is securely fastened.
- Aktiver bryteren: Locate the power switch on the underside of the solar panel. Slide the switch to the 'ON' position for continuous operation or 'FLASH' for flashing mode.
- Velg plassering: Choose an outdoor location that receives direct sunlight for 6-8 hours daily. This ensures optimal charging and lighting performance. Avoid areas under trees or shadows.
- Sett inn i bakken: Gently push the assembled light into the ground. Ensure the solar panel is positioned to face the sun directly.
- Juster solcellepanelets vinkel: The solar panel can be adjusted to optimize sunlight reception. Angle it towards the sun for maximum charging efficiency.

Video: Installation Guide for Brightown Snowflake Solar Lights. This video demonstrates the simple steps to connect the stake, activate the light, and install it in your garden, including adjusting the solar panel for optimal sunlight.
Bruksanvisning
Your Brightown Snowflake Solar Pathway Lights are designed for automatic and efficient operation.
- Automatisk på/av: The lights feature an intelligent light control system. They will automatically turn on at dusk and turn off at dawn, provided the switch is in the 'ON' or 'FLASH' position.
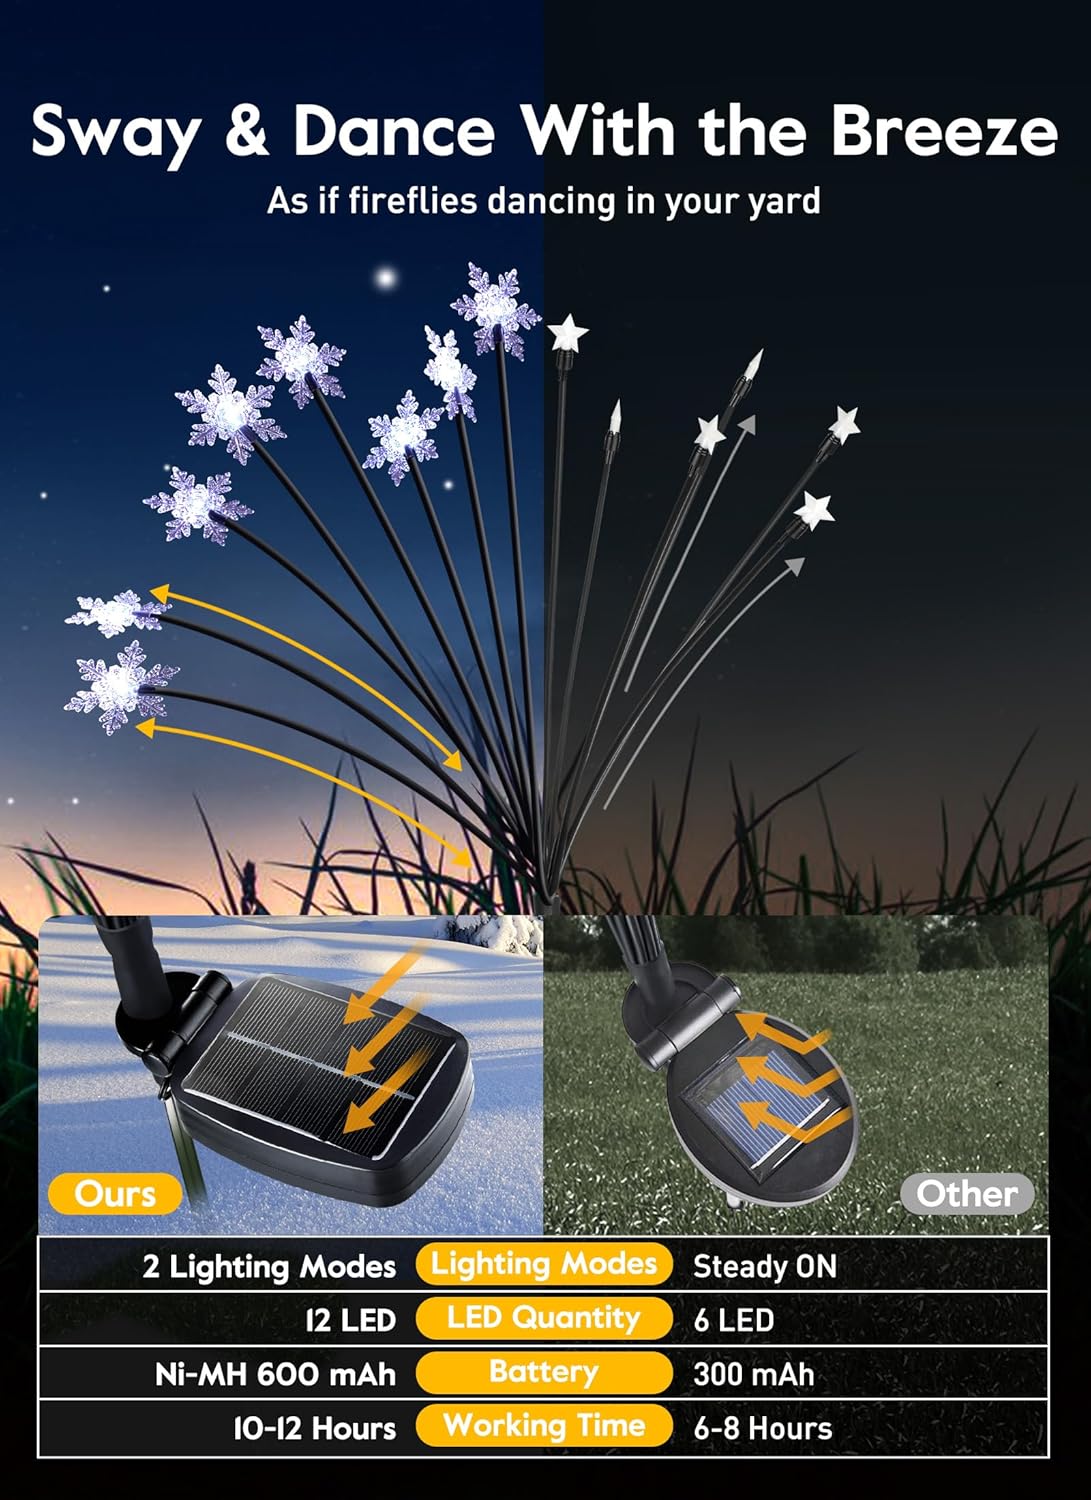
- Lader: The built-in 1.2V, 600mAh Ni-MH battery charges during the day (4-6 hours for a full charge) via the solar panel.
- Belysningsvarighet: A full charge provides 10-12 hours of illumination at night.
- Lysmoduser: You can select between two lighting modes:
- Fast på: For a constant glow.
- Flash: For a dynamic, twinkling effect.

Vedlikehold
To ensure the longevity and optimal performance of your solar lights, follow these maintenance tips:
- Rengjøring av solcellepanelet: Tørk solcellepanelet regelmessig med en myk klutamp klut for å fjerne støv, smuss eller rusk. Et rent panel sikrer effektiv absorpsjon og lading av sollys.
- Batteripleie: The built-in Ni-MH battery is designed for long-term use. If the lights' performance significantly decreases over time, the battery may need replacement. Refer to the manufacturer for compatible replacement batteries.
- Vinterlagring: During prolonged periods of low sunlight or harsh winter conditions, you may choose to bring the lights indoors. Clean them thoroughly and store them in a dry place.
Feilsøking
If your solar lights are not functioning as expected, try the following solutions:
- Lysene slår seg ikke på:
- Ensure the power switch on the solar panel is in the 'ON' or 'FLASH' position.
- Verify the solar panel is receiving direct sunlight for at least 6-8 hours during the day.
- Check for any obstructions (e.g., leaves, dirt) on the solar panel and clean it if necessary.
- Test the lights in a completely dark environment to ensure the light sensor is not detecting ambient light.
- Kort belysningsvarighet:
- The solar panel may not be receiving enough direct sunlight. Relocate the light to a sunnier spot.
- The solar panel might be dirty. Clean it as described in the Maintenance section.
- The battery may not be fully charged due to insufficient sunlight or an aging battery.
- Lights Appear Dim:
- Sørg for at solcellepanelet er rent og mottar tilstrekkelig sollys.
- The battery might be low. Allow for a full day of charging.
Spesifikasjoner
Key technical details for your Brightown Snowflake Solar Pathway Lights:
| Merke | Brighttown |
| Modell | B0DK97JS6V |
| Lys farge | Varm hvit |
| Antall lysdioder | 12 per light (48 total for 4-pack) |
| Batteri | 1.2V, 600mAh Ni-MH |
| Ladetid | 4-6 timer (direkte sollys) |
| Kjøretid | 10–12 timer (etter full lading) |
| Vanntett klasse | IP65 |
| Materiale | Polykarbonat |
| Dimensjoner (L x B x H) | 1 cm L x 5 cm B x 15 cm H (per lys) |
| Lysmoduser | Steady On, Flash |


Sikkerhetsinformasjon
- Dette produktet er kun beregnet for utendørs bruk.
- Ikke forsøk å demontere eller modifisere produktet, da dette kan ugyldiggjøre garantien og forårsake skade.
- Holdes unna åpen ild eller ekstreme varmekilder.
- Ensure the ground stake is firmly inserted to prevent the light from falling over.
Garanti og støtte
For warranty information or technical support, please refer to the product packaging or contact Brightown customer service directly. Keep your purchase receipt as proof of purchase.