1. Introduksjon
This manual provides detailed instructions for the safe and efficient operation, setup, and maintenance of your U.S. Solid Vertical Automatic Continuous Band Sealer. This machine is designed for high-speed sealing of various plastic and laminated bags, featuring digital temperature control and a counter function for enhanced efficiency. Please read this manual thoroughly before operating the machine to ensure proper usage and to prevent damage or injury.

This image displays the U.S. Solid Vertical Automatic Continuous Band Sealer, a grey and silver machine with a conveyor belt and a control panel on top. Various accessories are shown below the machine, including an extra Teflon belt, a screwdriver, a printing kit with letters and numbers, and two spare drive belts.
2. Sikkerhetsinstruksjoner
Adhering to safety guidelines is crucial for preventing accidents and ensuring the longevity of your equipment. Always follow these instructions:
- Sørg for at maskinen er koblet til et jordet strømuttak med riktig volum.tage (110V/60Hz).
- Ikke bruk maskinen med våte hender eller i damp miljøer.
- Keep hands, hair, and loose clothing away from moving parts, especially the conveyor belt and sealing area.
- Use the Emergency Stop Button immediately in case of malfunction or danger.
- Allow the heating elements to cool down completely before performing any maintenance or cleaning.
- Never attempt to bypass safety features or modify the machine.
- Sørg for tilstrekkelig ventilasjon rundt maskinen under drift.
3. Pakkens innhold
Kontroller at alle gjenstander er til stede og uskadet ved utpakking:
- U.S. Solid Vertical Automatic Continuous Band Sealer
- Strømledning
- Extra Polytef Teflon Belt
- Skrujern
- Printing Kit (letters, numbers, and holder)
- Spare Drive Belts (2 units)
4. Produktegenskaper og komponenter
Familiarize yourself with the key components of the sealing machine:
4.1 Kontrollpanel

This image highlights the control panel of the sealing machine. It features a digital photoelectric counter, a red Emergency Stop Button, a Speed Knob, a Temp Controller with digital display, and individual switches for Power, Heat Seal, and Fan.
- Strømbryteren: Slår maskinen av/på.
- Heat Seal Switch: Activates/deactivates the heating elements.
- Viftebryter: Controls the cooling fan.
- Photoelectric Counter: Automatically counts sealed bags.
- Nødstoppknapp: Immediately halts all machine operations.
- Hastighetsknapp: Adjusts the conveyor belt speed.
- Temp Controller: Sets and displays the sealing temperature.
4.2 Printing Wheel and Kit

This image shows the printing wheel and an embossing wheel. The printing wheel allows for custom text or date printing on the sealed bags, while the embossing wheel creates a textured seal.
The machine includes a printing kit with individual letters and numbers that can be inserted into the printing wheel to stamp codes, dates, or other information onto the sealed bags.

This image displays the printing kit, which includes a set of brass letters and numbers, along with a circular holder, used for stamp coding on sealed bags.
4.3 Adjustable Components
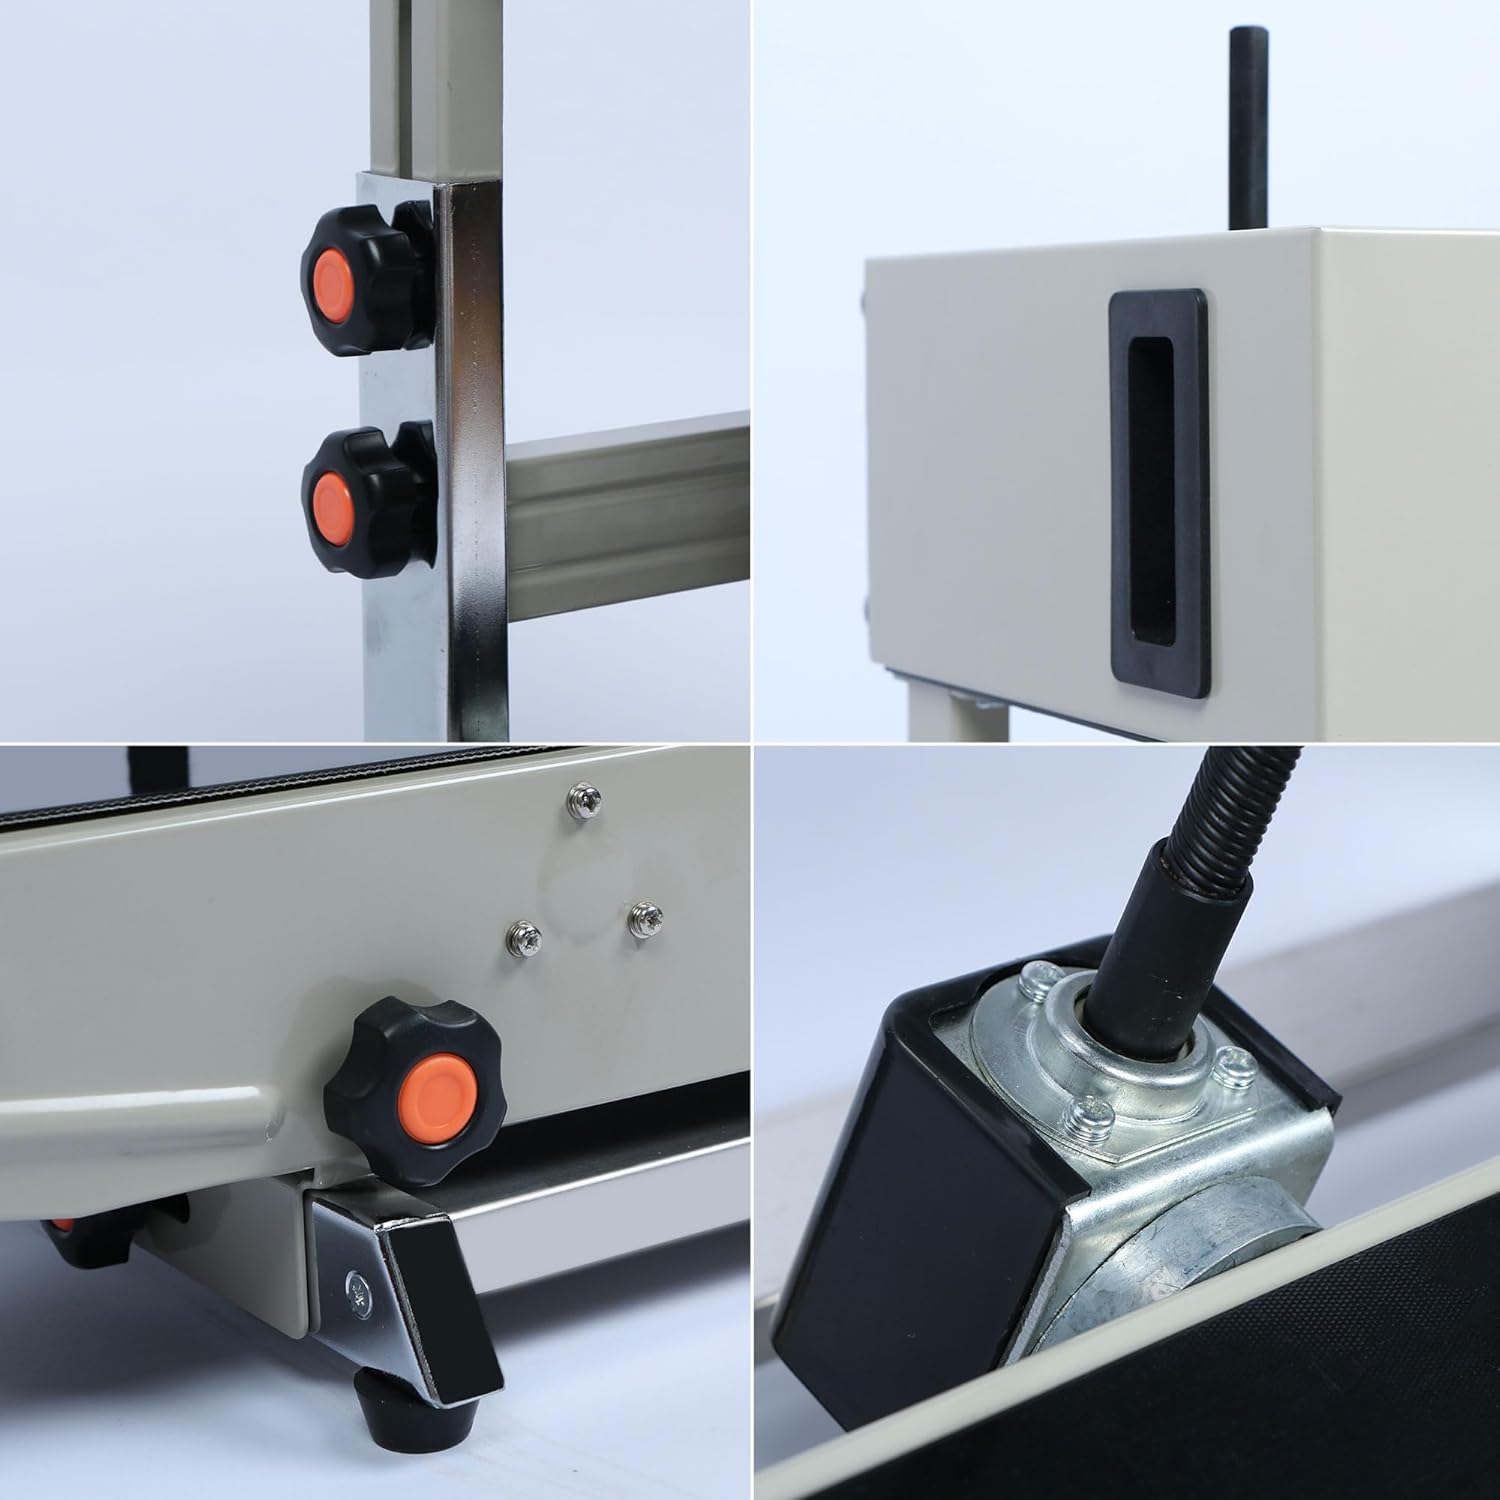
This image shows close-ups of the orange and black adjustment knobs located on the side and bottom of the sealing machine, used for fine-tuning various settings such as conveyor height and pressure.
The machine features several adjustment knobs for customizing the sealing process, including conveyor height and pressure settings, to accommodate different bag sizes and materials.

This image shows a close-up of the photoelectric sensor, which is responsible for automatically counting the number of bags sealed as they pass through the machine.
5. Oppsett
- Plassering: Position the machine on a stable, level surface in a well-ventilated area. Ensure sufficient space around the machine for operation and maintenance.
- Strømtilkobling: Connect the power cord to the machine and then to a grounded 110V/60Hz power outlet.
- Conveyor Height Adjustment: Adjust the height of the conveyor belt using the side adjustment knobs to match the height of your bags. The applicable bag height range for sealing is approximately 4.33 inches to 8.66 inches.
- Printing Wheel Setup (Optional): If stamp coding is required, insert the desired brass letters and numbers into the printing wheel. Ensure they are securely in place.
6. Bruksanvisning
- Strøm på: Turn on the main Power Switch on the control panel.
- Still inn temperatur: Use the Temp Controller to set the desired sealing temperature. The optimal temperature depends on the bag material and thickness. For initial setup, start with a lower temperature and gradually increase it. The temperature range is 0-300℃ (572℉).
- Activate Heat and Fan: Turn on the Heat Seal Switch. Allow the machine to preheat for approximately 5-10 minutes until the set temperature is reached. Turn on the Fan Switch to ensure proper cooling of the sealing area.
- Juster hastighet: Use the Speed Knob to set the conveyor belt speed. The speed range is 0-12m/min. Adjust based on the bag material and desired sealing quality.
- Test Sealing: Perform a test seal on a sample bag. Inspect the seal quality. If the seal is weak, increase the temperature or decrease the speed. If the bag melts or wrinkles, decrease the temperature or increase the speed.
- Feed Bags: Place the open end of the bag onto the conveyor belt, guiding it into the sealing area. The machine will automatically feed the bag through and seal it.
- Tellerfunksjon: The photoelectric counter will automatically track the number of sealed bags. Note that the counter may occasionally miscount; manual verification is recommended for critical counts.
- Printing (Optional): If the printing wheel is set up, the machine will automatically stamp the bags as they are sealed.

This image shows the U.S. Solid Band Sealer actively sealing two bags as they pass along the conveyor belt, demonstrating its continuous operation.

This image displays a variety of sealed bags, including clear plastic pouches with snacks, a stand-up pouch with liquid, and kraft paper bags, illustrating the machine's versatility with different bag materials and contents.
7. Vedlikehold
Regelmessig vedlikehold sikrer optimal ytelse og forlenger maskinens levetid.
- Rengjøring: Regularly clean the conveyor belt and sealing area to prevent residue buildup. Use a dry cloth; avoid abrasive cleaners. Ensure the machine is unplugged and cooled before cleaning.
- Teflon Belt Replacement: The Polytef Teflon belt is a consumable part. Replace it when it shows signs of wear or damage to maintain consistent sealing quality. Refer to the included spare belt for replacement.
- Drive Belt Inspection: Periodically inspect the drive belts for wear and tension. Replace them if they are cracked or loose.
- Smøring: Consult a qualified technician for periodic lubrication of internal moving parts if necessary.

This image provides an artistic rendering of the internal gear and drive mechanism, illustrating the complex engineering that powers the continuous sealing process.
8. Feilsøking
Se følgende tabell for vanlige problemer og løsninger:
| Problem | Mulig årsak | Løsning |
|---|---|---|
| Poor seal quality (weak or incomplete) | Temperature too low; speed too high; worn Teflon belt | Increase temperature; decrease speed; replace Teflon belt |
| Bags melting or wrinkling | Temperature too high; speed too low | Decrease temperature; increase speed |
| Conveyor belt not moving | Power issue; motor malfunction; jammed belt | Check power connection; inspect for obstructions; contact support |
| Inaccurate bag count | Photoelectric sensor obstruction or misalignment | Clean sensor; adjust sensor position; verify manually |
| Printing unclear or missing | Printing elements not properly installed; temperature too low for ink transfer | Reinstall printing elements; adjust temperature; ensure proper contact |
9. Spesifikasjoner
Key technical specifications for the U.S. Solid Vertical Automatic Continuous Band Sealer:

Dette bildet gir en side view of the sealing machine with its key dimensions labeled: approximately 32.28 inches in length, 15.15 inches in width, and an adjustable height between 12.2 and 22.04 inches.

This diagram illustrates the seal width of 0.47 inches and indicates that the applicable bag height range for sealing is approximately 4.33 inches to 8.66 inches, due to the machine's adjustable height.
| Spesifikasjon | Verdi |
|---|---|
| Merke | amerikansk solid |
| Modell | Vertical Automatic Continuous Sealing Machine |
| Materiale | Stryke |
| Farge | Sølv |
| Strømkilde | AC |
| Voltage | 110 volt |
| Wattage | 500 W |
| Driftsmodus | Automatisk |
| Tetningshastighet | 0-12 m/min (adjustable) |
| Tetningsbredde | 0.23 inch - 0.47 inch (6-12 mm) |
| Forseglingslengde | Ubegrenset |
| Temperaturområde | 0-300℃ (572℉) |
| Maximum Bag Thickness | 0.02-0.8 mm (0.03 inch) |
| Conveyor Table Max Load | 5 kg (11 lbs) |
| Maskinvekt | 19 kg (41.8 lbs) |
| Produktdimensjoner | 31.5 x 20.87 x 14.17 tommer |
| UPC | 888107107767 |
10. Garanti og støtte
For warranty information, technical support, or service inquiries, please refer to the contact information provided with your purchase or visit the official U.S. Solid webnettstedet. Ta vare på kjøpskvitteringen som kjøpsbevis for garantikrav.