1. Introduksjon
The Total TG11012556 1100 Watt Angle Grinder is a versatile electric power tool designed for grinding, cutting, and polishing various materials. This manual provides essential information for the safe and efficient operation, setup, and maintenance of your angle grinder. Please read these instructions carefully before use and keep them for future reference.
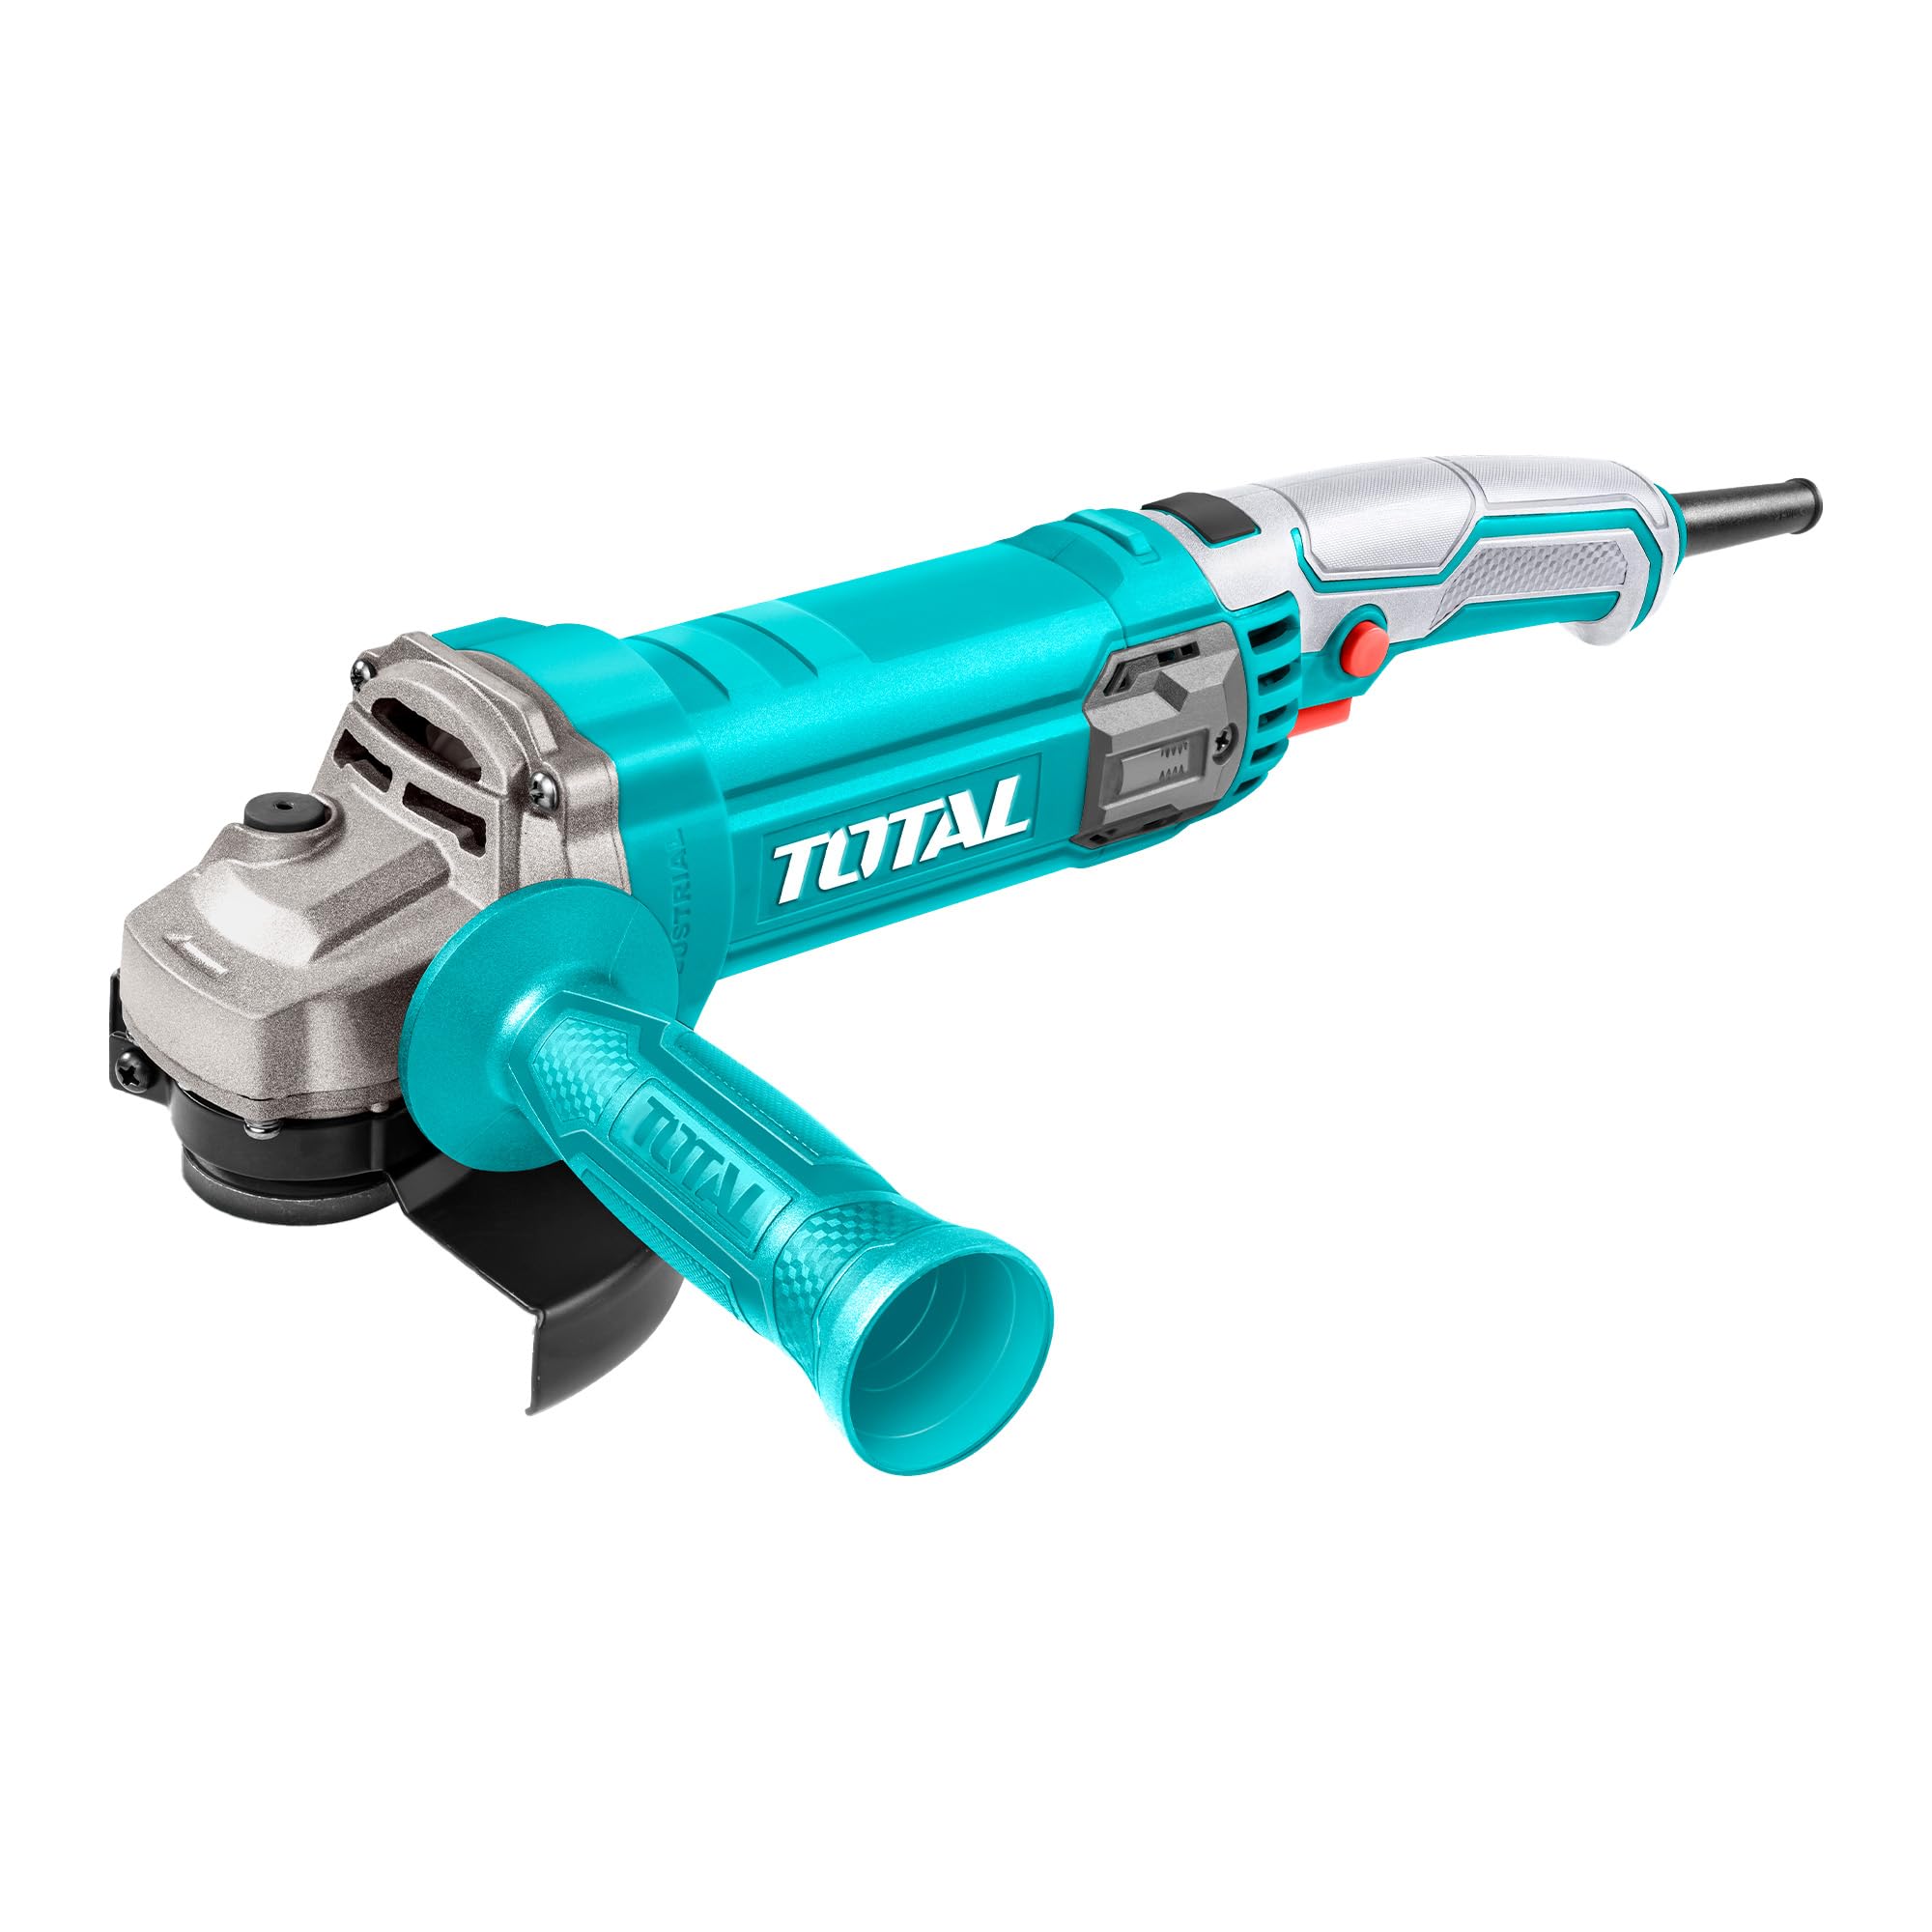
Bilde 1.1: Hovedbilde view of the Total TG11012556 1100W Angle Grinder.
2. Sikkerhetsinstruksjoner
Følg alltid grunnleggende sikkerhetsregler for å redusere risikoen for brann, elektrisk støt og personskade når du bruker elektroverktøy.
2.1 Generell sikkerhet for elektroverktøy
- Sikkerhet på arbeidsområdet: Hold arbeidsområdet rent og godt opplyst. Rotete eller mørke områder innbyr til ulykker. Ikke bruk elektroverktøy i eksplosive atmosfærer, for eksempel i nærheten av brennbare væsker, gasser eller støv.
- Elektrisk sikkerhet: Støpsler på elektroverktøy må passe til stikkontakten. Aldri modifiser støpselet på noen måte. Ikke misbruk ledningen. Bruk aldri ledningen til å bære, trekke eller koble fra elektroverktøyet. Hold ledningen unna varme, olje, skarpe kanter eller bevegelige deler.
- Personlig sikkerhet: Always wear appropriate personal protective equipment (PPE) including safety glasses, hearing protection, gloves, and a dust mask. Dress properly; avoid loose clothing or jewelry that can get caught in moving parts.
- Bruk og stell av verktøy: Ikke bruk makt på elektroverktøyet. Bruk riktig elektroverktøy til ditt bruk. Trekk ut støpselet fra strømkilden før du foretar justeringer, bytter tilbehør eller oppbevarer elektroverktøy.
2.2 Specific Angle Grinder Safety
- Sørg alltid for at beskyttelsen er riktig plassert og forsvarlig festet før bruk.
- Use only discs that are rated for the grinder's speed and size (125mm).
- Hold the tool firmly with both hands, utilizing the auxiliary handle for maximum control.
- Be aware of kickback and how to avoid it. Kickback is a sudden reaction to a pinched or snagged rotating wheel.
- Do not use the grinder for applications for which it is not intended.
3. Pakkens innhold
Kontroller at alle gjenstander er til stede ved utpakking:
- 1 x Total TG11012556 1100W Angle Grinder
- 1 x 125mm Disc
- 1 x hjelpehåndtak
- 1 x Disc Guard
- 1 x Spanner (for disc changes)
- 1 x brukerhåndbok
4. Spesifikasjoner
| Trekk | Spesifikasjon |
|---|---|
| Modellnummer | TG11012556 |
| Merke | Total |
| Strøminngang | 1100 watt |
| Voltage | 220-240 Volt |
| Hastighet uten belastning | 12000 RPM |
| Diameter på skive | 125 mm |
| Spindeltråd | M14 |
| Produktdimensjoner (L x B x H) | 30 x 15 x 11 cm |
| Varevekt | 2.4 kg |
| Materiale | Metall |
| Strømkilde | Elektrisk med ledning |
| Farge | Flerfarget |

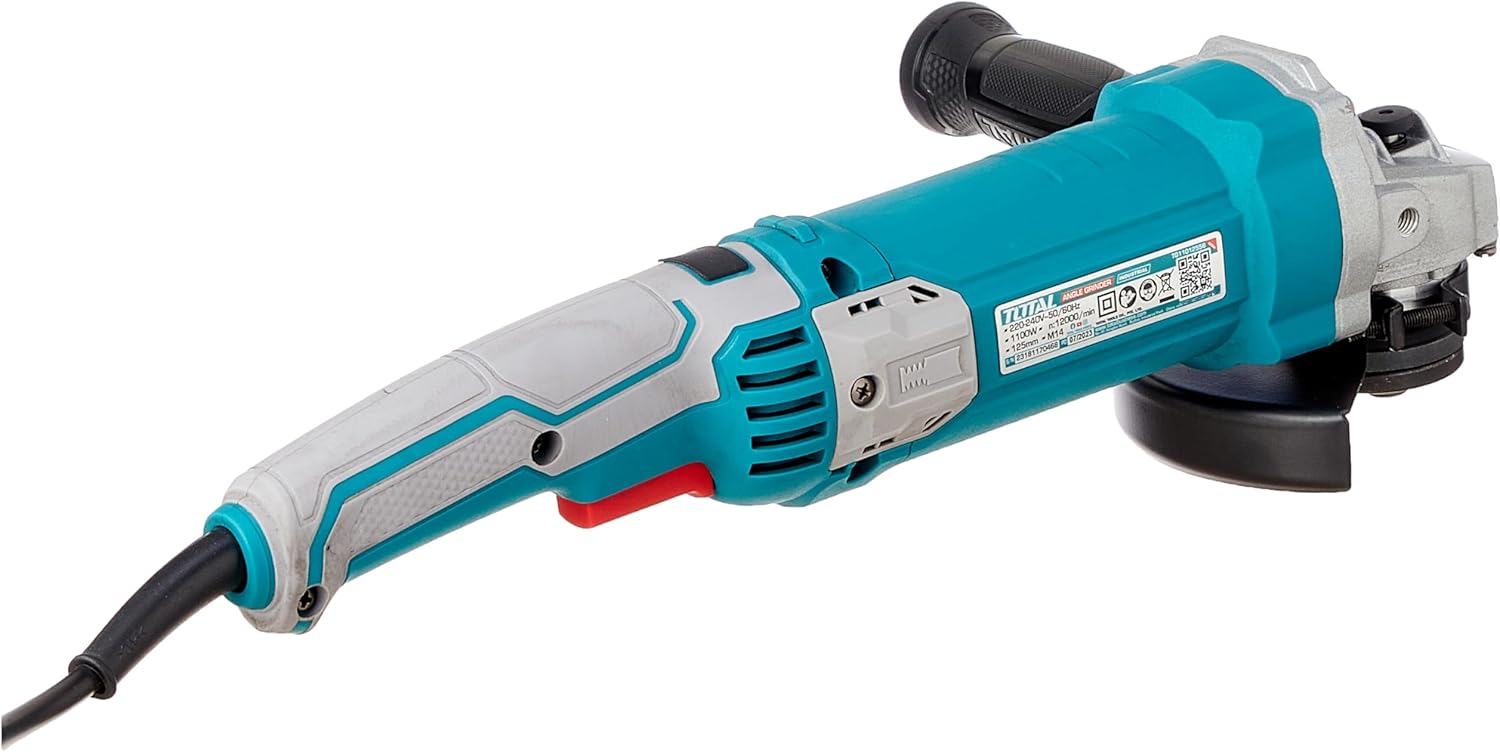
Image 4.1: Angle Grinder with approximate dimensions for reference.
5. Oppsett
5.1 Feste hjelpehåndtaket
- Ensure the angle grinder is unplugged from the power source.
- The auxiliary handle can be screwed into one of the threaded holes on either side of the gear housing, depending on your preference and working conditions.
- Stram håndtaket godt til for hånd.
5.2 Montering/bytte av slipeskive
- Sikkerhet først: Always unplug the tool before changing discs.
- Trykk og hold inne spindellåseknappen som er plassert på girhuset.
- Using the provided spanner, loosen the flange nut by turning it counter-clockwise.
- Fjern den gamle skiven (hvis aktuelt) og rengjør flensene.
- Place the new 125mm disc onto the inner flange, ensuring it sits flush.
- Replace the outer flange nut and tighten it clockwise with the spanner while holding the spindle lock button. Do not overtighten.
5.3 Justering av beskyttelsen
- The disc guard protects against sparks and debris. Ensure it is securely attached and adjusted to provide maximum protection for your specific task.
- Løsne vernet clamping screw (if applicable), rotate the guard to the desired position, and then securely tighten the screw.
6. Bruksanvisning
6.1 Slå på/av
- Connect the angle grinder to a suitable 220-240V power outlet.
- To start the tool, slide the ON/OFF switch forward. For continuous operation, press the front part of the switch down.
- To stop the tool, release the switch. If locked on, press the rear part of the switch to release it.
6.2 Variabel hastighetskontroll
This model features variable speed control, allowing you to adjust the RPM for different materials and applications. Refer to the speed dial or control mechanism on your tool to select the appropriate speed. Lower speeds are generally used for polishing or working with sensitive materials, while higher speeds are for aggressive grinding and cutting.
6.3 Slipe- og skjæreteknikker
- Always allow the disc to reach full speed before contacting the workpiece.
- For sliping, hold verktøyet i en liten vinkel (15–30 grader) mot arbeidsstykket. Bruk moderat trykk og beveg verktøyet jevnt over overflaten.
- For cutting, hold the tool perpendicular to the workpiece. Make straight, steady cuts without twisting or forcing the disc.
- Avoid applying excessive pressure, as this can damage the disc, reduce tool life, and increase the risk of kickback.
Bilde 6.1: Eks.ample of the angle grinder being used for a task.
7. Vedlikehold
Regelmessig vedlikehold sikrer optimal ytelse og forlenger levetiden til verktøyet ditt.
7.1 Rengjøring
- Koble alltid fra verktøyet før rengjøring.
- Keep the ventilation openings clear to prevent overheating. Use a soft brush or compressed air to remove dust and debris.
- Ikke bruk vann eller kjemiske rengjøringsmidler.
7.2 Disc Inspection and Replacement
- Regularly inspect discs for cracks, chips, or excessive wear. Replace damaged or worn discs immediately.
- Ensure replacement discs match the specified diameter (125mm) and are rated for the grinder's speed.
7.3 Oppbevaring
Store the angle grinder in a dry, secure place out of reach of children. Protect it from moisture and direct sunlight.
8. Feilsøking
Hvis du støter på problemer med vinkelsliperen din, kan du se følgende vanlige problemer og løsninger:
| Problem | Mulig årsak | Løsning |
|---|---|---|
| Verktøyet starter ikke | Ingen strømforsyning; Feil på bryteren; Skadet ledning | Check power connection; Inspect switch; Check cord for damage (replace if necessary) |
| Overdreven vibrasjon | Damaged or unbalanced disc; Loose flanges | Replace disc; Ensure flanges are tightened correctly |
| Dårlig skjære-/slipeytelse | Worn or incorrect disc; Insufficient power | Replace disc; Ensure proper voltage forsyning |
| Overoppheting | Blokkert ventilasjon; Overbelastning | Clean ventilation openings; Reduce working pressure; Allow tool to cool |
If the problem persists after attempting these solutions, please contact Total customer support.
9. Garanti og støtte
For warranty information, service, or technical support, please refer to the warranty card included with your product or visit the official Total tools webnettstedet. Ta vare på kjøpskvitteringen som kjøpsbevis.