1. Produktet er overview
The iiyama Prolite XUB2495WSU-B7 is a 24.1-inch monitor featuring a 3-sided borderless IPS panel with a 16:10 aspect ratio and a native resolution of 1920 x 1200. Designed for professional use, it offers accurate and consistent color reproduction with wide viewing angles. The monitor includes a height-adjustable stand with swivel and pivot functions for enhanced ergonomic flexibility. Integrated speakers and a USB hub (3x USB 3.2, 1x USB-C 15W) provide additional convenience.
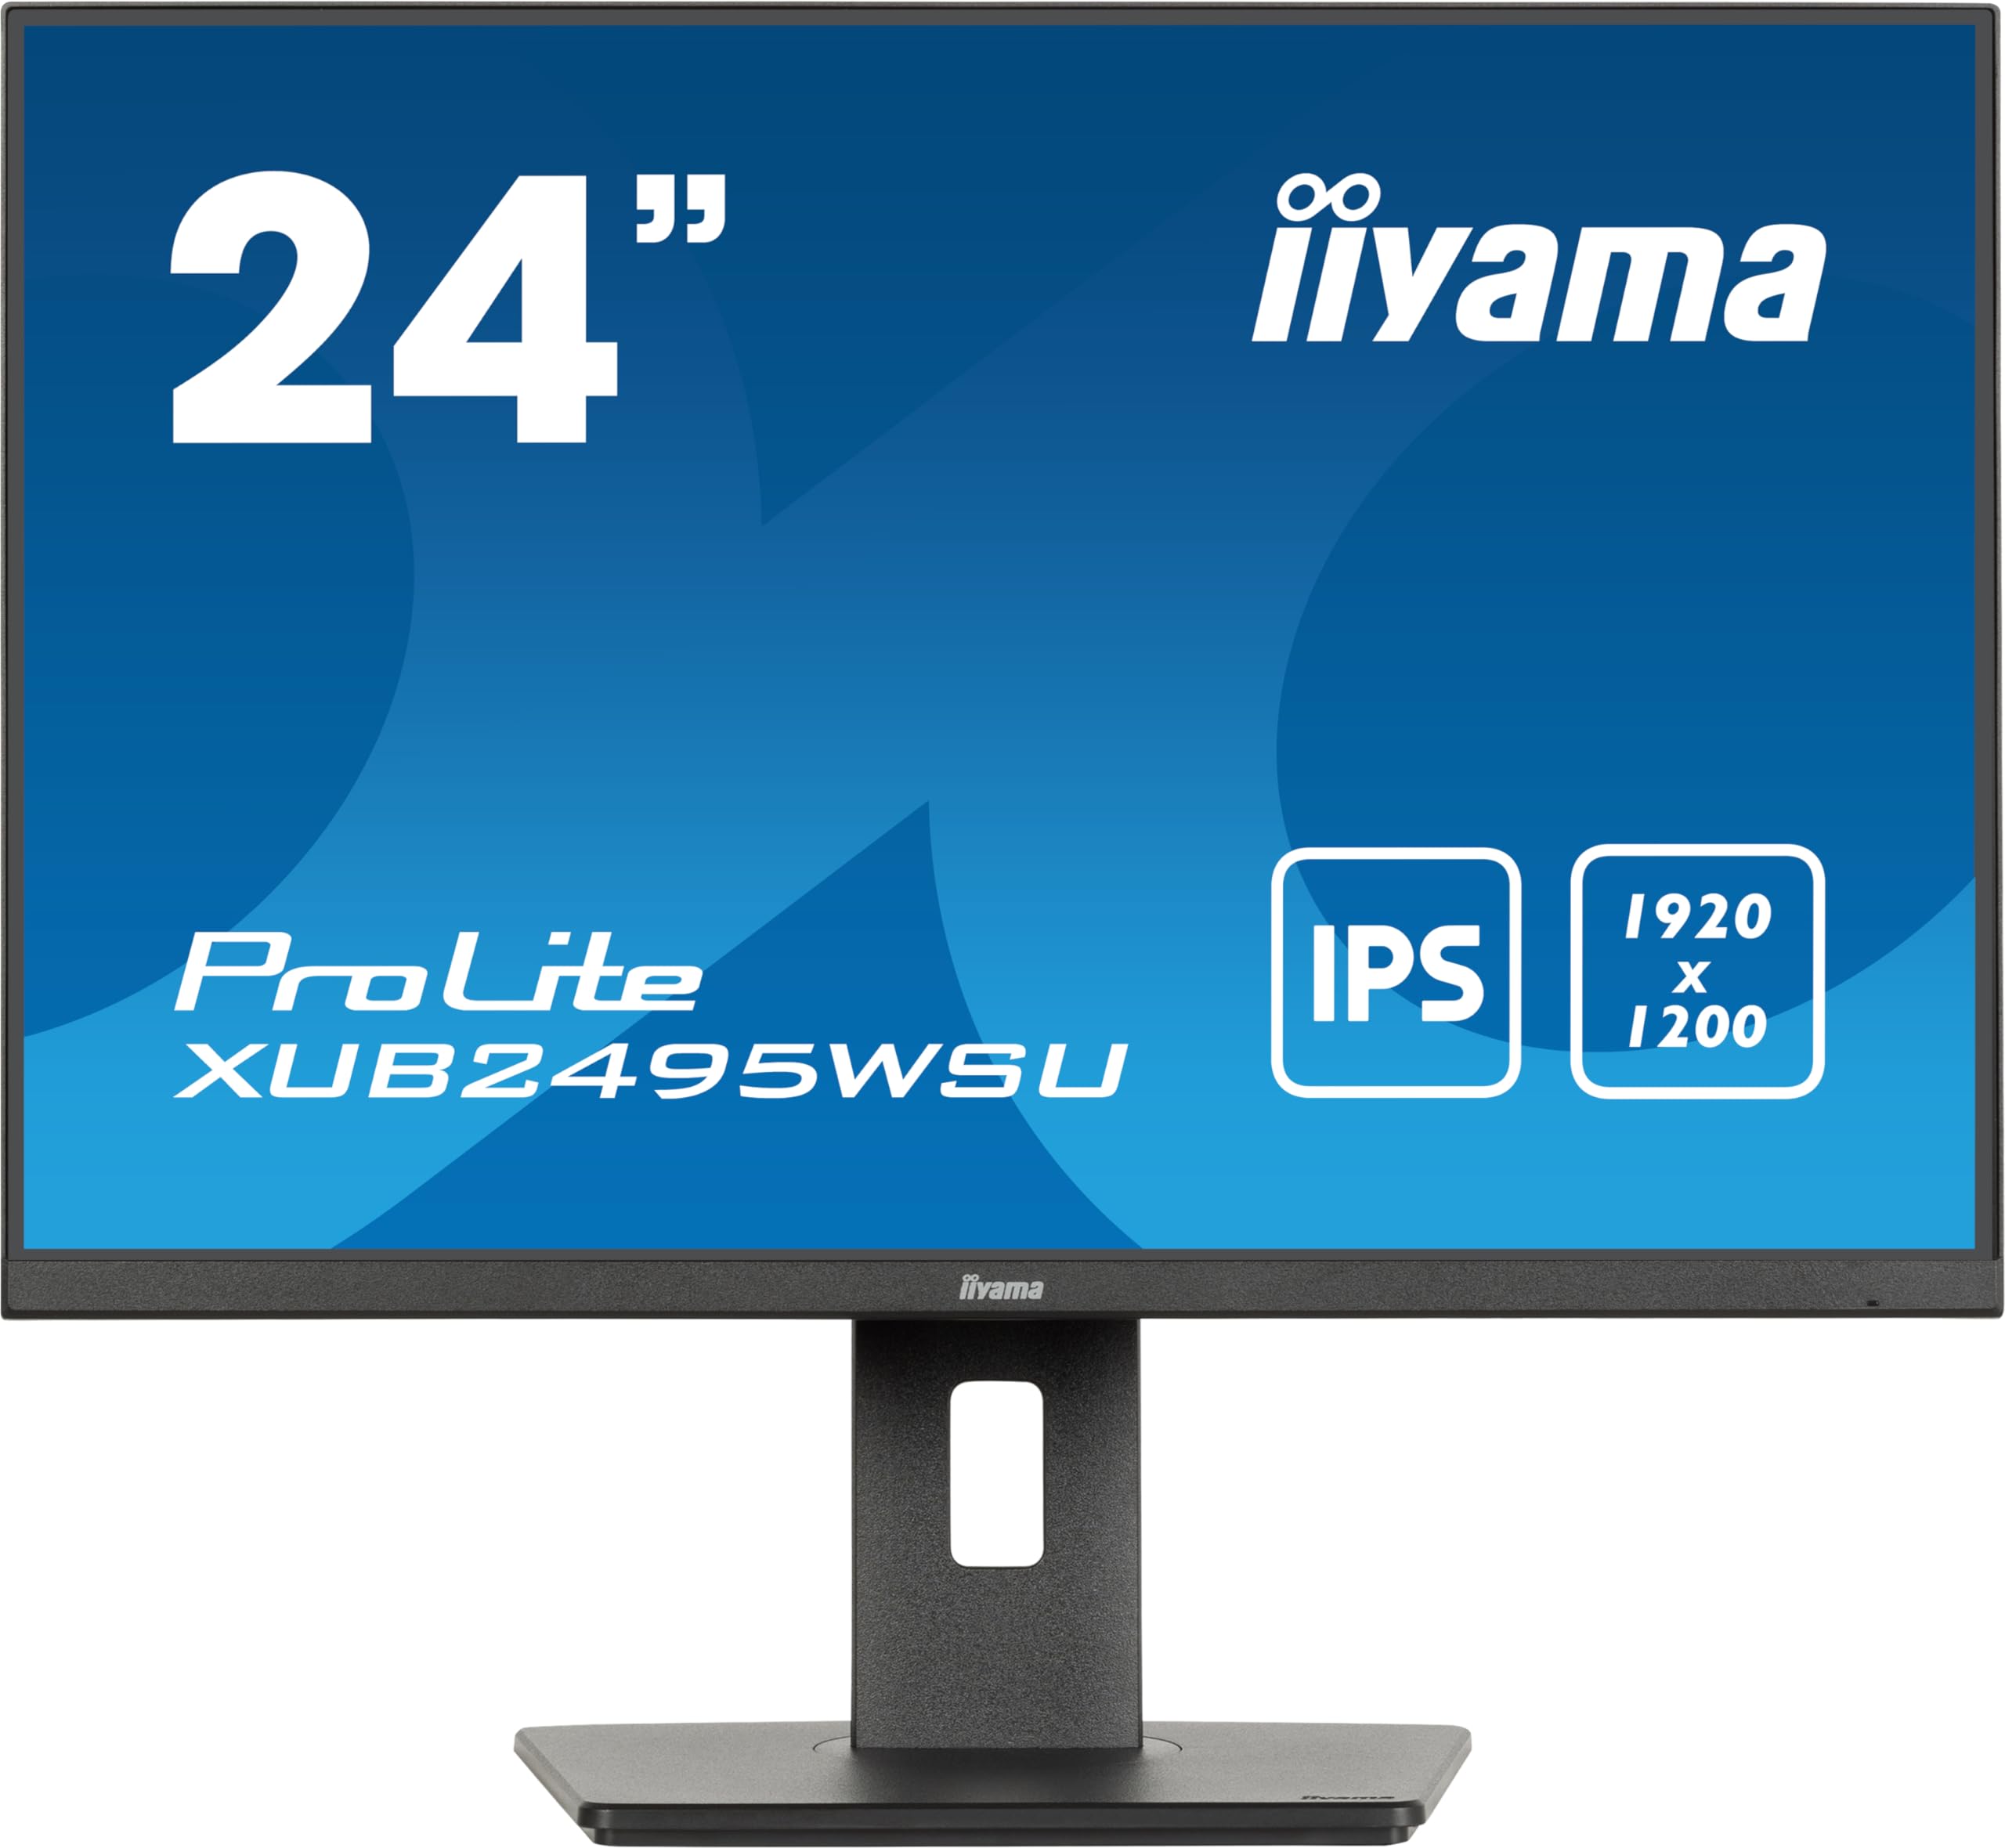
Figur 1: Foran view of the iiyama Prolite XUB2495WSU-B7 monitor.
2. Hva er i esken
Please check that all the following items are included in your monitor package:
- iiyama Prolite XUB2495WSU-B7 Monitor
- Strømkabel
- DisplayPort-kabel
- USB oppstrømskabel
- Quick Start Guide (may be a separate document)
- Safety Guide (may be a separate document)

Figure 2: Included cables for the monitor.
3. Første oppsett
3.1 Montering av stativet
- Ta forsiktig ut komponentene til skjermen og stativet fra emballasjen.
- Fest stativbasen til stativsøylen, og fest den med den medfølgende skruen.
- Align the stand assembly with the mounting holes on the back of the monitor panel.
- Secure the stand to the monitor panel. Ensure it clicks into place or is fastened securely.

Figur 3: Bak view av skjermen med stativet.
3.2 Tilkoblingskabler
Before connecting, ensure the monitor and your computer are powered off.
- Strømtilkobling: Connect the power cable to the monitor's AC input and then to a power outlet.
- Videotilkobling: Connect either an HDMI cable or a DisplayPort cable from your computer's video output to the corresponding input on the monitor.
- USB oppstrømstilkobling: To enable the monitor's USB hub, connect the USB upstream cable from your computer's USB port to the USB upstream port on the monitor.
- USB Downstream (Hub) Connection: You can connect USB devices (e.g., keyboard, mouse, USB drives) to the USB downstream ports on the monitor.

Figure 4: Monitor rear ports.

Figur 5: Tilkoblingsskjema for skjermen.
4. Bruk av skjermen
4.1 Strøm på/av
Trykk på av/på-knappen, som vanligvis sitter nederst til høyre eller bak på skjermen, for å slå skjermen av eller på. Av/på-indikatorlampen lyser når skjermen er på.
4.2 Menynavigasjon på skjermen (OSD)
The monitor features a joystick control for navigating the On-Screen Display (OSD) menu. This control is typically located on the rear or bottom edge of the monitor.
- Pressen: Gå inn i OSD-menyen eller bekreft et valg.
- Flytt opp/ned: Naviger gjennom menyalternativer.
- Flytt til venstre/høyre: Juster verdier eller naviger mellom undermenyer.
4.3 Justere skjerminnstillinger
Access the OSD menu to adjust various display settings:
- Bildeinnstillinger: Juster lysstyrke, kontrast, skarphet og gamma.
- Fargeinnstillinger: Select color temperature, sRGB mode, or i-Style Colour presets.
- Inndatavalg: Bytt manuelt mellom HDMI- og DisplayPort-innganger.
- Lydinnstillinger: Adjust volume for the integrated speakers or connected headphones.
- OSD-innstillinger: Konfigurer OSD-språk, gjennomsiktighet og tidsavbrudd.
4.4 Ergonomiske justeringer
Skjermstativet gir mulighet for ulike justeringer for å optimalisere viewkomfort:
- Høydejustering: Raise or lower the monitor to eye level. The stand offers 150mm of height adjustment.
- Sving: Roter skjermen horisontalt til venstre eller høyre.
- Tilt: Juster skjermens vertikale vinkel (forover eller bakover).
- Pivot: Roter skjermen 90 grader for å veksle mellom liggende og stående retning.
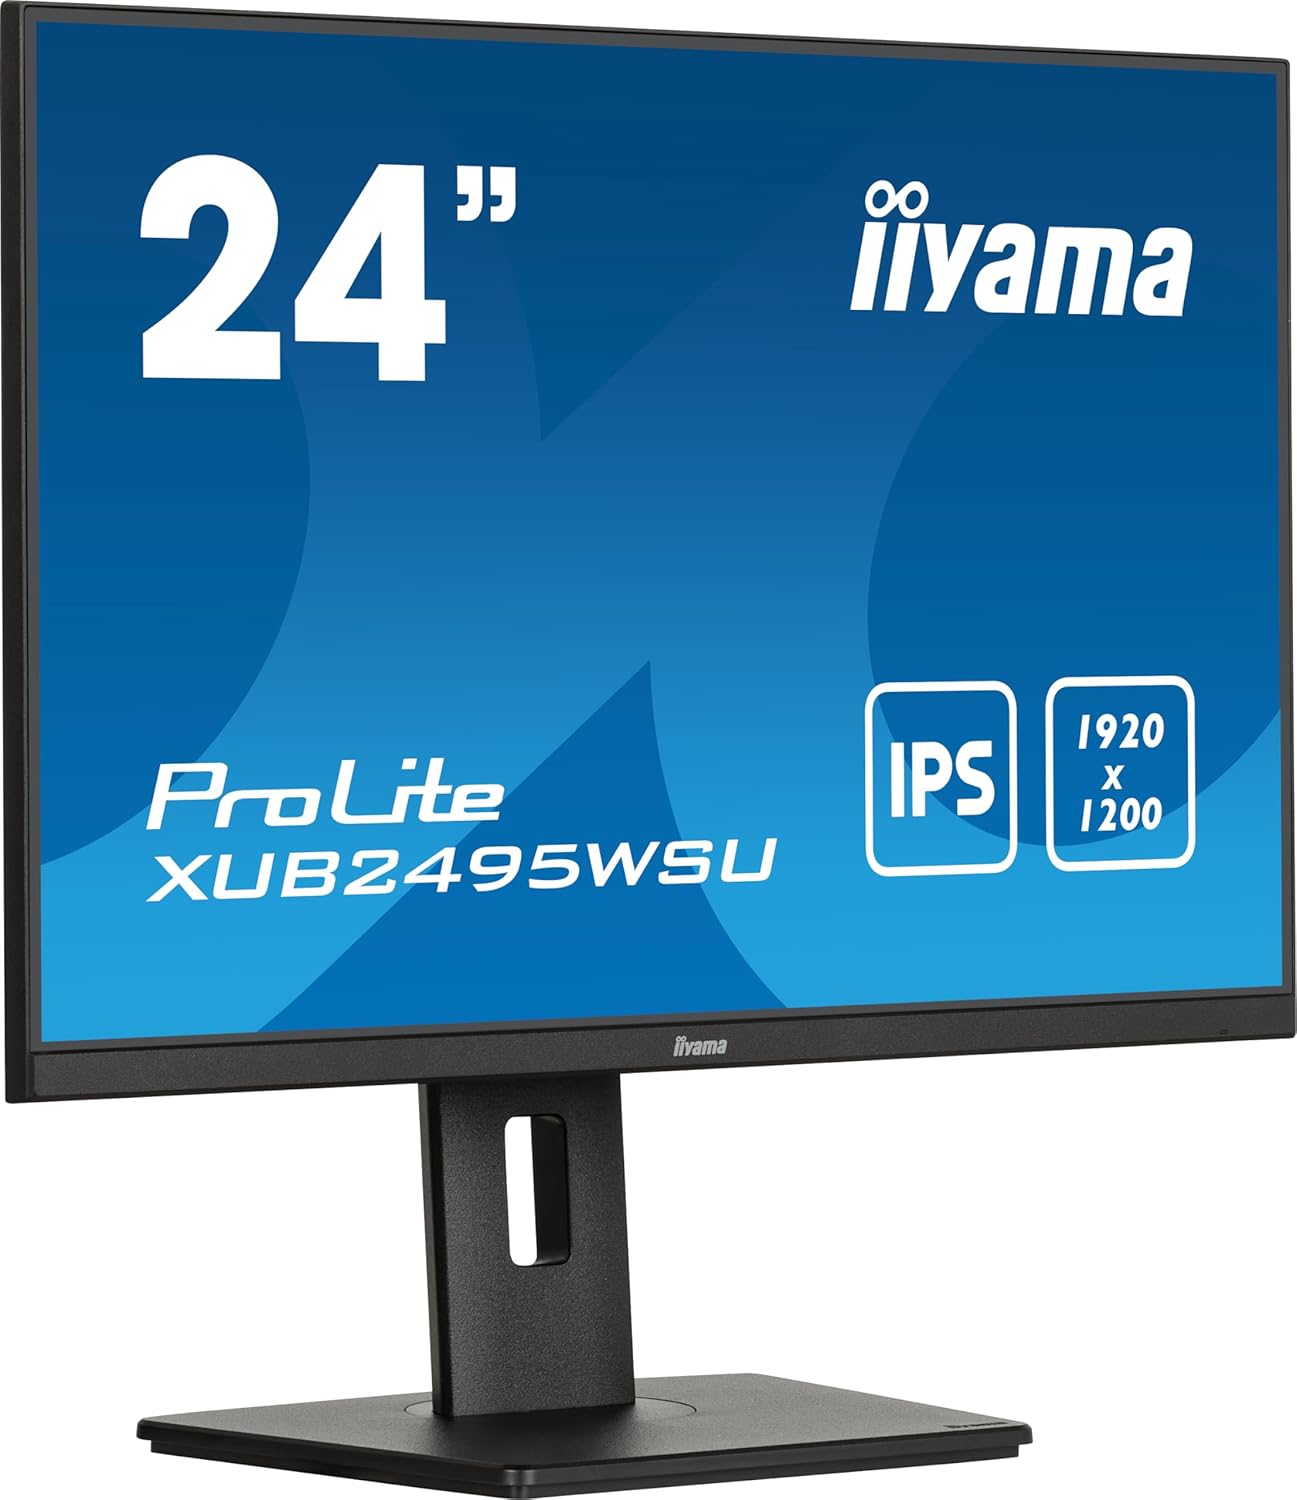
Figure 6: Monitor in landscape mode.

Figure 7: Monitor in portrait mode (pivot function).

Figure 8: Monitor side view (neutral tilt).

Figure 9: Monitor side view (tilted backward).
4.5 Bruk av USB-huben
Once the USB upstream cable is connected to your computer, the USB downstream ports on the monitor become active. You can use these ports to connect peripherals such as keyboards, mice, webcams, or USB storage devices. The USB-C port also provides 15W power delivery for compatible devices.
5. Stell og vedlikehold
For å sikre at skjermen din holder lenge og har optimal ytelse, bør du følge disse vedlikeholdsretningslinjene:
- Rengjøring av skjermen: Tørk forsiktig av skjermen med en myk, lofri klut. For gjenstridige merker, dampen the cloth slightly with water or a specialized screen cleaner. Avoid using harsh chemicals, alcohol, or abrasive materials.
- Rengjøring av Casing: Bruk en myk, tørr klut til å rengjøre skjermen casing.
- Ventilasjon: Sørg for at ventilasjonsåpningene på skjermen ikke er blokkert for å forhindre overoppheting.
- Slå av: Slå alltid av skjermen og trekk støpselet ut av stikkontakten før rengjøring eller hvis den ikke skal brukes over lengre tid.
- Unngå direkte sollys: Ikke utsett skjermen for direkte sollys eller overdreven varme.
6. Feilsøking av vanlige problemer
If you encounter problems with your monitor, refer to the following table for potential solutions:
| Problem | Mulig årsak | Løsning |
|---|---|---|
| Intet bilde på skjermen | Strømkabelen er frakoblet Videokabel frakoblet Feil inngangskilde valgt | Sjekk strømkabeltilkoblingen Ensure video cable is securely connected to both monitor and computer Select the correct input source via the OSD menu |
| Bildet er uskarpt eller forvrengt | Feil oppløsning Video cable issue | Set display resolution to 1920 x 1200 Try a different video cable |
| Ingen lyd fra høyttalere | Volum for lavt Audio cable not connected (if applicable) Feil lydutgang valgt på datamaskinen | Adjust monitor volume via OSD Ensure audio is routed to the monitor on your computer's sound settings |
| USB-porter fungerer ikke | USB-oppstrømskabel er ikke tilkoblet | Connect the USB upstream cable from the monitor to your computer |
If the problem persists after trying these solutions, please contact iiyama customer support.
7. Tekniske spesifikasjoner
| Trekk | Spesifikasjon |
|---|---|
| Modellnummer | XUB2495WSU-B7 |
| Skjermstørrelse | 24.1 inches (24.5 inches standing screen display size) |
| Paneltype | IPS |
| Oppløsning | 1920 x 1200 (WUXGA) |
| Aspektforhold | 16:10 |
| Responstid | 4 ms (GtG) |
| Lysstyrke | 300 cd/m² |
| Kontrastforhold | 1000:1 (vanlig) |
| Videoinnganger | HDMI, DisplayPort |
| USB-hub | 3x USB 3.2, 1x USB-C (15W Power Delivery) |
| Høyttalere | Integrert |
| Ergonomi | Height Adjustable (150mm), Swivel, Tilt, Pivot |
| Strømforbruk | 15 kWh/1000h (Energy Class D) |
| Produktdimensjoner (BxHxD) | 8.23 x 20.98 x 14.61 tommer (med stativ) |
| Varevekt | 11.22 pund |
7.1 Energiinformasjon

Figure 10: Energy Label for XUB2495WSU-B7.
For more detailed energy information, please visit the EPREL database.
8. Garanti og kundestøtte
Information regarding the product warranty and customer support services is typically provided in a separate warranty card included with your purchase or can be found on the official iiyama website. Please refer to these resources for details on warranty coverage, service procedures, and contact information for technical assistance.