T300
Generic T300 LED Mini Projector User Manual
Modell: T300
1. Introduksjon
Takk for kjøpetasing the Generic T300 LED Mini Projector. This compact and portable projector is designed for home theater use, offering a clear viewing experience with its short-focus optical lens and diffuse reflection imaging technology, which helps reduce eye strain. This manual provides essential information for setting up, operating, maintaining, and troubleshooting your projector.
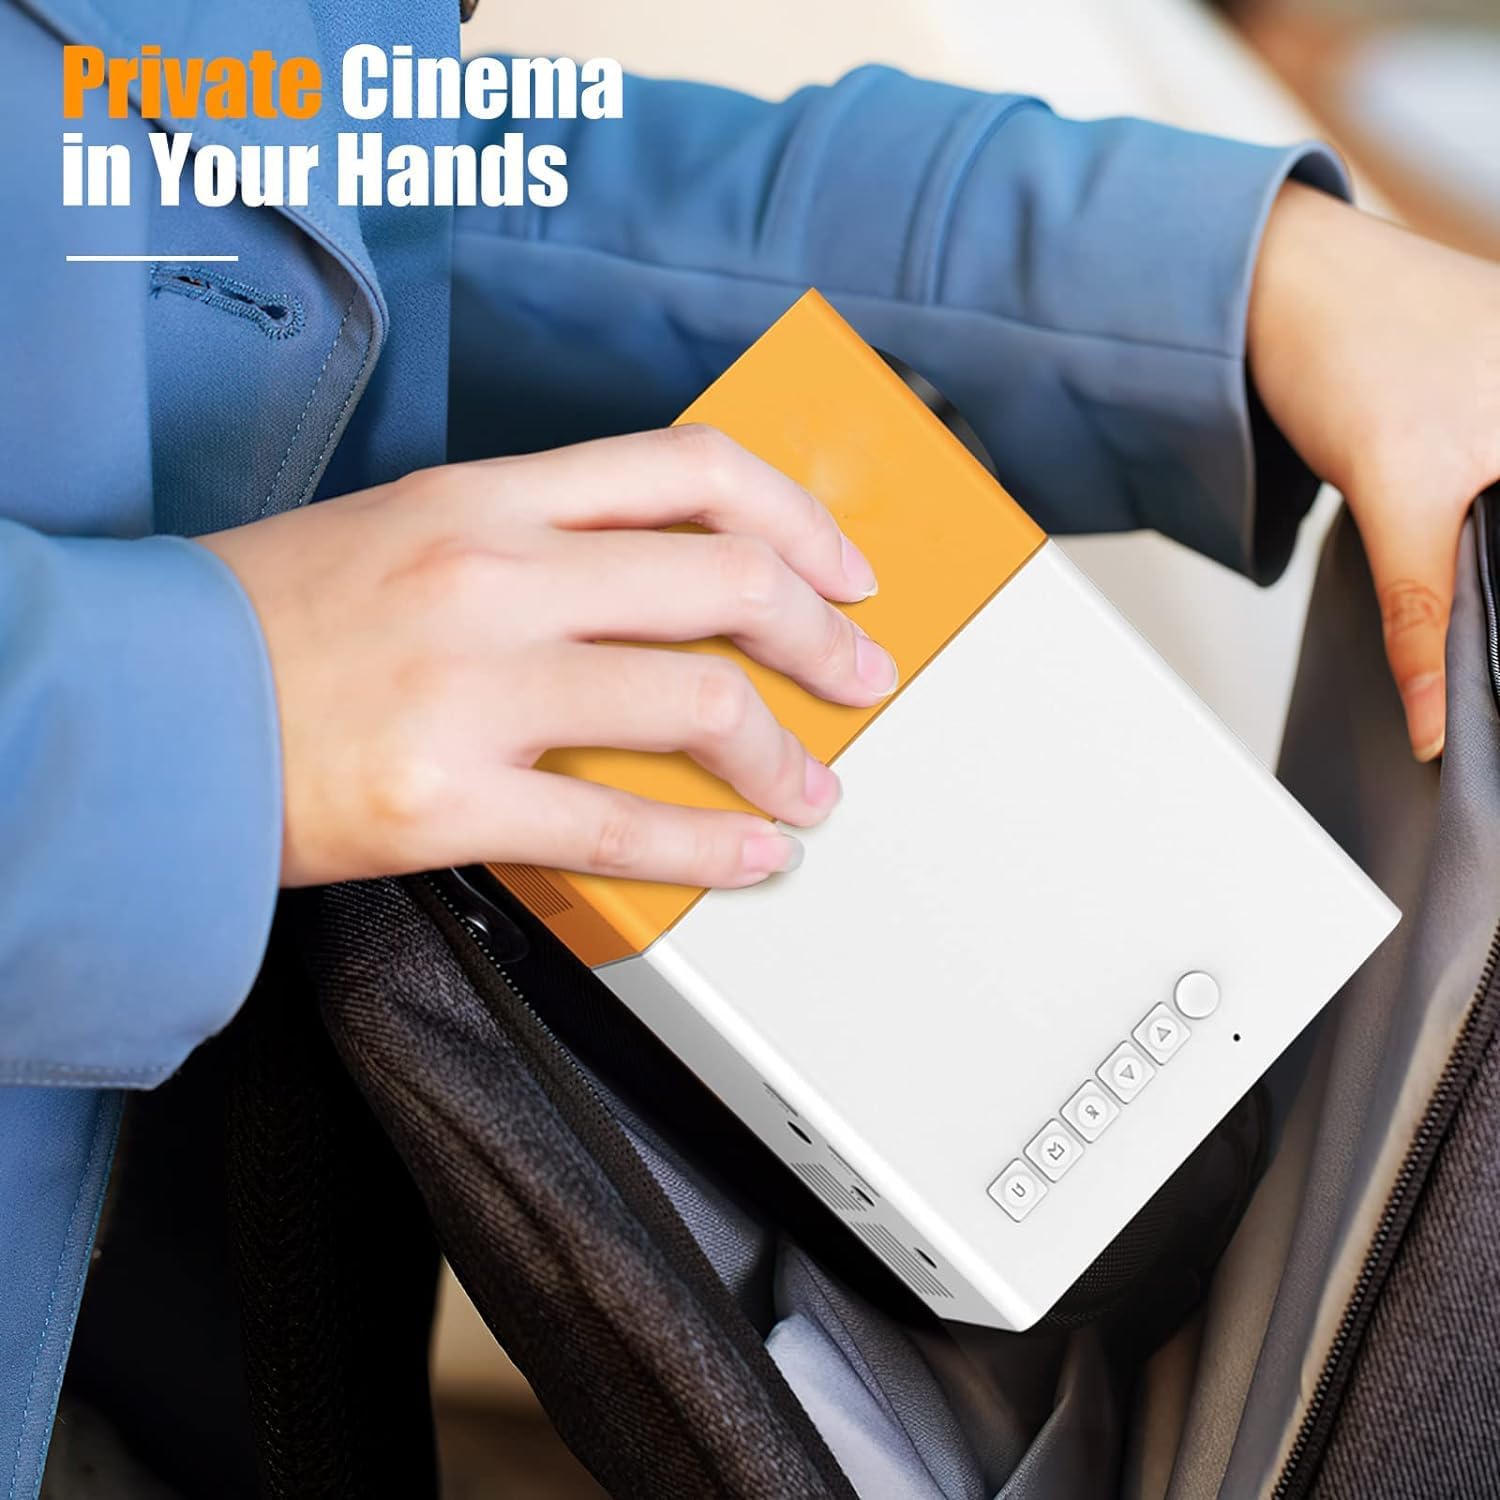
Figur 1.1: The T300 Mini Projector's compact size allows for easy portability, fitting conveniently into a bag.
2. Pakkens innhold
Sjekk innholdet i pakken når du pakker ut for å sikre at alle varene er til stede:
- 1x T300 Projector
- 1x Power Adapter (EU Plug)
- 1x fjernkontroll
- 1x AV-kabel
- 1x brukerhåndbok (dette dokumentet)
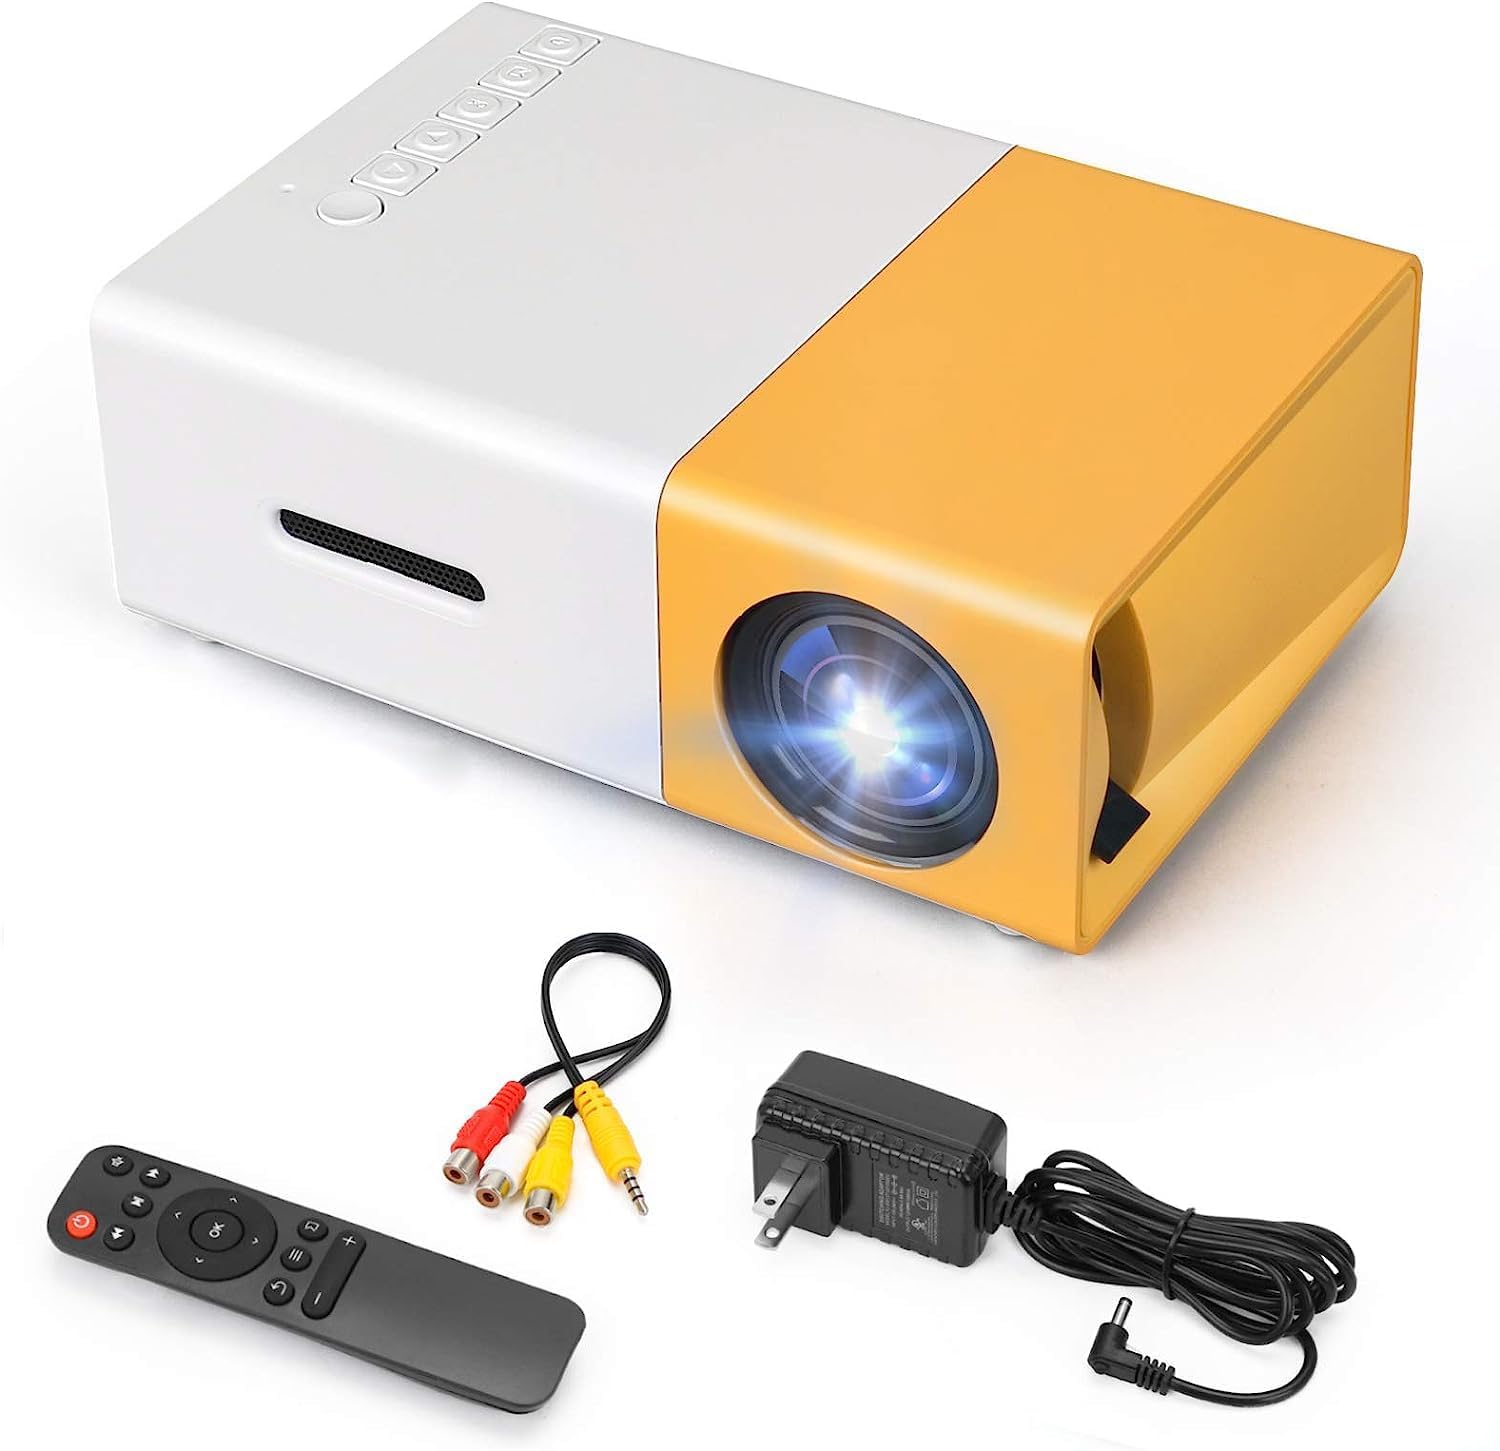
Figur 2.1: The T300 Mini Projector and its included accessories.
3. Produktet er overview
Familiarize yourself with the various ports and controls on your T300 Mini Projector:

Figur 3.1: Foran og bak views of the T300 Mini Projector, detailing its input/output ports and control buttons.
3.1. Porter og grensesnitt
- HDMI -inngang: Connect to laptops, TV boxes, gaming consoles, and other HDMI-enabled devices.
- USB-inngang: For avspilling av media direkte fra USB-stasjoner.
- Micro SD -kortspor: For avspilling av media direkte fra Micro SD-kort.
- AV-inngang: Koble til eldre enheter med den medfølgende AV-kabelen.
- Micro USB (5V/2A): Power input option, compatible with power banks or car chargers.
- Earphone Slot: For tilkobling av eksterne hodetelefoner eller høyttalere.
- DC strøminngang: Main power input using the provided power adapter.
3.2. Kontroller
- Strømbryteren: For å slå projektoren av eller på.
- Navigation Buttons (Left, Right, OK): For menynavigasjon og valg.
- Inndataknapp: For å velge inngangskilde.
- Returknapp: To go back in menus.
4. Oppsett
4.1. Strømtilkobling
- Connect the provided power adapter to the DC Power Input port on the projector.
- Koble strømadapteren til en stikkontakt.
- Alternatively, for portable use, connect a 5V/2A power bank or car charger to the Micro USB (5V/2A) port.
4.2. Enhetstilkobling
The T300 projector supports various input sources:
- HDMI: Connect your laptop, TV box, gaming console (PS4/PS3), or other HDMI devices using an HDMI cable (not included).
- USB: Sett inn en USB-minnepinne i USB-porten for å spille av medier files direkte.
- Micro SD-kort: Insert a Micro SD card into the Micro SD card slot to play media files.
- AV: Use the included AV cable to connect to devices with AV output (e.g., DVD players).

Figur 4.1: Multimedia connectivity options for the T300 Mini Projector.
4.3. Placement and Focus
- Plasser projektoren på en stabil, flat overflate.
- Position the projector at a distance between 2 to 5 meters from the projection surface to achieve an optimal image size of 60 to 150 inches.
- Adjust the focus ring on the projector lens until the image appears clear and sharp. The short-focus optical lens allows focusing at a distance of 50cm.
5. Bruksanvisning
5.1. Slå på/av
Press the Power Switch on the projector or the power button on the remote control to turn the projector on or off.
5.2. Valg av inngangskilde
After powering on, use the 'Input' button on the projector or the remote control to cycle through available input sources (HDMI, USB, TF Card, AV) until your desired source is displayed.
5.3. Multimediaavspilling
The projector supports multi-format video, audio, picture, and e-book playback. Navigate through your media files using the navigation buttons on the projector or remote control and press 'OK' to select.
5.4. Lydutgang
The projector has a built-in miniature speaker. For enhanced audio, connect external speakers or headphones to the Earphone Slot.

Figur 5.1: Versatile applications of the T300 Mini Projector for entertainment.
6. Vedlikehold
6.1. Rengjøring av linsen
Use a soft, lint-free cloth or lens cleaning paper to gently wipe the projector lens. Avoid using abrasive materials or harsh chemicals that could scratch the lens.
6.2. Ventilasjon
Ensure the projector's ventilation openings are not blocked during operation to prevent overheating. Keep the projector in a well-ventilated area.
6.3. Oppbevaring
When not in use, store the projector in a cool, dry place, away from direct sunlight and excessive dust. It is recommended to use the original packaging or a protective case.
6.4. Lamp Liv
LED lamp in your T300 projector has an estimated life of 20,000 hours, providing long-term use without frequent lamp erstatning.
7. Feilsøking
Hvis du støter på problemer med projektoren, kan du se følgende vanlige problemer og løsninger:
- Ikke noe bilde vist:
- Ensure the projector is powered on and the power adapter is securely connected.
- Verify the input source is correctly selected (HDMI, USB, AV, etc.).
- Sjekk tilkoblingskabelen mellom projektoren og kildeenheten.
- Bildet er uskarpt:
- Adjust the focus ring on the projector lens until the image is clear.
- Ensure the projection distance is within the recommended range (2-5 meters).
- Ingen lyd:
- Sjekk voluminnstillingene på både projektoren og kildeenheten.
- If using external speakers/headphones, ensure they are properly connected to the Earphone Slot.
- Kontroller lydutgangsinnstillingene på kildeenheten din.
- Fjernkontrollen fungerer ikke:
- Sørg for at det ikke er noen hindringer mellom fjernkontrollen og projektorens IR-mottaker.
- Replace the batteries in the remote control if necessary.
8. Spesifikasjoner
| Trekk | Spesifikasjon |
|---|---|
| Modell | T300 |
| Støtteoppløsning | 1920 x 1080 (Full HD) |
| Innfødt oppløsning | 1920 x 1080 |
| Visningstype | LCD, DLP |
| Grensesnitt | HDMI, USB, TF Card Slot, AV, Micro USB (5V-2A) |
| Innebygd høyttaler | Ja |
| Lamp Liv | 20,000 timer |
| Produktstørrelse | 114 x 87 x 50 mm |
| Anbefalt bruk | Hjemmekino |
| Spesialfunksjon | Bærbar |
| Maksimal bildestørrelse | 150 tommer |
| Minimum bildestørrelse | 60 tommer |
| Maksimal kasteavstand | 5 meter |
| Minimum kasteavstand | 2 meter |
| Strøminngang | 5V/2A |
9. Garanti og støtte
9.1. Garantiinformasjon
Dette produktet kommer vanligvis med en 10-day replacement policy from the date of purchase. Please refer to your retailer's specific warranty terms and conditions for detailed information. The LED lamp is designed for a long life of 20,000 hours, which is not typically covered by short-term replacement policies.
9.2. Kundestøtte
For technical assistance, troubleshooting beyond this manual, or warranty claims, please contact your original retailer or the manufacturer, SHUBH LABH ENTERPRISES. Keep your purchase receipt or proof of purchase handy when contacting support.
Ask a question about this manual
Ask about setup, troubleshooting, compatibility, parts, safety, or missing instructions. Manuals+ will review the question and use this page’s manual context to help answer it.