1. Introduksjon
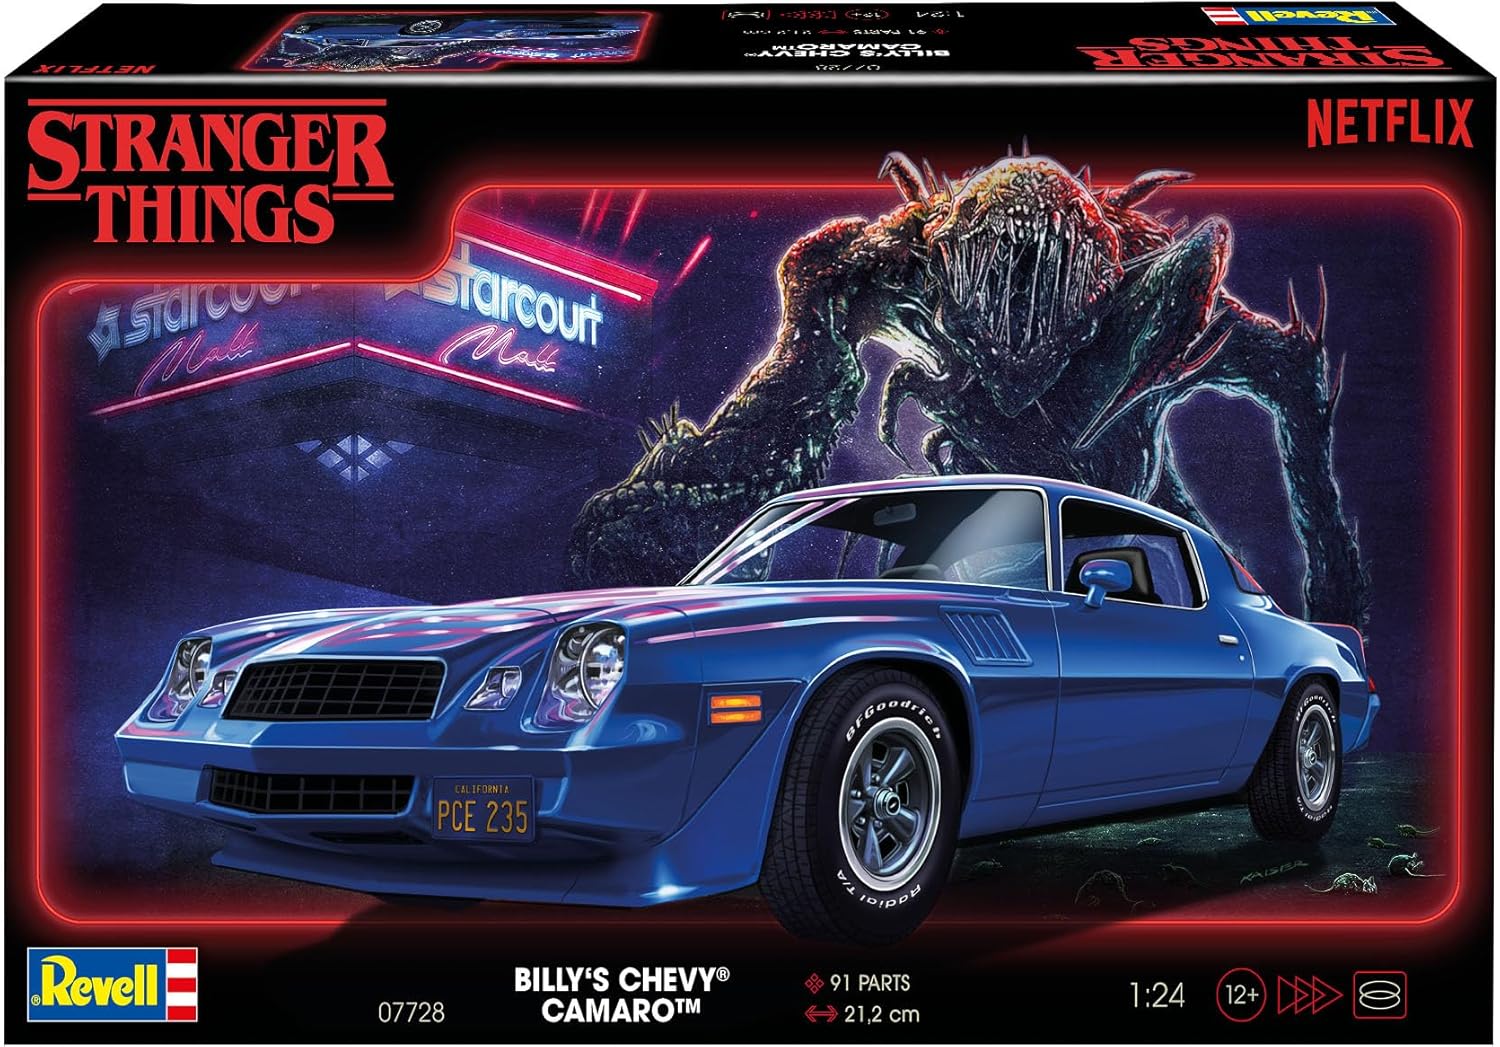
This instruction manual provides comprehensive guidance for assembling the Revell 07728 Chevy Camaro Z/28 Stranger Things 1:25 scale plastic model kit. This kit allows you to recreate the iconic vehicle from the popular Netflix series, featuring a detailed multi-part engine and authentic decal decorations. Please read all instructions carefully before beginning assembly to ensure a successful and enjoyable building experience.

Image 1.1: The Revell 07728 Chevy Camaro Z/28 Stranger Things model kit box, showcasing the vehicle and thematic elements.
2. Sikkerhetsretningslinjer
ADVARSEL! Not suitable for young children. This model kit contains small parts that may pose a choking hazard. The manufacturer recommends this product for ages 14 years and up.
- Always work in a well-ventilated area when using adhesives, paints, and thinners.
- Keep all tools, such as hobby knives and files, out of reach of children.
- Wear appropriate safety glasses to protect your eyes from small flying debris during part removal and sanding.
- Avoid direct contact with adhesives and paints. Refer to the specific product safety data sheets for these materials.
- Dispose of waste materials responsibly according to local regulations.
3. Innhold i settet
Before starting assembly, verify that all components are present and undamaged. The Revell 07728 kit includes the following:
- Plastic Model Kit parts (on sprues)
- Instruksjonsveiledning
- Dekalsett
Note: Adhesives, paints, and modeling tools are ikke inkludert and must be purchased separately. Refer to the instruction guide for recommended paint colors and types.

Image 3.1: Various plastic parts of the model kit still attached to their sprues, ready for removal and assembly.
4. Oppsett og montering
The assembly process requires careful attention to detail. Follow the fully illustrated, step-by-step instruction manual provided in the kit for precise guidance. The general steps are outlined below:
4.1. Forberedelse
- Les instruksjoner: Familiarize yourself with the entire instruction guide before starting.
- Samle verktøy: Prepare necessary tools such as sprue cutters, hobby knife, files, sandpaper, tweezers, and model adhesive.
- Rengjør deler: Carefully remove parts from the sprues using cutters. Trim any excess plastic (flash) with a hobby knife or file. Wash parts gently with mild soap and water to remove mold release agents, then allow them to dry completely.
4.2. Sub-Assembly
Assemble major components in logical order, typically starting with the engine, interior, and chassis.
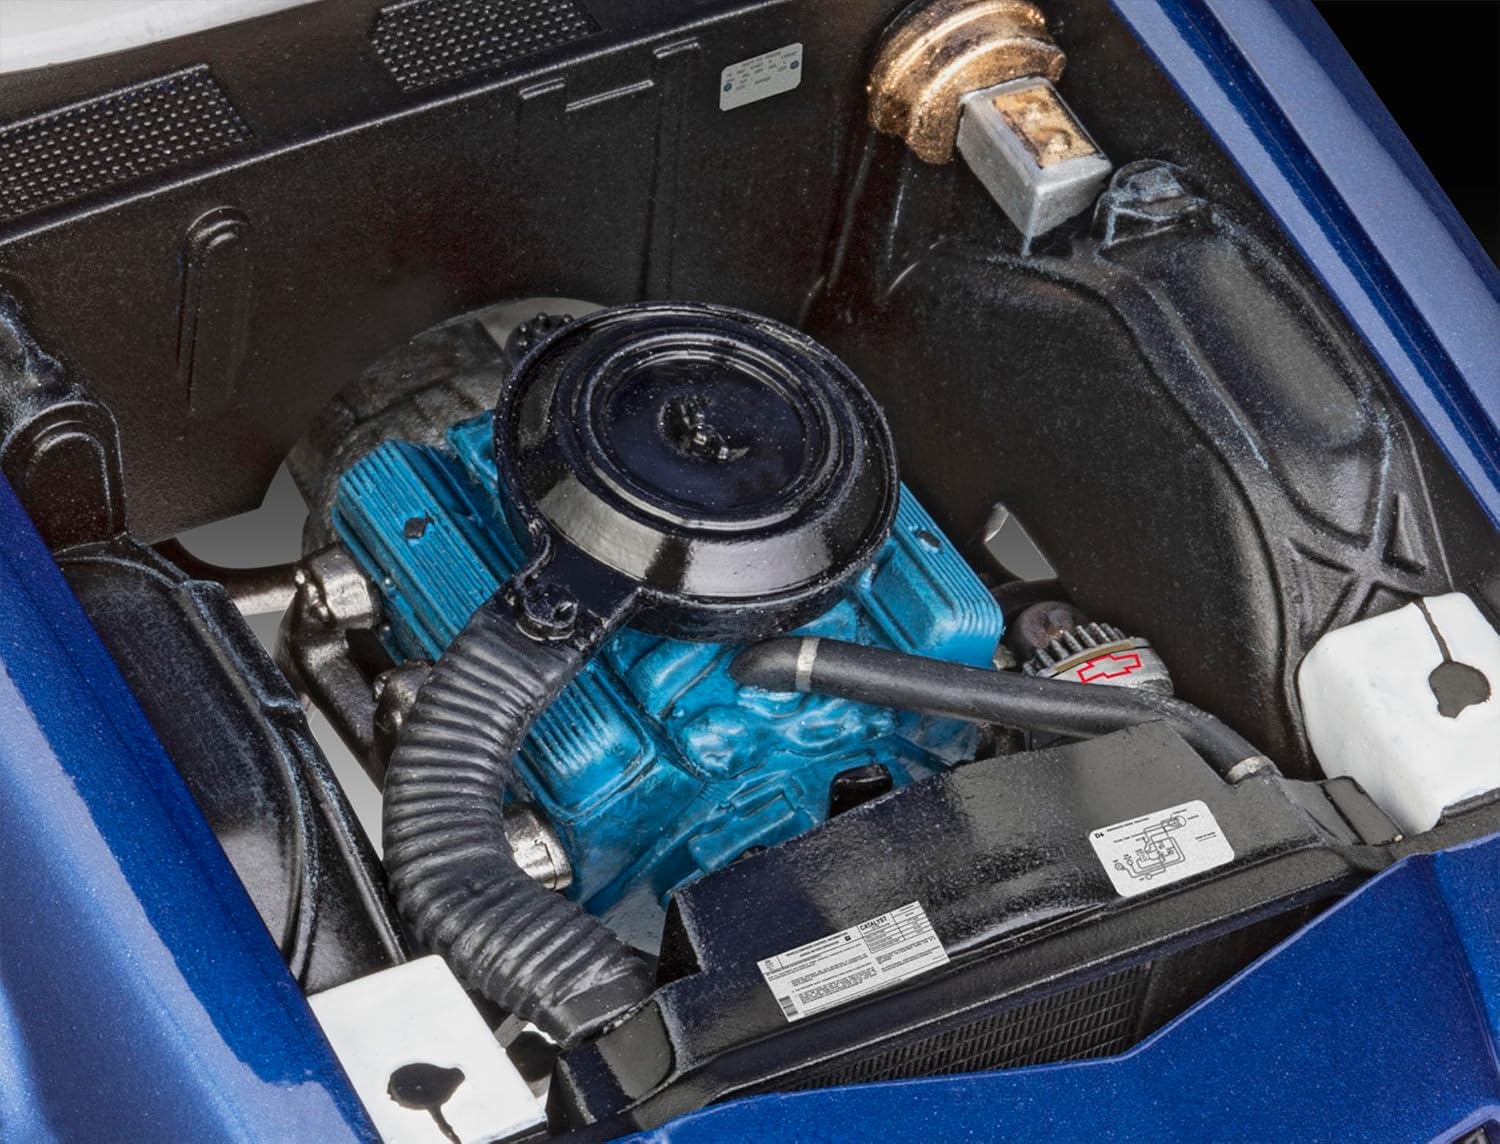
- Motormontering: The kit features a multi-part engine. Follow the diagrams to correctly assemble the engine block, cylinder heads, intake manifold, and other accessories.

Bilde 4.1: Et nærbilde view of the detailed, multi-part engine bay of the assembled model, showing various engine components.
- Innvendig montering: Construct the dashboard, seats, steering wheel, and other interior details.
Bilde 4.2: En detaljert view of the model's interior, highlighting the dashboard with gauges and controls.
- Chassis og fjæring: Assemble the frame, axles, and suspension components. Attach the wheels and tires.
4.3. Maling og påføring av klistremerker
Painting should be done in stages, often before final assembly of certain parts. Refer to the painting guide for color recommendations.
- Malingspåføring: Apply paint in thin, even coats. Allow each coat to dry completely before applying the next.
- Dekal søknad: Once paint is fully cured, apply the provided decals. Cut out each decal, dip it in water for a few seconds, then slide it onto the model. Gently position it and blot excess water with a soft cloth.
4.4. Sluttsamling
Combine the painted and decaled sub-assemblies to complete the model.
- Attach the interior tub to the chassis.
- Mount the engine into the chassis.
- Secure the body shell to the chassis assembly.
- Attach smaller exterior details such as mirrors, lights, and trim.
Bilde 4.3: En side view of the fully assembled and painted Revell Chevy Camaro Z/28 model, showcasing sin fullstendige form.
5. Utstilling og stell
Once assembled, your Revell Chevy Camaro Z/28 model is a static display piece. Proper care will ensure its longevity and appearance.
- Visningssted: Place your model on a stable, flat surface away from direct sunlight, extreme temperatures, and high humidity to prevent fading, warping, or decal damage.
- Håndtering: Always handle the model by its base or main body. Avoid touching delicate parts like mirrors, antennas, or small details, as they can break easily.
6. Vedlikehold
Maintaining your model primarily involves keeping it clean.
- Tørke støv: Regularly dust the model using a soft, dry brush (such as a makeup brush) or a can of compressed air held at a safe distance. Avoid wiping with cloths that might scratch the paint or snag small parts.
- Rengjøring: For mer gjenstridig smuss, tørk lettampen a cotton swab with water (or a very mild, non-abrasive cleaner if necessary, testing on an inconspicuous area first) and gently clean the affected area. Avoid harsh chemicals.
- Reparasjoner: If a part detaches, reattach it using appropriate model adhesive. For paint chips, touch up with matching paint if available.
7. Feilsøking av vanlige problemer
Encountering minor issues during model building is common. Here are solutions to some typical problems:
| Utgave | Mulig årsak | Løsning |
|---|---|---|
| Delene passer ikke sammen | Excess plastic (flash), misaligned parts, incorrect part identification. | Carefully trim flash with a hobby knife or file. Ensure parts are correctly oriented as per instructions. Dry-fit parts before applying adhesive. |
| Paint appears uneven or clumpy | Paint too thick, insufficient mixing, improper surface preparation, high humidity. | Thin paint according to manufacturer's instructions. Mix thoroughly. Ensure surface is clean and dry. Apply multiple thin coats instead of one thick coat. |
| Decals tear or wrinkle | Decal left in water too long/short, improper handling, rough surface. | Follow decal application instructions precisely. Use tweezers for delicate handling. Ensure painted surface is smooth and glossy. Use decal setting solutions if needed. |
| Adhesive visible after drying | Excessive adhesive applied. | Apply adhesive sparingly. Use a fine-tipped applicator. For clear parts, use specialized clear parts cement to avoid fogging. |
8. Produktspesifikasjoner
- Merke: Revell
- Modellnavn: Revell 07728 Chevy Camaro Z/28: Stranger Things 1:25 Scale Unbuilt/Unpainted Plastic Model Kit
- Varemodellnummer: RV07728
- Skala: 1:25
- Materiale: Plast
- Antall stykker: 100
- Monterte mål (L x B x H): Omtrent 8.35 x 3.15 x 2.2 tommer (21.2 x 8.0 x 5.6 cm)
- Varevekt: 14.1 unser (400 gram)
- Anbefalt alder: 14 år og oppover
- Inkluderte komponenter: Model Kit parts, Instruction Guide, Decal Set
- Tema: Stranger Things
- Farge: Unpainted (requires painting)
9. Kundestøtte og garanti
For technical assistance, missing parts, or inquiries regarding your Revell model kit, please contact Revell customer support directly.
- Produsent: Carrera Revell Europe GmbH
- Webnettsted: Refer to the official Revell webnettsted for kontaktinformasjon og støtteressurser.
Garantiinformasjon: Specific warranty details for this product are provided by the manufacturer. Please refer to the packaging or the official Revell website for the most current warranty policy and claim procedures.