Brukerhåndbok for Jaguar 190S elektronisk symaskin
Modell: 190S
Introduksjon
This manual provides comprehensive instructions for the safe and efficient operation, setup, and maintenance of your Jaguar 190S Electronic Sewing Machine. Designed for both beginners and experienced users, the Jaguar 190S offers a wide range of features for various sewing and quilting projects. Please read this manual thoroughly before using the machine to ensure optimal performance and longevity.
1. Oppsett
1.1 Utpakking og plassering
- Ta maskinen forsiktig ut av emballasjen.
- Place the machine on a stable, flat surface. Ensure adequate space around the machine for comfortable operation.
- Connect the foot pedal and power cord to the machine and a suitable power outlet (220 Volts).

Figur 1: Foran view of the Jaguar 190S Electronic Sewing Machine. This image shows the main body of the machine, including the needle area, presser foot, stitch selection panel, and LCD screen.
1.2 Spoling av spolen
- Plasser en trådsnelle på snellepinnen.
- Før tråden gjennom den øvre trådføreren og rundt spolespenningsskiven.
- Plasser en tom spole på spoleviklerens spindel.
- Wrap the thread clockwise a few times around the bobbin.
- Skyv spolespindelen til høyre.
- Start the machine (using the foot pedal or start/stop button) to wind the bobbin. Stop when the bobbin is full.
- Klipp av tråden og skyv spindelen tilbake til venstre.
1.3 Skruing av maskinen
- Løft trykkfotspaken.
- Plasser trådspolen på spolepinnen.
- Følg den nummererte trådstien som er angitt på maskinen, og sørg for at tråden går gjennom alle trådføringer og trådopptaksspaken.
- Use the automatic needle threader for quick and easy needle threading.
- Insert the wound bobbin into the bobbin case, ensuring the thread feeds correctly through the tension spring.
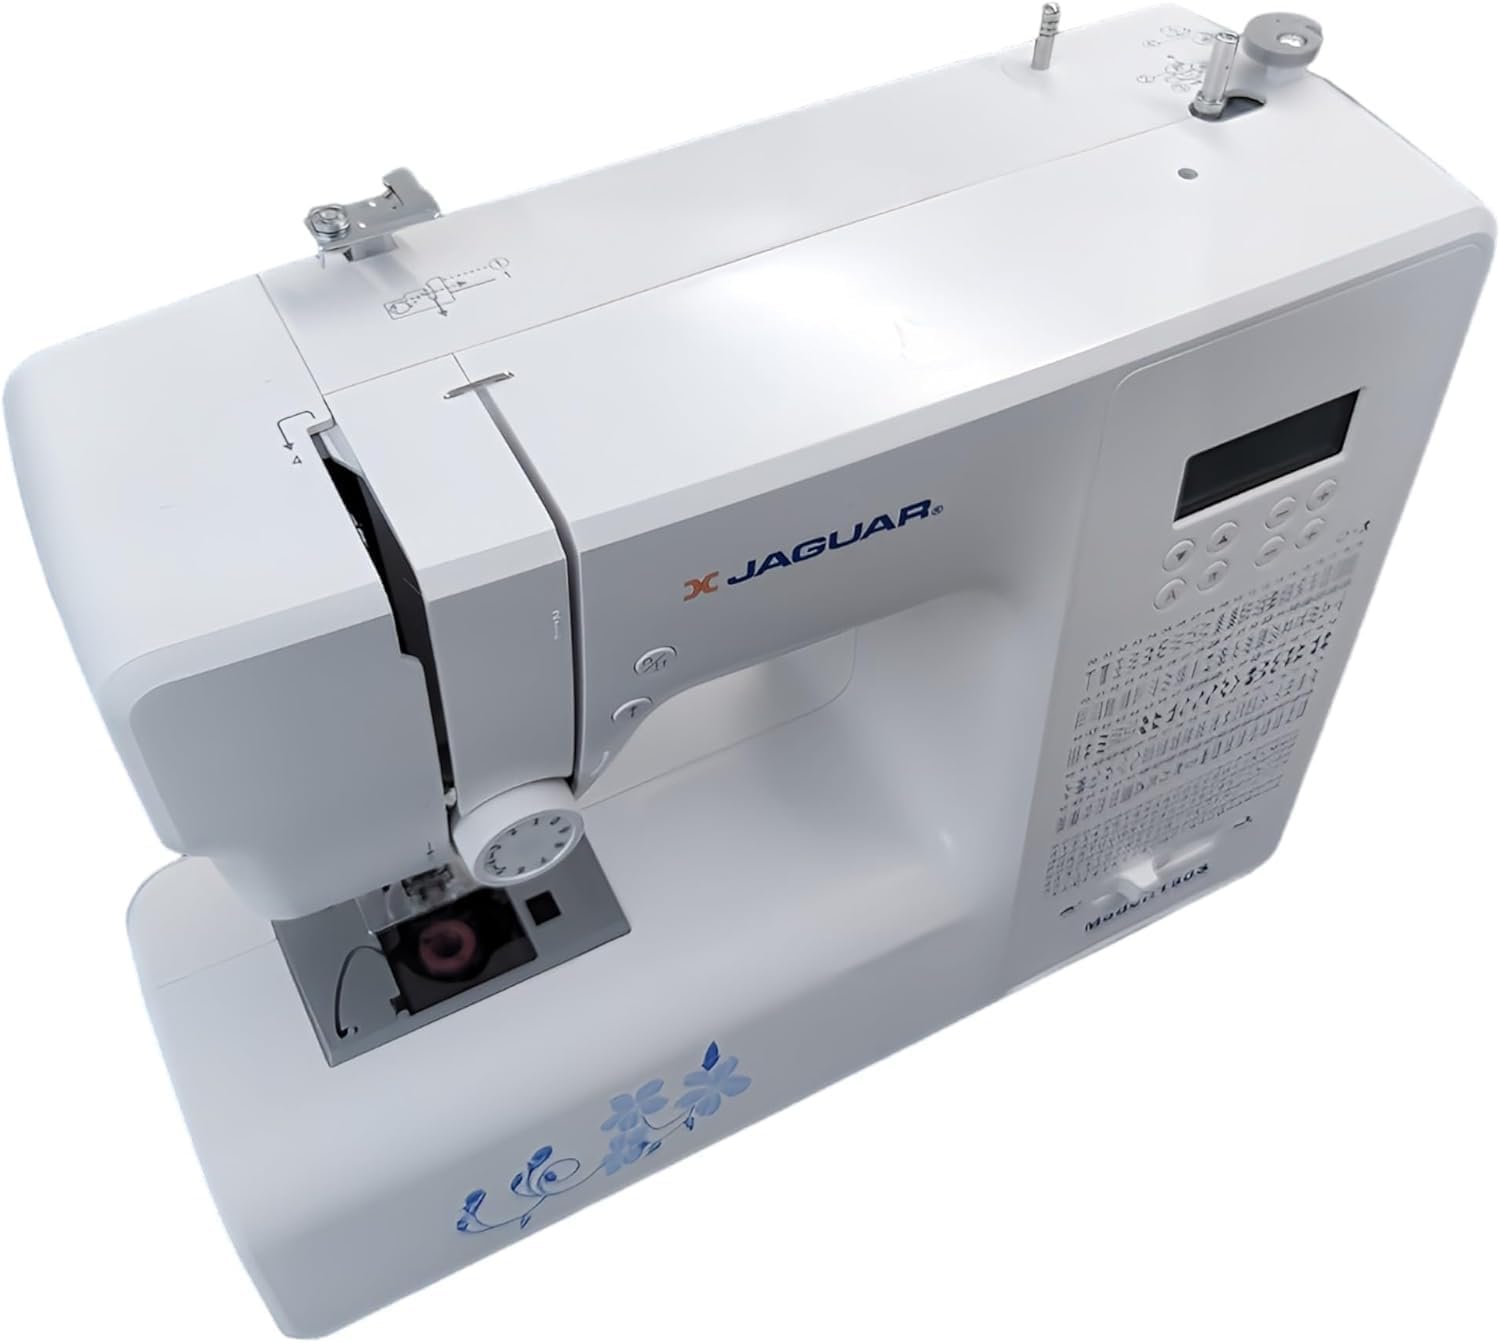
Figur 2: Ovenfra og ned view of the Jaguar 190S, illustrating the upper threading path and bobbin winding area. This view helps in understanding how to correctly thread the machine.
1.4 Attaching the Needle
- Drei håndhjulet for å heve nålen til høyeste posisjon.
- Løsne nålen clamp skru.
- Sett inn den nye nålen med den flate siden mot baksiden av maskinen, og skyv den opp så langt den går.
- Stram nålen clamp skru godt fast.
1.5 Attaching the Presser Foot
- Løft trykkfotløfteren.
- Press the release button on the back of the presser foot holder to remove the current foot.
- Align the desired presser foot with the holder and lower the presser foot lifter until it snaps into place.
2. Bruksanvisning
2.1 Grunnleggende kontroller
- LCD-skjerm: Displays selected stitch number, length, and width.
- Stitch Selection Buttons: Use the '+' and '-' buttons to navigate through the 200 available stitches.
- Hastighetskontrollglider: Adjusts sewing speed from 150 to 700 stitches per minute.
- Start/stopp -knapp: Operates the machine without the foot pedal.
- Reverseringsknapp: For forsterkning av sting i begynnelsen og slutten av sømmer.
- Nåleknapp opp/ned: Plasserer nålen enten helt oppe eller helt nede.
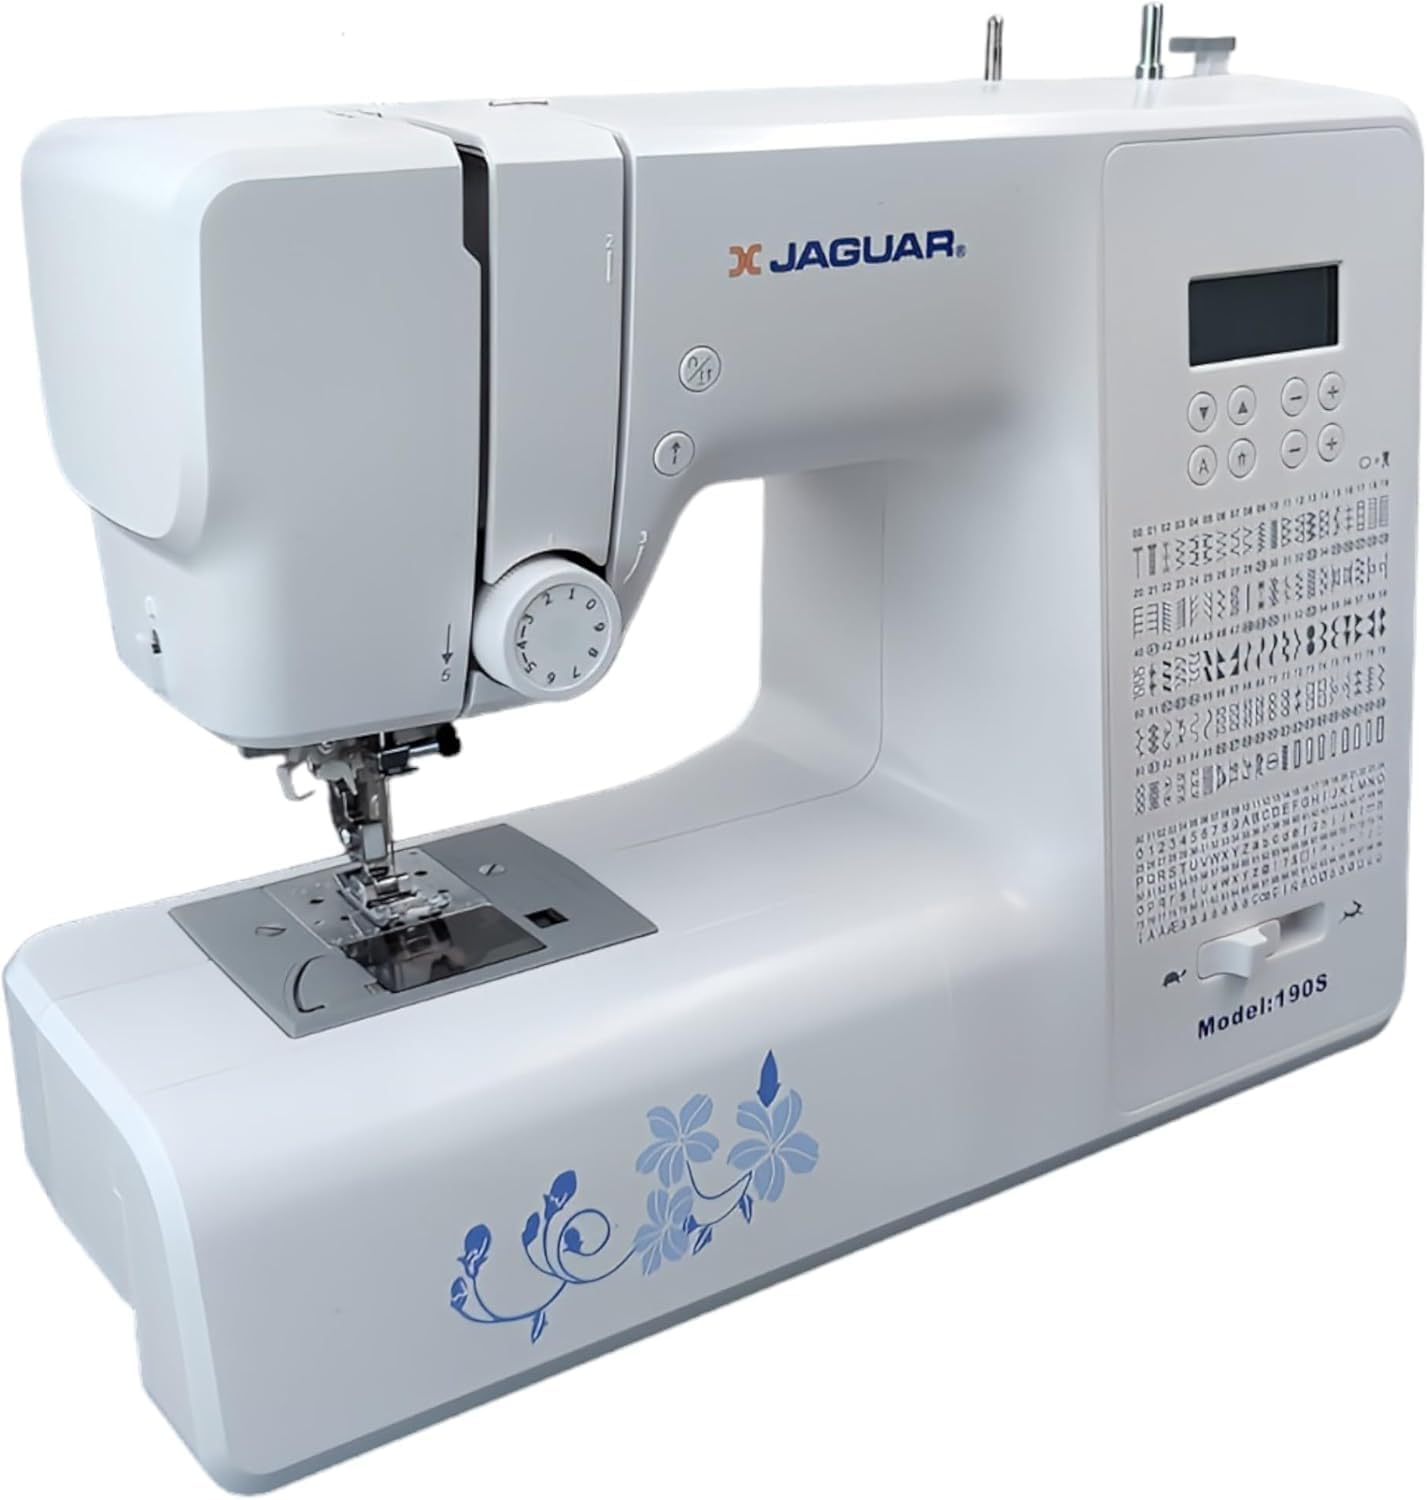
Figure 3: Close-up of the Jaguar 190S control panel and LCD screen. This image highlights the buttons for stitch selection, speed control, and needle positioning.
2.2 Valg og justering av sting
- Turn on the machine. The default stitch (usually a straight stitch) will appear on the LCD.
- Use the stitch selection buttons to choose from the 200 built-in stitches, including utility, decorative, and alphanumeric options.
- The machine automatically sets optimal stitch length and width for the selected stitch. These can be manually adjusted using dedicated buttons if desired (Length: 0-7mm, Width: 0-4.5mm).
2.3 Automatisk nålitreder
- Sørg for at nålen er i sin høyeste posisjon.
- Lower the needle threader lever completely.
- Guide the thread as instructed by the markings near the needle.
- Release the lever slowly; a loop of thread will be pulled through the needle eye.
2.4 Automatic Buttonholes
- Attach the one-step buttonhole foot.
- Place the button you intend to use into the buttonhole foot's size guide.
- Select one of the 8 automatic buttonhole styles from the stitch menu.
- Senk knapphullspaken.
- Begynn å sy; maskinen vil automatisk lage knapphullet i riktig størrelse.
2.5 Free-Motion Sewing and Quilting
- To engage free-motion sewing or quilting, lower the feed dogs using the lever located at the back of the needle plate area.
- Attach a darning or free-motion quilting foot (not included, may be purchased separately).
- Manually guide the fabric to create your desired stitches.
2.6 Justering av trådspenning
- The machine features an adjustable thread tension lever.
- Adjust the tension setting based on the fabric type and thread used. Correct tension results in balanced stitches on both sides of the fabric.
- Test on a scrap piece of fabric before sewing your project.
3. Vedlikehold
3.1 Rengjøring av maskinen
- Koble alltid fra maskinen før rengjøring.
- Regularly clean lint and dust from the bobbin area, feed dogs, and needle plate using the provided brush.
- Tørk av utsiden av maskinen med en myk, tørr klut. Unngå bruk av sterke kjemikalier.
3.2 Skifte nål
- Change the needle frequently, especially after 8-10 hours of sewing or if it becomes bent or dull. A dull needle can cause skipped stitches or fabric damage.
- Refer to section 1.4 for detailed instructions on attaching a new needle.
3.3 Oppbevaring
- Når maskinen ikke er i bruk, dekk den til for å beskytte den mot støv.
- Oppbevares på et tørt, kjølig sted vekk fra direkte sollys.
4. Feilsøking
Denne delen tar for seg vanlige problemer du kan støte på. Kontakt kundestøtte for problemer som ikke er oppført her.
4.1 Hoppede masker
- Ensure the needle is inserted correctly and is not bent or dull. Replace if necessary.
- Check that the machine is properly threaded, both upper and bobbin threads.
- Use the correct needle type and size for your fabric.
4.2 Trådbryting
- Verify correct threading and bobbin winding.
- Adjust upper thread tension. Too high tension can cause thread breakage.
- Se etter grader eller ujevne flekker på stingplaten eller spolehuset.
- Ensure the needle is not bent or dull.
4.3 Uneven Stitches / Poor Stitch Quality
- Check and adjust thread tension for both upper and bobbin threads.
- Ensure the machine is threaded correctly.
- Bruk tråd av god kvalitet.
- Clean the bobbin area from lint and debris.
5. Spesifikasjoner
| Trekk | Detalj |
|---|---|
| Merke | JAGUAR |
| Modellnummer | 190S |
| Sømprogrammer | 200 (including 100 alphanumeric, 8 automatic buttonholes) |
| Stinglengde | 0 mm–7 mm |
| Stingbredde | 0 mm–4.5 mm |
| Nåletråder | Automatisk |
| Spolesystem | Quick-insert horizontal hook with automatic winding |
| Utstilling | Bakgrunnsbelyst LCD |
| Hastighetskontroll | Electronic, 150 to 700 stitches/minute |
| Belysning | Integrert LED |
| Makt | 35 watt |
| Voltage | 220 volt |
| Dimensjoner (L x B x H) | 43 x 23 x 35 cm (ca. 16.9 x 9.1 x 13.8 tommer) |
| Vekt | 5 kilo (ca. 11 lbs) |
| Materiale | Plast |
6. Inkludert tilbehør
The Jaguar 190S comes with a comprehensive set of accessories to get you started:
- Standard Zigzag Foot
- One-Step Buttonhole Foot
- Fot med satengsøm
- Blindsømfot
- Knapp syfot
- Electronic Foot Pedal
- Needles (3 pieces)
- Tvillingnål
- Spoledeksel
- Bobbin Holder
- Screwdrivers (small + for needle plate)
- Bobbins (4 total, one pre-installed)
- Ekstra snellepinne
- Seam Ripper / Brush

Figure 4: A selection of the accessories included with the Jaguar 190S, such as various presser feet, bobbins, needles, and the foot pedal.
7. Garanti og støtte
Your Jaguar 190S Electronic Sewing Machine is covered by a 1 års garanti for parts and manufacturing defects. Please retain your proof of purchase for warranty claims.
For technical assistance, troubleshooting beyond this manual, or warranty service, please contact your retailer or the official Jaguar customer support. Contact information can typically be found on the product packaging or the manufacturer's webnettstedet.