1. Introduksjon
This manual provides essential instructions for the safe and effective operation, setup, and maintenance of your ARCCAPTAIN 185A 3-in-1 Welding Machine. This versatile unit supports Flux Core MIG, Lift TIG, and Stick (MMA) welding processes, operating on a 110V power supply. Please read this manual thoroughly before using the welder to ensure proper function and safety.
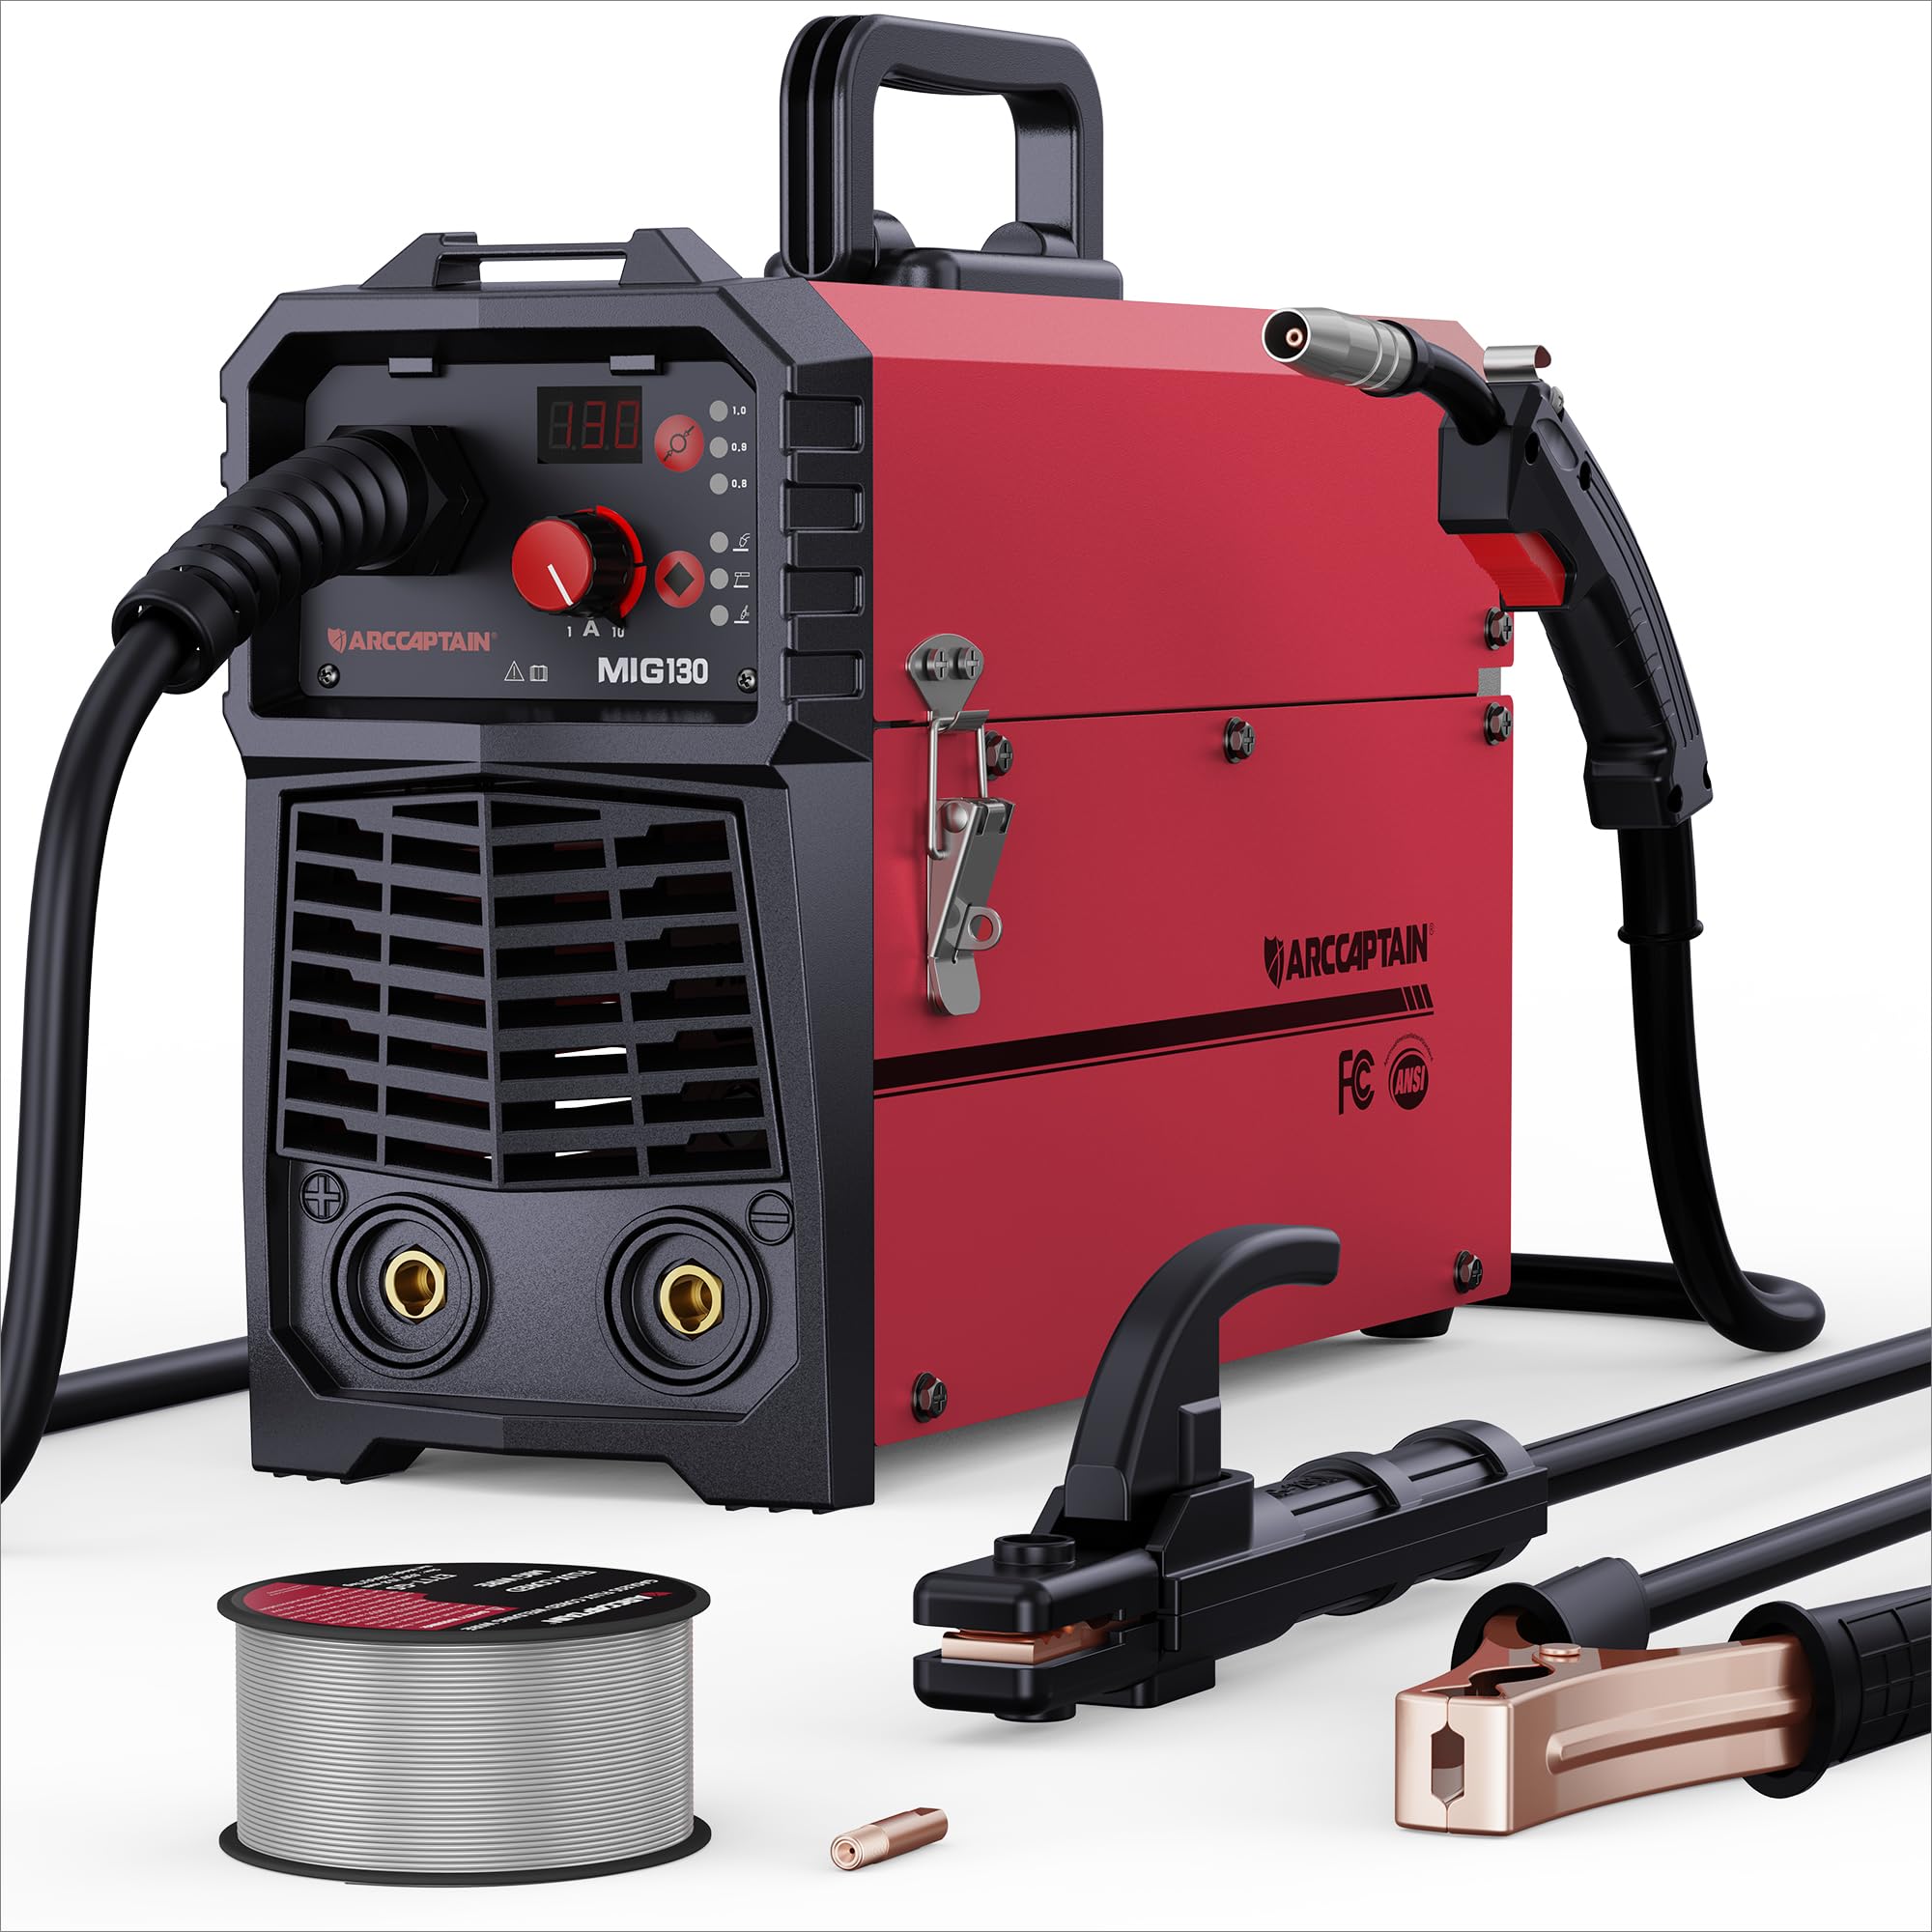
Figure 1: ARCCAPTAIN 185A 3-in-1 Welding Machine. This image displays the compact design of the welder, highlighting its control panel and connection points.
2. Sikkerhetsinformasjon
Sveiseoperasjoner innebærer betydelig risiko. Følg alltid følgende sikkerhetsregler for å unngå skader eller materielle skader.
- Elektrisk støt: Sveisestrøm kan forårsake dødelig elektrisk støt. Sørg for riktig jording, bruk tørre hansker og kontroller kablene for skader. Berør aldri strømførende elektriske deler.
- Røyk og gasser: Welding fumes and gases can be hazardous to your health. Work in a well-ventilated area or use an approved respirator. Keep your head out of the fumes.
- Buestråler: Arc rays can burn eyes and skin. Always wear a welding helmet with appropriate shade, safety glasses, and protective clothing (long sleeves, heavy gloves).
- Brann og eksplosjon: Sveisegnister og varmt metall kan forårsake brann. Hold brennbare materialer unna sveiseområdet. Ha et brannslukningsapparat lett tilgjengelig.
- Varme deler: Welded materials and equipment can remain hot for extended periods. Use insulated gloves and allow parts to cool before handling.
- Støy: Overdreven støy kan skade hørselen. Bruk hørselsvern hvis støynivået er høyt.
- Pace Makers: Magnetic fields from high currents can affect pacemakers. Consult your doctor before welding.
3. Pakkens innhold
Bekreft at alle varene som er oppført nedenfor er til stede i pakken din:
- ARCCAPTAIN 185A Welding Machine
- MIG fakkel
- Jord Clamp med kabel
- Electrode Holder (Stick) with Cable
- Flux Core Wire Spool (e.g., 2 lb .030" flux core wire)
- Contact Tips (e.g., spare .030" and .035" tips)
- Skulderstropp
- Brukerhåndbok (dette dokumentet)
4. Oppsett
4.1 Strømtilkobling
Connect the welder to a dedicated 110V AC power outlet. Ensure the circuit can handle the machine's maximum amperage (185A). Use an appropriate extension cord if necessary, ensuring it is rated for the required current and voltage.
4.2 Trådinstallasjon (MIG/Flux-kjerne)
- Åpne trådmaterrommet.
- Place the wire spool onto the spool holder, ensuring it rotates freely.
- Før tråden gjennom føringsrøret og inn i drivrullemekanismen.
- Close the drive roller tension arm, adjusting tension as needed (too loose will cause slipping, too tight will deform wire).
- Remove the contact tip from the MIG torch.
- With the welder powered on and in MIG mode, press the wire feed button (or trigger the torch) to feed the wire through the torch liner until it exits the torch nozzle.
- Reinstall the correct size contact tip for your wire diameter.
4.3 Malt Clamp Forbindelse
Koble til jord clamp cable to the appropriate terminal on the welder (usually marked with a ground symbol or "-"). Securely attach the ground clamp to the workpiece or a clean, bare metal portion of the work table. A good ground connection is critical for stable arc and weld quality.
4.4 Torch/Electrode Holder Connection
- MIG fakkel: Connect the MIG torch cable to the designated MIG connector on the front panel. Ensure it is securely tightened.
- Stick Electrode Holder: For elektrodesveising, koble elektrodeholderkabelen til den positive (+) terminalen og jordklemmen.amp to the negative (-) terminal for most common electrodes (DCEN). Consult electrode manufacturer specifications for polarity.
- Løft TIG-brenneren: For Lift TIG, a separate TIG torch (not included) is required. Connect the TIG torch to the negative (-) terminal and the ground clamp to the positive (+) terminal (DCEP) for most applications.
5. Drift
Before operating, ensure all safety precautions are followed and appropriate personal protective equipment (PPE) is worn.
5.1 Kontrollpanel overview
The control panel typically features a mode selection button, current/voltage adjustment knobs, and a digital display. Refer to the specific layout on your machine for exact button functions.
5.2 MIG Welding (Flux Core)
- Select MIG mode on the control panel.
- Set the wire diameter and material type if your machine has this feature. The welder may automatically suggest initial settings.
- Juster voltage and wire feed speed according to the material thickness and wire type. Start with recommended settings and fine-tune as needed.
- Position the MIG torch at the start of the weld joint, maintaining a consistent stick-out.
- Press the torch trigger to initiate the arc and begin welding. Maintain a steady travel speed and torch angle.
- Slipp avtrekkeren for å stoppe sveisingen.
5.3 Løft TIG-sveising
Note: A TIG torch and appropriate consumables (tungsten electrode, gas lens, collet) are required and sold separately.
- Velg Lift TIG-modus.
- Koble til TIG-brenneren og jordklemmenamp med riktig polaritet.
- Still inn ønsket amperage for your material thickness.
- Gently touch the tungsten electrode to the workpiece to establish a circuit, then lift it slightly to initiate the arc.
- Oppretthold en jevn buelengde og reisehastighet.
5.4 Stick (MMA) Welding
- Select Stick (MMA) mode.
- Koble til elektrodeholderen og jordklemmenamp with correct polarity for your chosen electrode type.
- Insert the electrode into the holder.
- Still inn amperage based on the electrode diameter and material thickness.
- Strike the electrode against the workpiece to initiate the arc, then maintain a consistent arc length and travel speed.
6. Vedlikehold
Regular maintenance ensures optimal performance and extends the lifespan of your welding machine.
- Rengjøring: Periodically clean the interior of the machine using dry compressed air to remove dust and metal particles. Ensure the machine is unplugged before cleaning.
- Kabelinspeksjon: Inspiser regelmessig alle sveisekabler, brenner og jordledninger.amp for kutt, frynsing eller løse forbindelser. Skift ut skadede komponenter umiddelbart.
- Forbruksvarer: Replace MIG contact tips, nozzles, and TIG tungstens/collets as they wear out. Ensure the correct size and type are used.
- Trådmater: Clean the drive rollers and wire guide tubes to prevent wire feeding issues. Check drive roller tension.
- Lagring: Oppbevar sveiseapparatet i et rent, tørt miljø, beskyttet mot støv og fuktighet.
7. Feilsøking
Se tabellen nedenfor for vanlige problemer og mulige løsninger.
| Problem | Mulig årsak | Løsning |
|---|---|---|
| Ingen strøm til maskinen | Strømbryter av, sikringsbryter utløst, løs strømledning | Turn on switch, reset breaker, check power cord connection |
| Ingen bue | Poor ground connection, incorrect settings, damaged torch/electrode holder, wrong polarity | Ensure clean ground connection, verify settings, inspect cables, check polarity |
| Dårlig sveisekvalitet (porøsitet, sprut) | Feil innstillinger (volumtage/WFS/amperage), dirty workpiece, worn consumables, improper technique | Adjust settings, clean workpiece, replace consumables, refine welding technique |
| Problemer med trådmating (MIG) | Incorrect drive roller tension, clogged liner, wrong contact tip size, tangled wire spool | Adjust tension, clean/replace liner, use correct tip, untangle wire |
| Overoppheting/termisk overbelastning | Exceeding duty cycle, insufficient ventilation | Allow machine to cool, ensure adequate airflow around the unit |
8. Spesifikasjoner
Key technical specifications for the ARCCAPTAIN 185A Welding Machine:
- Modell: Mig Welder
- Inngang Voltage: 110V AC
- Utgangsstrøm: 185A (maks)
- Sveiseprosesser: Flux Core MIG, Lift TIG, Stick (MMA)
- Produsent: ARCCAPTAIN
- Pakkedimensjoner: 52.83 x 31.62 x 22.86 cm
- Varevekt: 3.18 kg
- ASIN: B0DF7XT858
9. Garanti og støtte
For warranty information, technical support, or service inquiries, please contact ARCCAPTAIN customer service. Details can typically be found on the official ARCCAPTAIN website or through your purchase documentation. Please have your model number (Mig Welder) and ASIN (B0DF7XT858) ready when contacting support.
You can visit the ARCCAPTAIN store for more information: ARCCAPTAIN Store