1. Produktet er overview
The JHEMCU Noxe V2 F405 Flight Controller is engineered for FPV drone applications, integrating an STM32F405 microcontroller operating at 168MHz. It features an ICM-42688-P IMU for precise gyroscope and accelerometer data, an AT7456E OSD chip for on-screen display, and a barometer for accurate altitude sensing. A 16MB blackbox is included for comprehensive flight data logging and analysis.
This flight controller supports a wide input voltage range of 3S-6S LiPo (11.5V-26V) and provides dual BEC outputs: 5V/2.5A and 10V/2A, ensuring stable power delivery to various components. It offers extensive connectivity options, including support for ELRS, TBS (CRSF), SBUS, IBUS, DSM2, and DSMX receivers. Additionally, it is compatible with GPS modules and features a built-in compass. A micro USB port facilitates configuration, and a DFU button is provided for firmware updates.

Bilde 1.1: Topp view of the JHEMCU Noxe V2 F405 Flight Controller, highlighting the USB port and main components.

Bilde 1.2: Bunn view of the JHEMCU Noxe V2 F405 Flight Controller, displaying the STM32F405 microcontroller.
2. Hva er i esken
Når du åpner pakken, må du kontrollere at alle komponentene er til stede:
- 1x JHEMCU Noxe V2 F405 Flight Controller
- 4x M2 Shock Absorbers
- 1x Cable 8Px1.0MM
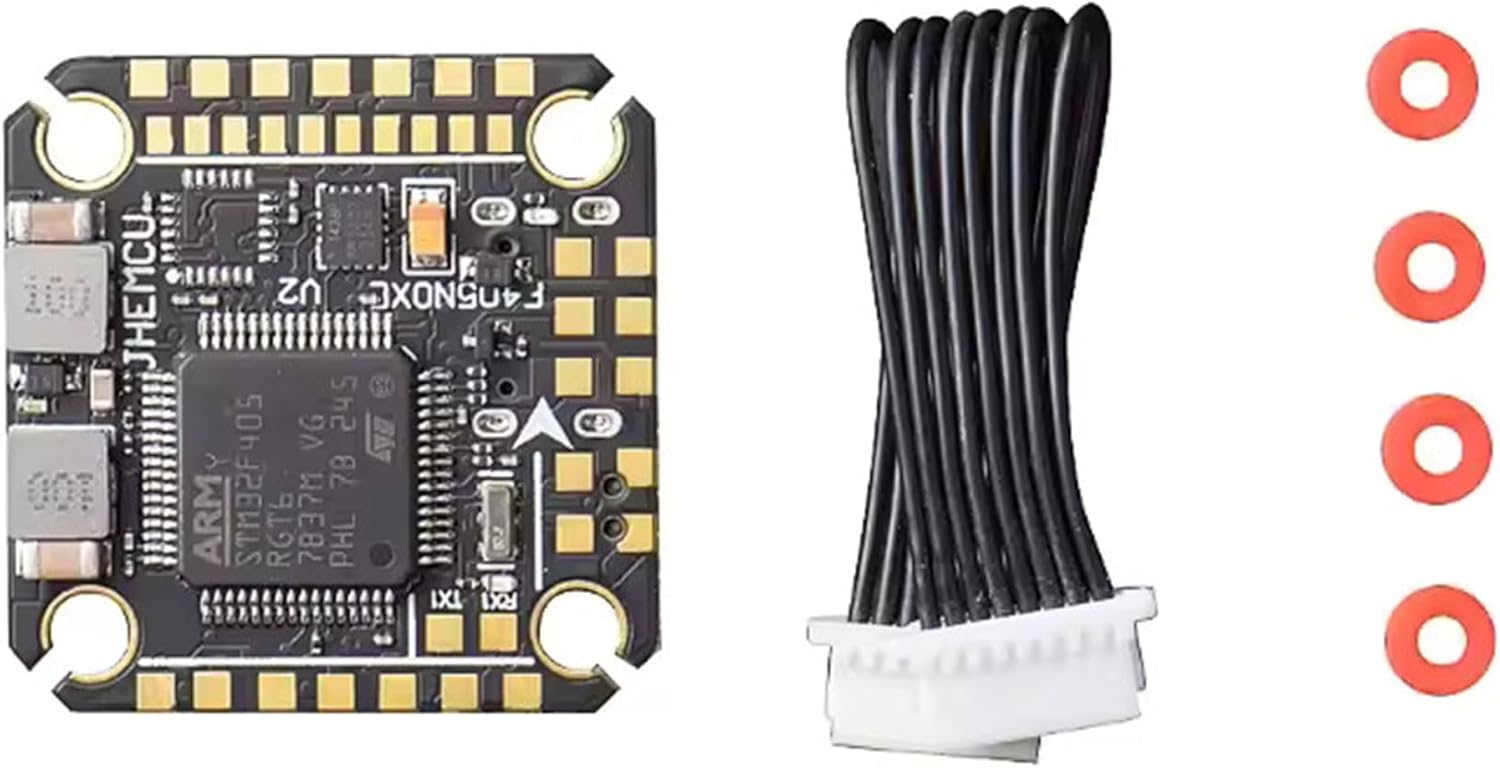
Image 2.1: JHEMCU Noxe V2 F405 Flight Controller and its accompanying accessories.
3. Spesifikasjoner
| Trekk | Spesifikasjon |
|---|---|
| MCU | STM32F405 / 168MHz |
| IMU | ICM-42688-P (Gyro/Accel) |
| OSD | AT7456E |
| Barometer | Ja |
| Blackbox | 16 MB |
| Inngang Voltage | 3S-6S LiPo (11.5V-26V) |
| 5V-BEC Output | 5V / 2.5A ±0.1V |
| 10V-BEC Output | 10V / 2A ±0.1V |
| Mottakerstøtte | ELRS (CRSF), TBS (CRSF), SBUS, IBUS, DSM2, DSMX |
| GPS Compatible | Ja |
| Kompass | Ja |
| HD O3 Support | Ja |
| USART Ports | UART1, UART3, UART4, UART6 |
| IIC Port | IIC1 |
| LED Strip Støtte | Ja |
| Buzzer-utgang | 5V |
| ESC-signal | Dshot150, Dshot300, Dshot600 |
| USB-port | Mikro USB |
| Nåværende port | Ja |
| Voltage Sensor | Ja |
| DFU Button | Ja |
| FC fastvare | betaflight_4.4.2 JHEF405PRO.HEX |
| Dimensjoner | 27x27mm |
| Monteringshull | 20x20 M3 |
| Vekt | 4.6 g |
4. Oppsettveiledning
4.1. Koblingsskjema og tilkoblinger
Carefully connect the flight controller to your drone's components. Refer to the specific pinout diagram for the JHEMCU Noxe V2 F405 for precise connections. General connections include:
- Strøminngang: Connect your LiPo battery directly to the BAT+ and BAT- pads. Ensure correct polarity.
- ESC-er: Connect the ESC signal wires to the designated motor output pads (M1-M4/M6).
- Mottaker: Connect your receiver (e.g., ELRS, TBS, SBUS) to the appropriate UART port (e.g., RX1/TX1 for CRSF).
- GPS-modul: Connect the GPS module to a dedicated UART port (e.g., RX3/TX3).
- Video Transmitter (VTX) & Camera: Connect the camera video output to the FC's video input, and the FC's video output to the VTX video input. Power the VTX and camera from the 5V or 10V BEC outputs as required.
- Summer: Connect a 5V buzzer to the dedicated buzzer pads.
- LED Strip: Connect compatible LED strips to the LED_Strip pad.
- Kompass: Connect the compass module to the IIC1 port (SDA, SCL).

Bilde 4.1: Topp view of the flight controller, illustrating potential connection points for wiring.
4.2. Fastvareoppdatering
The JHEMCU Noxe V2 F405 comes pre-flashed with Betaflight firmware. If you need to update or re-flash the firmware:
- Download the latest Betaflight Configurator software to your computer.
- Connect the flight controller to your computer via the Micro USB cable.
- Press and hold the DFU button while plugging in the USB cable to enter DFU mode, or use the CLI command
dfuin Betaflight Configurator. - In Betaflight Configurator, navigate to the 'Firmware Flasher' tab.
- Velg målet JHEF405PRO and choose the desired Betaflight version.
- Click 'Load Firmware [Online]' and then 'Flash Firmware'.
4.3. Initial Configuration (Betaflight)
After flashing, disconnect and reconnect the FC. Open Betaflight Configurator and connect to the FC:
- Porter-fanen: Configure UARTs for your receiver, GPS, VTX telemetry, etc.
- Konfigurasjonsfane: Set up ESC protocol (e.g., DSHOT600), accelerometer calibration, board alignment, and other basic settings.
- Mottakerfane: Verify receiver input and channel mapping.
- Modus-fanen: Assign flight modes (Arm, Angle, Acro, Horizon, etc.) to your transmitter switches.
- OSD Tab: Customize your On-Screen Display elements.
- Blackbox Tab: Configure blackbox logging rates and parameters.
- Save & Reboot: Always save your changes and allow the FC to reboot.
5. Bruksanvisning
5.1. Førflyvningskontroller
Utfør følgende kontroller før hver flytur:
- Sørg for at alle tilkoblinger er sikre.
- Bekreft batterivoltage og helse.
- Check propeller direction and tightness.
- Confirm transmitter and receiver are bound and functioning correctly.
- Review OSD data for any warnings or errors.
5.2. Tilkobling og frakobling
To arm the drone, move the assigned arming switch on your transmitter to the 'armed' position. The motors will typically spin slowly, indicating they are ready. To disarm, move the switch back to the 'disarmed' position. Always disarm immediately after landing or in case of an emergency.
5.3. Flymoduser
Utilize the configured flight modes (e.g., Angle, Acro, Horizon) according to your flying preference and skill level. Ensure you understand the characteristics of each mode before flight.
6. Vedlikehold
Proper maintenance ensures the longevity and reliable performance of your flight controller:
- Regelmessig inspeksjon: Periodically inspect the flight controller for any visible damage, loose connections, or solder joint issues.
- Rengjøring: Gently clean the board with a soft brush or compressed air to remove dust and debris. Avoid using liquids directly on the board.
- Fastvareoppdateringer: Keep the Betaflight firmware updated to benefit from performance improvements, bug fixes, and new features. Always back up your configuration before updating.
- Miljøvern: If flying in damp or dusty conditions, consider conformal coating the flight controller for added protection.
7. Feilsøking
Denne delen tar for seg vanlige problemer du kan støte på:
- Ingen strøm til FC:
- Sjekk batteritilkoblingen og polariteten.
- Inspect solder joints for cold joints or bridges.
- Verify the BEC outputs are functioning if powering other components.
- FC Not Connecting to Betaflight Configurator:
- Ensure correct USB drivers are installed (e.g., STM32 Virtual COM Port Driver, Zadig for DFU mode).
- Prøv en annen USB-kabel eller port.
- Attempt to connect in DFU mode for firmware re-flash.
- No Receiver Input:
- Verify receiver is powered and bound to the transmitter.
- Check receiver wiring to the correct UART RX pad.
- Ensure the correct serial protocol (e.g., Serial RX for CRSF) is enabled on the corresponding UART in the Betaflight Ports tab.
- OSD-en vises ikke:
- Check video input/output wiring between camera, FC, and VTX.
- Ensure OSD is enabled in Betaflight Configuration tab and elements are selected in the OSD tab.
- Verify NTSC/PAL setting matches your camera.
- Motors Not Spinning/Arming Issues:
- Check for error messages in the OSD or Betaflight Configurator (e.g., 'Throttle too high', 'Arming disabled').
- Calibrate accelerometer.
- Verify ESC protocol and motor direction in Betaflight.
- Ensure minimum throttle is set correctly.
8. Garantiinformasjon
The JHEMCU Noxe V2 F405 Flight Controller is covered by a manufacturer's warranty against defects in materials and workmanship. The warranty period and terms may vary depending on your region and point of purchase. Please retain your proof of purchase for any warranty claims. Damage resulting from improper installation, misuse, modification, or accidents is not covered under warranty.
9. Støtte
For technical assistance, troubleshooting beyond this manual, or further inquiries, please refer to the official JHEMCU website or contact your retailer. Online communities and forums dedicated to FPV drones can also be valuable resources for support and information.