1. Introduksjon
This manual provides detailed instructions for the installation, operation, and maintenance of your PHORUS 48-inch Tropical Palm Leaf Ceiling Fan. Please read this manual thoroughly before installation and retain it for future reference. This ceiling fan is designed for both indoor and outdoor covered areas, offering a unique tropical aesthetic with modern functionality.
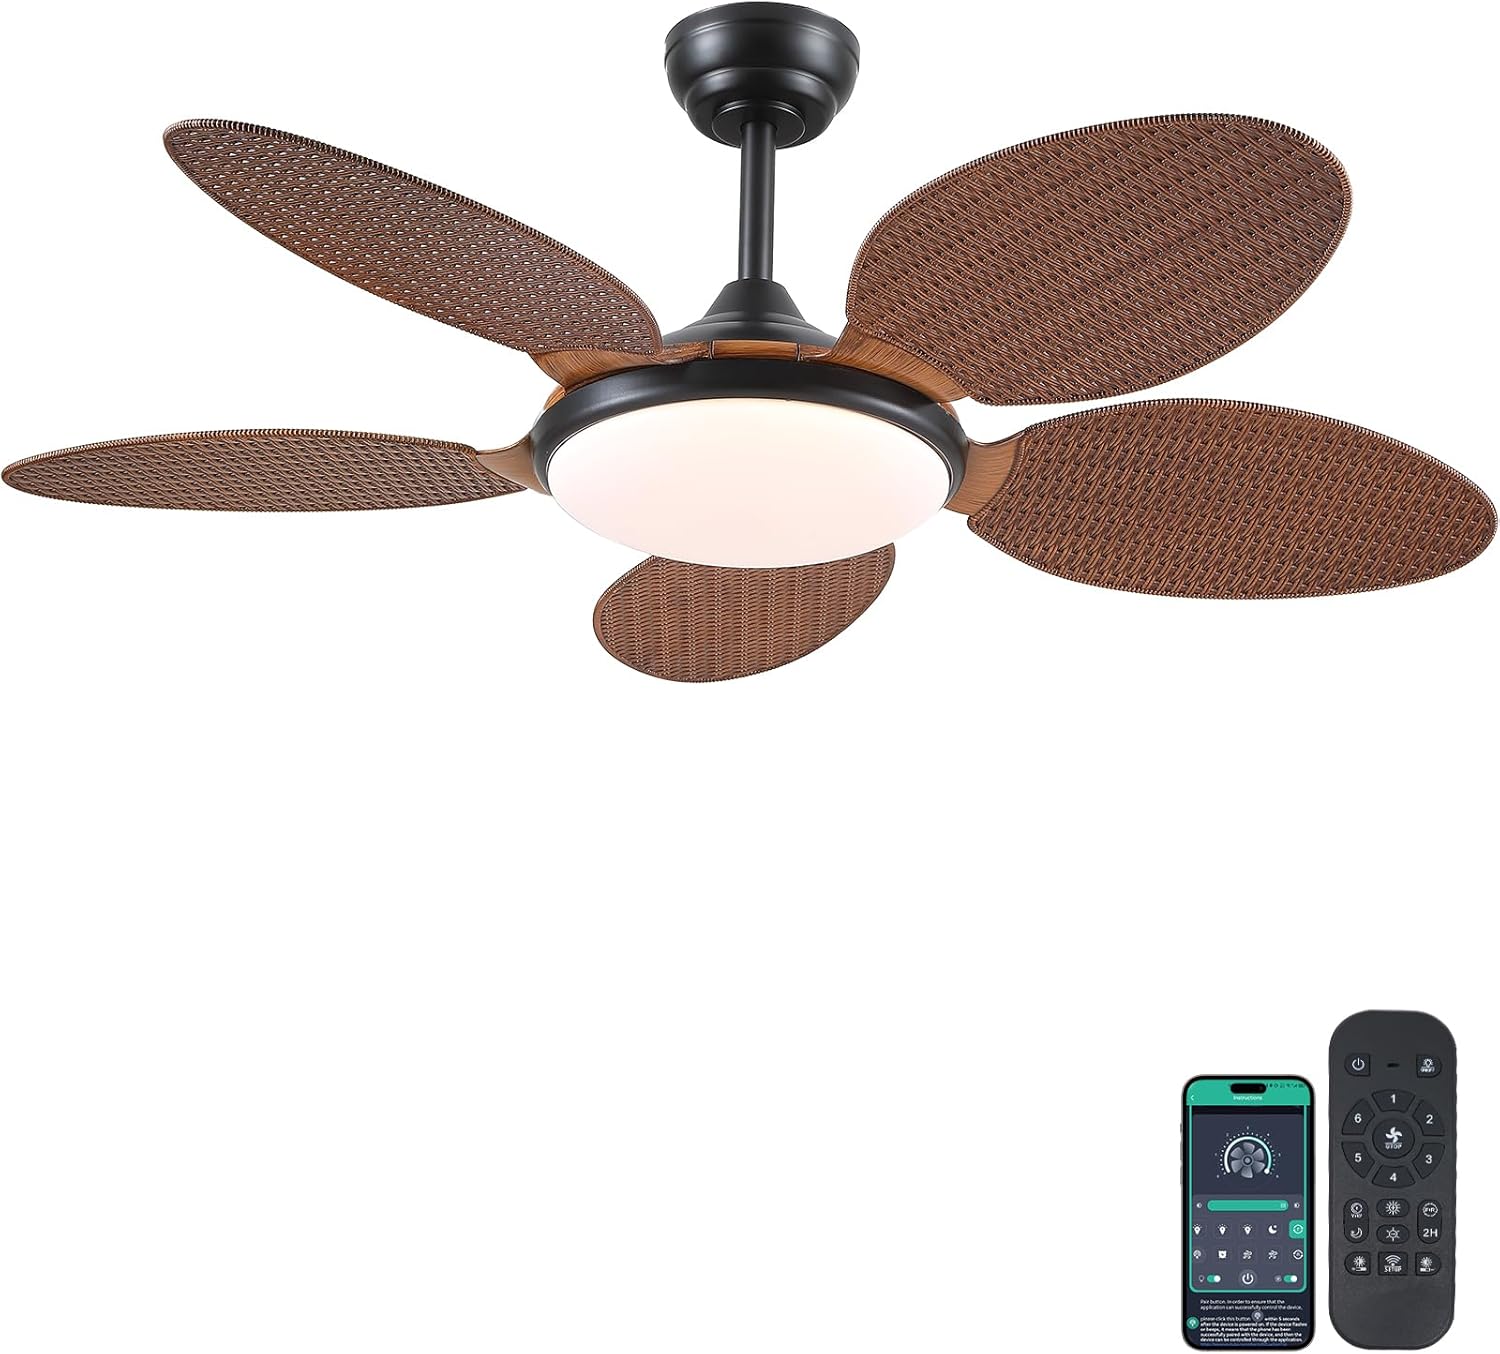
Image 1.1: PHORUS 48-inch Tropical Palm Leaf Ceiling Fan.
2. Sikkerhetsinformasjon
- Ensure the main power supply is disconnected before installation, maintenance, or cleaning.
- All electrical connections must comply with local codes and ordinances, as well as national electrical codes. If you are unfamiliar with electrical wiring, consult a qualified electrician.
- The mounting structure must be capable of supporting the weight of the fan (approximately 12.58 pounds) plus the dynamic load during operation.
- Ikke bøy bladholderne under montering eller rengjøring.
- Sørg for at det er tilstrekkelig klaring mellom viftebladene og eventuelle hindringer.
- This fan is suitable for use in damp locations but should not be directly exposed to water.
3. Pakkens innhold
Bekreft at alle komponentene som er oppført nedenfor er inkludert i pakken. Hvis noen deler mangler eller er skadet, kan du kontakte kundestøtte.

Bilde 3.1: Overview of included components and fan dimensions.
- Fan Body Assembly
- 5 Palm Leaf Blades
- Baldakin
- Nedstenger (4-tommers og 8-tommers alternativer)
- Lamp Skygge
- Fjernkontroll
- Fjernmottaker
- Monteringsbrakett
- Maskinvarepakke (skruer, trådmuttere osv.)
- Bruksanvisning
4. Oppsett og installasjon
Follow these steps carefully for proper installation. For a visual guide, please refer to the installation video provided below.
4.1. Installasjonsvideoveiledning
Video 4.1: Detailed installation guide for the PHORUS 48-inch Palm Leaf Ceiling Fan with lights.
4.2. Trinnvis installasjon
- Prepare the Fan Body: Attach the LED light board to the fan body assembly using the provided screws.
- Fest viftebladene: Secure each of the five palm leaf blades to the fan body. Ensure the correct side of the blade is facing upwards as indicated in the video.
- Montering av nedstang: Insert the downrod through the canopy and secure it to the fan body. Feed the electrical wires through the downrod.
- Installer monteringsbrakett: Secure the mounting bracket to your ceiling junction box. Ensure it is firmly attached and can support the fan's weight.
- Kablingstilkoblinger: Connect the fan's electrical wires to your household wiring. Typically, this involves connecting the black live wire, white neutral wire, and yellow ground wire. Refer to the wiring diagram in the installation video for precise connections.
- Heng viften: Løft vifteenheten forsiktig opp og heng den på monteringsbraketten.
- Installer fjernmottaker: Place the remote receiver within the canopy, ensuring wires are not pinched. Connect the receiver to the fan and household wiring as per the diagram.
- Sikker kalesje: Slide the canopy up to the ceiling and secure it to the mounting bracket with screws.
- Installer L.amp Skygge: Fest lamp shade to the bottom of the fan body.
The fan is equipped with 4-inch and 8-inch downrods to accommodate various ceiling heights. It can also be used with sloped ceilings up to 15 degrees.
5. Bruksanvisning
Your PHORUS ceiling fan can be controlled via the included remote control or a smart application on your mobile device.
5.1. Fjernkontrolldrift

Image 5.1: Remote control layout with function descriptions.
The remote control allows you to adjust the following settings:
- Slå på/av: Turn the fan and light on or off.
- Viftehastighet: Select from 6 wind speeds (1-6).
- Lys på/av: Control the integrated LED light independently.
- Fargetemperatur: Adjust between 3 light colors: 3000K (Warm Light), 4500K (Natural Light), and 6000K (White Light).
- Justering av lysstyrke: Demp eller styrk lyset fra 10 % til 100 %.
- Omvendt funksjon: Change the direction of the fan blades for summer (downdraft) or winter (updraft) modes. Press the F\R key and wait 5-8 seconds for the fan to stop completely and then automatically reverse.
- Timer: Set a 2-hour timer for automatic shutdown.
Remote Code Pairing:
If your remote control is not responding, you may need to pair it with the fan. Follow these steps:
- Turn off the main power supply to the fan for one minute.
- Turn on the main power supply and simultaneously long-press the code key on the remote control for 3-5 seconds.
- The fan light will blink 2-3 times to indicate successful code matching.
Video 5.2: Instructions for remote code pairing.
5.2. Smart appkontroll
The fan supports control via a smart application. Scan the QR code in Image 5.1 or visit https://www.jasonghost.com/fanlamppro/ to download the "Fan Lamp Pro"-appen.
Video 5.3: Guide for setting up and using the smart app control.
The app provides comprehensive control over fan speeds, light settings (color temperature and brightness), and the reverse function, similar to the remote control. All settings will be remembered after power cycling.

Image 5.4: Customizable light effects and dimming range.

Image 5.5: Fan airflow modes (summer/winter) and 6-speed settings.
6. Vedlikehold
Regelmessig vedlikehold sikrer optimal ytelse og levetid for takviften din.
- Rengjøring: Periodically clean the fan blades and light cover with a soft, damp klut. Ikke bruk slipende rengjøringsmidler eller løsemidler som kan skade overflaten.
- Stram festemidler: Check all screws and fasteners on the fan body and mounting bracket annually. Tighten any loose connections to prevent wobbling or noise.
- Tørke støv: Dust the fan motor housing and canopy regularly to prevent dust buildup, which can affect performance.
7. Feilsøking
Hvis du støter på problemer med viften, kan du se følgende vanlige problemer og løsninger:
| Problem | Mulig årsak | Løsning |
|---|---|---|
| Viften starter ikke | No power supply; Loose wire connections; Remote not paired. | Check circuit breaker/wall switch; Verify all wire connections are secure; Perform remote code pairing (refer to Section 5.1). |
| Lys fungerer ikke | Loose wire connection; LED driver issue. | Check light wiring connections; Contact customer support if LED driver is suspected. |
| Viften vingler | Løse kniver eller monteringsutstyr; Ubalanserte kniver. | Ensure all blade screws and mounting bracket screws are tight; Use a balancing kit (not included) if necessary. |
| Fjernkontrollen reagerer ikke | Lavt batteri; Fjernkontrollen er ikke paret. | Replace AAA batteries (2 required, included); Perform remote code pairing (refer to Section 5.1). |
| Overdreven støy | Loose screws; Motor issue. | Check and tighten all screws; Ensure blades are securely attached. If noise persists, contact customer support. |
8. Spesifikasjoner
- Merke: FORUS
- Modell: B0FC1SY1B2
- Farge: 48" Dark Brown
- Materiale: Akryl, plast
- Stil: Tropisk
- Romtype: Bedroom, Dining Room, Garage, Kids Room, Kitchen
- Innendørs/utendørs bruk: Indoor (suitable for damp steder)
- Strømkilde: DC
- Spesielle funksjoner: App-betjent, LED-lys, Stille drift, Fjernstyrt, Timer
- Kontrollmetode: App, fjernkontroll
- Antall lyskilder: 1
- Inkluderte komponenter: Light Kit, Remote Control
- Varevekt: 12.58 pund
- Antall varer: 1
- Wattage: 60 watt
- Kontrolltype: Appkontroll, fjernkontroll
- Antall enheter: 1.0 telling
- Monteringstype: Takfeste
- Montering nødvendig: Ja
- Størrelse: Medium (48 inches)
- Anbefalt bruk for produktet: Luftsirkulasjon
- Produktdimensjoner: 48 x 48 x 15.15 tommer
- Batterier: 2 AAA-batterier kreves (inkludert)
9. Garanti og støtte
PHORUS provides a one-year quality warranty for this product. We also offer free replacement service for any damage and quality problems encountered during the warranty period. If you have any questions or require assistance, please contact PHORUS customer support for a satisfactory answer within 24 hours.