1. Introduksjon
This manual provides instructions for the safe assembly, operation, maintenance, and troubleshooting of your EYESUN Exercise Bike Model QM-530W. Please read this manual thoroughly before using the product and retain it for future reference.
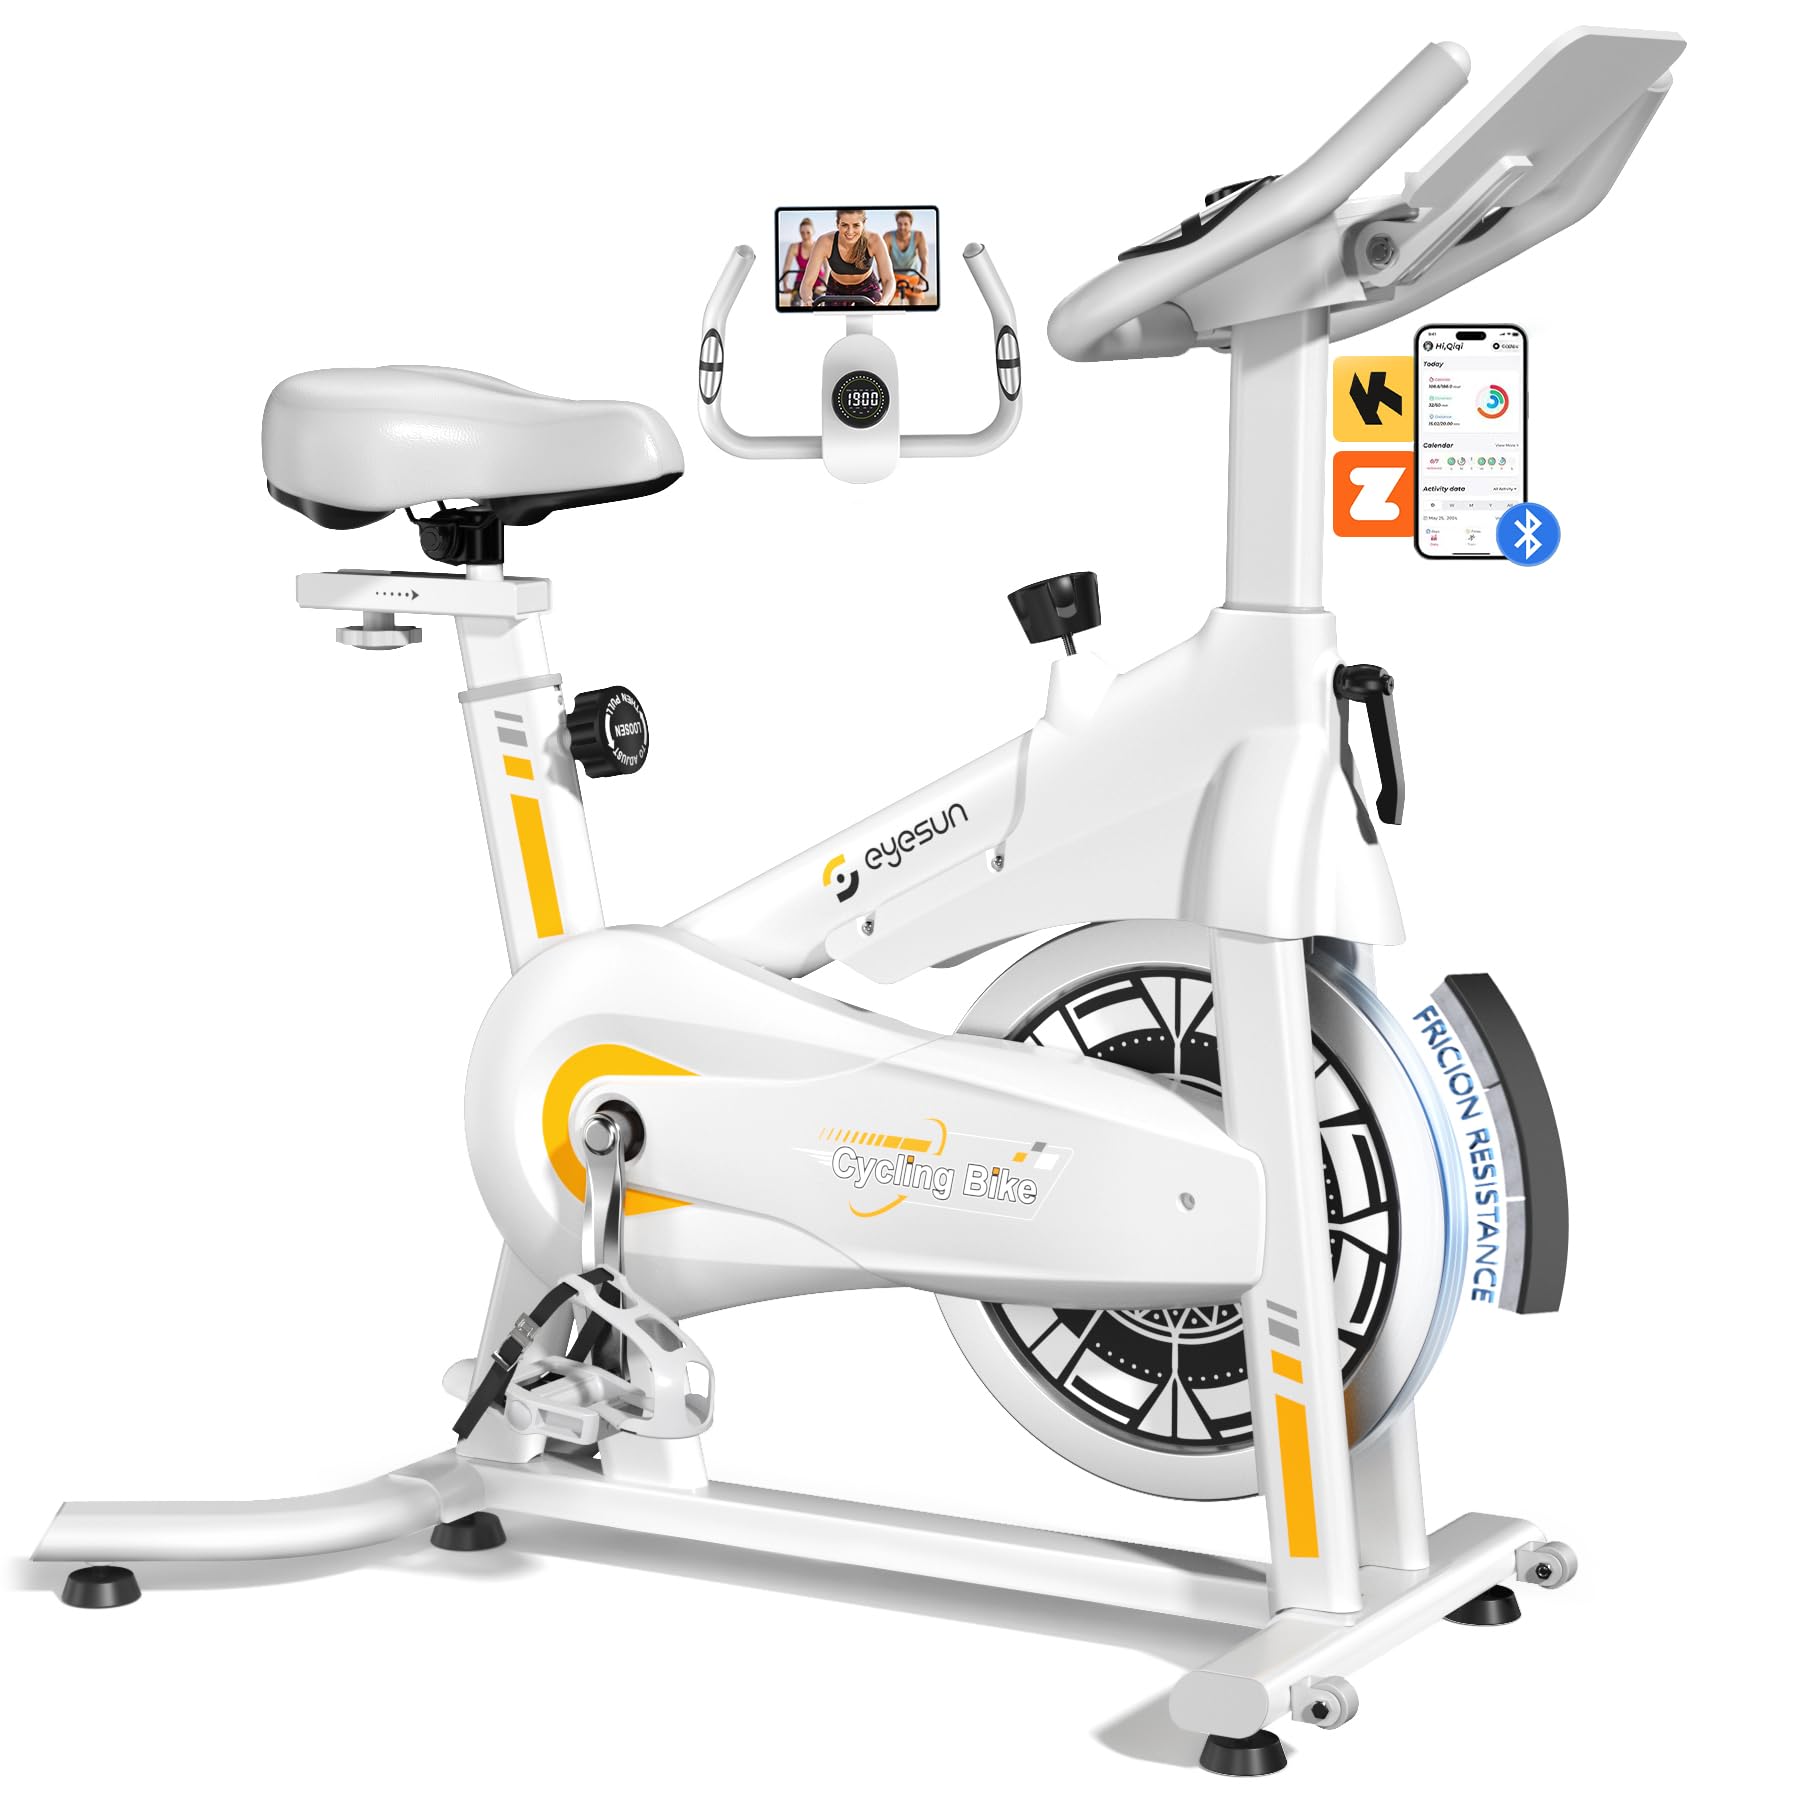
Image 1: EYESUN Exercise Bike QM-530W, White & Yellow model.
2. Sikkerhetsinformasjon
Before beginning any exercise program, consult with your physician. It is essential to understand and follow all safety precautions to prevent injury and ensure proper operation of the exercise bike.
- Sørg for at alle deler er godt festet før hver bruk.
- Place the exercise bike on a flat, stable surface. Use a mat underneath to protect flooring and reduce noise.
- Hold barn og kjæledyr unna utstyret under drift.
- Bruk passende sportssko og -klær. Unngå løse klær som kan sette seg fast i bevegelige deler.
- The maximum user weight capacity for this bike is 330 lbs (150 kg).
- The resistance bar functions as an emergency stop. Press it down firmly to stop the flywheel immediately.
- Adjustable cage pedals are designed to keep your feet secure during exercise. Ensure your feet are properly secured before starting.
- Ikke stig av sykkelen før svinghjulet har stoppet helt.

Image 2: Illustration of the exercise bike's sturdy construction and body muscles engaged during use.
3. Pakkens innhold
Kontroller at alle komponenter er til stede før monteringen starter. Hvis noen deler mangler eller er skadet, kontakt kundestøtte.
- Hovedramme (forhåndsmontert)
- Styremontering
- Setepinne og sete
- Stabilisatorer foran og bak
- Pedaler (venstre og høyre)
- LCD-skjerm
- Maskinvaresett (bolter, skiver, muttere, verktøy)
- Brukerhåndbok
4. Monteringsinstruksjoner
The EYESUN Exercise Bike is designed for quick assembly, with approximately 80% of the unit pre-assembled. Typical assembly time is around 25 minutes.
- Fest stabilisatorer: Secure the front and rear stabilizers to the main frame using the provided bolts and washers. Ensure they are tightened firmly.
- Installer pedaler: Identify the left (L) and right (R) pedals. The left pedal screws counter-clockwise, and the right pedal screws clockwise. Thread them into the crank arms and tighten securely with a wrench.
- Monter sete: Insert the seat post into the main frame and adjust to your desired height. Secure with the adjustment knob. Attach the seat to the seat post.
- Fest styret: Slide the handlebar assembly into the front post. Adjust the height and secure with the adjustment knob.
- Connect LCD Monitor: Connect the sensor cable from the main frame to the back of the LCD monitor. Ensure the connection is vertical and perpendicular to the flywheel for accurate data tracking. Mount the LCD monitor onto the handlebar post.
Video 1: Detailed assembly guide for the EYESUN Exercise Bike. This video demonstrates step-by-step installation of components.
5. Justeringer
Proper adjustment of the bike ensures comfort and effectiveness during your workout.
5.1 Setejustering
- Høyde: Loosen the adjustment knob on the vertical seat post. Raise or lower the seat until your leg has a slight bend at the knee when the pedal is at its lowest point. Tighten the knob securely.
- Fremover bakover: Loosen the adjustment knob under the seat. Slide the seat forward or backward to achieve a comfortable position relative to the handlebars. Ensure your knees are aligned with the balls of your feet when pedals are horizontal. Tighten the knob securely.
5.2 Justering av styret
- Loosen the adjustment knob on the handlebar post. Raise or lower the handlebars to a comfortable height that allows for a relaxed upper body posture. Tighten the knob securely.
5.3 Motstandsjustering
- The resistance knob is located on the main frame. Turn the knob clockwise to increase resistance and counter-clockwise to decrease resistance.
- To engage the emergency brake, press the resistance knob down firmly.

Image 3: Visual guide for adjusting handlebar and seat positions for various user heights.
Video 2: Demonstration of adjusting the seat and handlebar for optimal user comfort.
6. Operating the Exercise Bike
6.1 LCD-skjermfunksjoner
The upgraded LCD monitor tracks your workout data in real-time.
- Tid: Varigheten av treningen din.
- Fart: Gjeldende sykkelhastighet.
- Avstand: Total distanse tilbakelagt under treningsøkten.
- Kalorier: Beregnet kaloriforbrenthet.
- Puls: Heart rate (if connected to a compatible sensor, not included).
- Kilometerteller: Total akkumulert distanse.
Ensure the APP sensor cable is correctly connected to the flywheel for accurate data tracking.

Image 4: Close-up of the digital LCD display and proper sensor cable connection.
6.2 Appintegrasjon
The exercise bike supports Bluetooth connectivity for integration with fitness applications.
- Kompatible apper: FantomFite, KINOMAP, and Zwift.
- Datasynkronisering: Supports syncing with Google Fit and Apple Health for comprehensive fitness tracking.
- Nettbrettholder: Use the built-in tablet holder to enjoy music or videos while riding, or to view your fitness app.

Image 5: Illustration of the exercise bike's compatibility with popular fitness applications.
Video 3: Overview of the LCD monitor and Bluetooth connectivity features.
7. Vedlikehold
Regelmessig vedlikehold sikrer lang levetid og sikker drift av ergometersykkelen din.
- Rengjøring: Tørk av sykkelen med annonseamp klut etter hver bruk for å fjerne svette og støv. Unngå slipende rengjøringsmidler.
- Undersøkelse: Sjekk regelmessig alle bolter, muttere og bevegelige deler for å se om de er stramme og slitte. Stram til eventuelle løse festemidler.
- Smøring: The belt drive system is designed to be low maintenance and quiet. No lubrication is typically required for the belt.
- Lagring: When not in use, store the bike in a dry, cool place away from direct sunlight and moisture. The built-in transport wheels allow for easy relocation.

Image 6: Features like the smooth belt drive and stable U-shaped bottom contribute to low maintenance and durability.

Image 7: The space-saving design and transport wheels facilitate easy movement and storage.
8. Feilsøking
If you encounter issues with your EYESUN Exercise Bike, refer to the following common problems and solutions.
| Problem | Mulig årsak | Løsning |
|---|---|---|
| Knirkende eller skurende lyd under drift | Loose components; debris in flywheel area; worn belt. | Check and tighten all bolts and nuts. Inspect flywheel area for foreign objects. If noise persists, contact support. |
| Inaccurate LCD monitor readings | Sensor cable not connected properly; low battery in monitor. | Ensure the APP sensor cable is securely and vertically connected to the monitor. Replace monitor batteries if necessary. |
| Motstanden endres ikke | Problem med motstandsknottmekanismen. | Check if the resistance knob is fully engaged. If the mechanism feels loose or unresponsive, contact support. |
| Wobbly seat or handlebars | Adjustment knobs not tightened sufficiently. | Ensure all seat and handlebar adjustment knobs are tightened firmly after positioning. |
9. Spesifikasjoner
| Trekk | Detalj |
|---|---|
| Modellnummer | QM-530W |
| Produktdimensjoner | 100.08 x 50.55 x 106.93 cm (39.4 x XUMX x 19.9 inches) |
| Varevekt | 21.32 kg (47 lbs) |
| Maksimal vektkapasitet | 330 lbs (150 kg) |
| Drive System | Belte Drive |
| Materiale | Legert stål |
| Motstandsmekanisme | Friction (Adjustable Brake Pad) |
| Spesielle funksjoner | Adjustable Pedal, Adjustable Resistance Level, Adjustable Seat, Flywheel |
| Anbefalt brukerhøyde | 4'8" to 6'1" (142 cm to 185 cm) |
| Inseam Range | 25"–35" (63.5 cm – 89 cm) |
| Strømkilde (skjerm) | Battery Powered (Batteries Included) |
10. Garanti og støtte
EYESUN provides a 24 måneders bekymringsfri garanti for your exercise bike. This warranty covers manufacturing defects and ensures product quality.
For any questions, concerns, or warranty claims, please contact EYESUN customer service:
- E-post: support@eyesun.net
- Kundesupport er tilgjengelig døgnet rundt.