
1. Introduksjon
Thank you for choosing the PRIXTON Prado XL 15.6-inch Digital Photo Frame. This manual provides essential information for setting up, operating, and maintaining your device. Please read it carefully before use to ensure optimal performance and longevity of your digital photo frame.
The PRIXTON Prado XL features a vibrant 15.6-inch Full HD IPS touchscreen display, offering clear and vivid image reproduction. With built-in Wi-Fi, 32GB of internal memory, and support for both photos and videos, it allows you to easily share and display your cherished memories. The frame also includes integrated speakers and multiple input options, including USB Type-C, USB-A, and an SD card slot, providing versatile ways to manage your content.
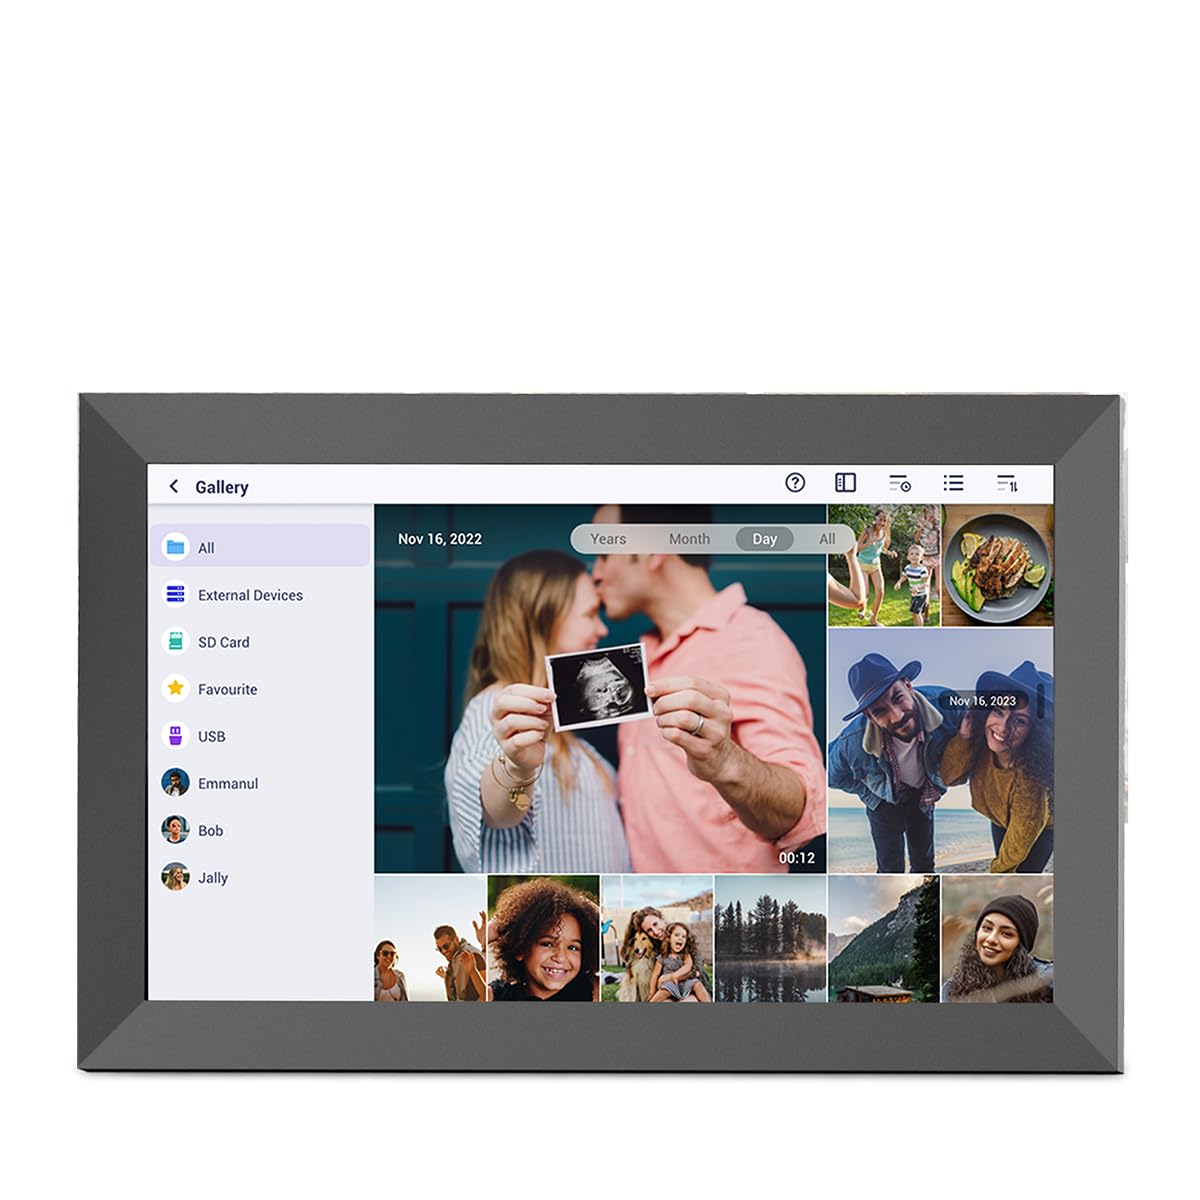
Image: The PRIXTON Prado XL digital photo frame showcasinet familiebilde.
2. Pakkens innhold
Vennligst kryss av i boksen for følgende elementer:
- PRIXTON Prado XL 15.6-inch Digital Photo Frame
- Strømadapter
- Brukerhåndbok (dette dokumentet)
3. Produktet er overview
Familiarize yourself with the various ports and controls on your digital photo frame.

Image: Back panel of the frame, highlighting the power button, USB-A, USB-C, SD card slot, and headphone jack.
Nøkkelkomponenter:
- Strømknapp: Located on the back, used to turn the frame on/off or put it into sleep mode.
- USB-A-port: For connecting USB flash drives to transfer photos and videos.
- USB Type-C-port: For connecting compatible devices or for data transfer.
- SD-kortspor: For inserting SD cards to display or transfer media.
- Hodetelefonkontakt: For tilkobling av eksterne lydenheter.
- DC strøminngang: For tilkobling av strømadapter.
- Hull for veggmontering: For montering av rammen på vegg.
4. Oppsett
4.1 Slå på
- Connect the power adapter to the DC Power Input port on the back of the frame.
- Koble strømadapteren til en stikkontakt.
- The frame will automatically power on. If not, press and hold the Power Button for a few seconds.
4.2 Innledende konfigurasjon
Upon first startup, you will be guided through the initial setup process:
- Velg språk: Velg ditt foretrukne språk fra listen.
- Koble til Wi-Fi: Select your Wi-Fi network and enter the password. A stable internet connection is required for app functionality and software updates.
- Still inn dato og klokkeslett: Configure the correct date, time, and time zone.
4.3 Connecting with the Uhale App
The Uhale app allows you to easily send photos and videos directly to your frame from your smartphone.
- Last ned appen: Søk etter "Uhale" in your smartphone's app store (iOS or Android) and install it.
- Opprett en konto: Open the Uhale app and follow the instructions to create a new user account.
- Koble sammen rammen: On your digital photo frame, navigate to the "Settings" menu and find the "Bind Device" or "Add Device" option. This will display a unique code or QR code.
- Enter Code/Scan QR: In the Uhale app, select "Add Device" and either manually enter the code displayed on your frame or use your phone's camera to scan the QR code.
- Når de er paret, kan du begynne å sende bilder og videoer til rammen.

Image: A smartphone screen showing the Uhale app interface next to the digital photo frame.
5. Betjening av rammen
5.1 Berøringsskjermnavigasjon
The Prado XL features a responsive touchscreen for easy navigation:
- Trykk på: Velg et element eller åpne en meny.
- Sveip: Navigate through photos, menus, or lists.
- Klyp for å zoome: Zoom in or out on photos (if supported by software).
5.2 Legge til bilder og videoer
There are several ways to add media to your frame:
5.2.1 Via Uhale App
- Åpne Uhale-appen på den parede smarttelefonen din.
- Velg bildene eller videoene du vil sende.
- Tap the "Send" or "Share" button to transfer them to your frame.
- The media will appear on your frame shortly, provided it is connected to Wi-Fi.
5.2.2 Via USB Drive or SD Card
- Insert a USB flash drive into the USB-A port or an SD card into the SD card slot.
- The frame will detect the external storage. Navigate to the "Gallery" or "Files" section.
- Select the desired photos or videos and choose to copy them to the frame's internal memory.

Image: User interacting with the Uhale app to send content to the digital photo frame.
5.3 Managing Content and Slideshows
- Galleri: Access all your stored photos and videos. You can view them individually or start a slideshow.
- Slett: Select unwanted media and choose the delete option.
- Innstillinger for lysbildefremvisning: Customize slideshow duration, transition effects, and playback order in the settings menu.

Image: The digital photo frame displaying a lively birthday party scene.
6. Innstillingsmeny
Access the settings menu by tapping the gear icon on the home screen. Here you can configure various aspects of your frame:
- Utstilling: Adjust brightness, screen sleep time, and display mode.
- Wi-Fi: Administrer nettverkstilkoblingene dine.
- Dato og tid: Manually set or synchronize date and time.
- Lagring: View internal storage usage and manage external storage devices.
- Om: View device information, including software version and model number.
7. Vedlikehold
7.1 Rengjøring av skjermen
For å rengjøre berøringsskjermen, tørk den forsiktig med en myk, lofri klut. For gjenstridige flekker, tørk den littampRengjør kluten med vann eller et skjermsikkert rengjøringsmiddel. Unngå bruk av sterke kjemikalier eller slipende materialer.
7.2 Programvareoppdateringer
Ensure your frame is connected to Wi-Fi to receive automatic software updates. Updates provide new features, performance improvements, and bug fixes. You can manually check for updates in the "Settings" > "About" menu.
8. Feilsøking
| Utgave | Mulig løsning |
|---|---|
| Frame does not turn on. | Sørg for at strømadapteren er ordentlig koblet til både rammen og en fungerende stikkontakt. Prøv en annen stikkontakt. |
| Kan ikke koble til Wi-Fi. | Check if your Wi-Fi router is on and working. Re-enter the Wi-Fi password carefully. Move the frame closer to the router. |
| Bilder/videoer vises ikke. | Verify that the media has been successfully uploaded via the app or copied from USB/SD. Check file formats for compatibility. Ensure the frame is connected to Wi-Fi if using the app. |
| Berøringsskjermen reagerer ikke. | Restart the frame by holding the power button. Ensure the screen is clean and free of debris. |
| Frame is slow or freezes. | Restart the frame. Clear some internal storage if it is nearly full. |
9. Spesifikasjoner
| Trekk | Detalj |
|---|---|
| Modellnummer | 10006183 |
| Skjermstørrelse | 15.6 tommer |
| Visningstype | IPS berøringsskjerm |
| Oppløsning | 1920 x 1080 Full HD |
| Internt minne | 32 GB blits |
| VÆR | 1 GB |
| Tilkobling | Wi-Fi |
| Havner | USB Type-C, USB-A, SD Card Slot, Headphone Jack |
| Lyd | Integrerte høyttalere |
| Dimensjoner (L x B x H) | 14 x 21 x 2.51 cm |
10. Garanti og støtte
PRIXTON products are designed and manufactured to the highest quality standards. For information regarding warranty coverage, please refer to the warranty card included with your product or visit the official PRIXTON webnettstedet.
If you encounter any issues or have questions not covered in this manual, please contact PRIXTON customer support for assistance. You can find contact details on the PRIXTON webnettstedet eller gjennom kjøpsplattformen din.
Online støtte: Visit the PRIXTON Store on Amazon