1. Introduksjon
This manual provides essential information for the installation, operation, and maintenance of your Hikvision IDS-7208HQHI-M1/XT 8-Channel 5MP Turbo HD DVR. Please read this manual thoroughly before using the product to ensure correct and safe operation. Keep this manual for future reference.
The Hikvision IDS-7208HQHI-M1/XT is an advanced 8-channel Digital Video Recorder designed for high-definition surveillance systems. It supports various video input formats, including Turbo HD, AHD, CVI, CVBS, and IP cameras, offering versatile compatibility. Key features include 5MP recording capability, H.265+ video compression for efficient storage, AcuSense technology for intelligent motion detection, and remote access via the Hik-Connect app.
2. Pakkens innhold
Verify that all items are present and in good condition upon unpacking. If any items are missing or damaged, contact your supplier immediately.
- DVR main unit
- Strømadapter
- USB-mus
3. Produktfunksjoner
The Hikvision IDS-7208HQHI-M1/XT DVR offers a range of features designed for effective surveillance:
- 8-Channel DVR with 5MP HD Support: Supports multiple analog HD camera formats and up to 8 channels of real-time video monitoring and recording.
- Two-Way Audio Support: Enables audio communication through compatible cameras.
- Built-In AcuSense Technology: Smart analysis minimizes false alarms by focusing on human and vehicle-based motion detection.
- Remote Access via Hik-Connect App: View live video, playback recordings, and receive alerts anytime on your smartphone.
- Efficient Storage with H.265+ Compression: Saves bandwidth and hard disk space while maintaining clear video quality.
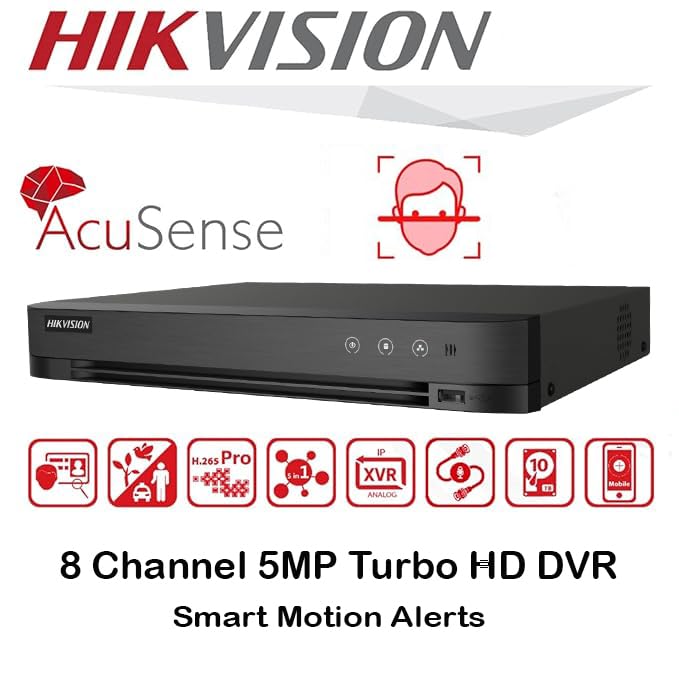
Bilde: Overview of key features including AcuSense, H.265+ compression, and 5MP resolution support.
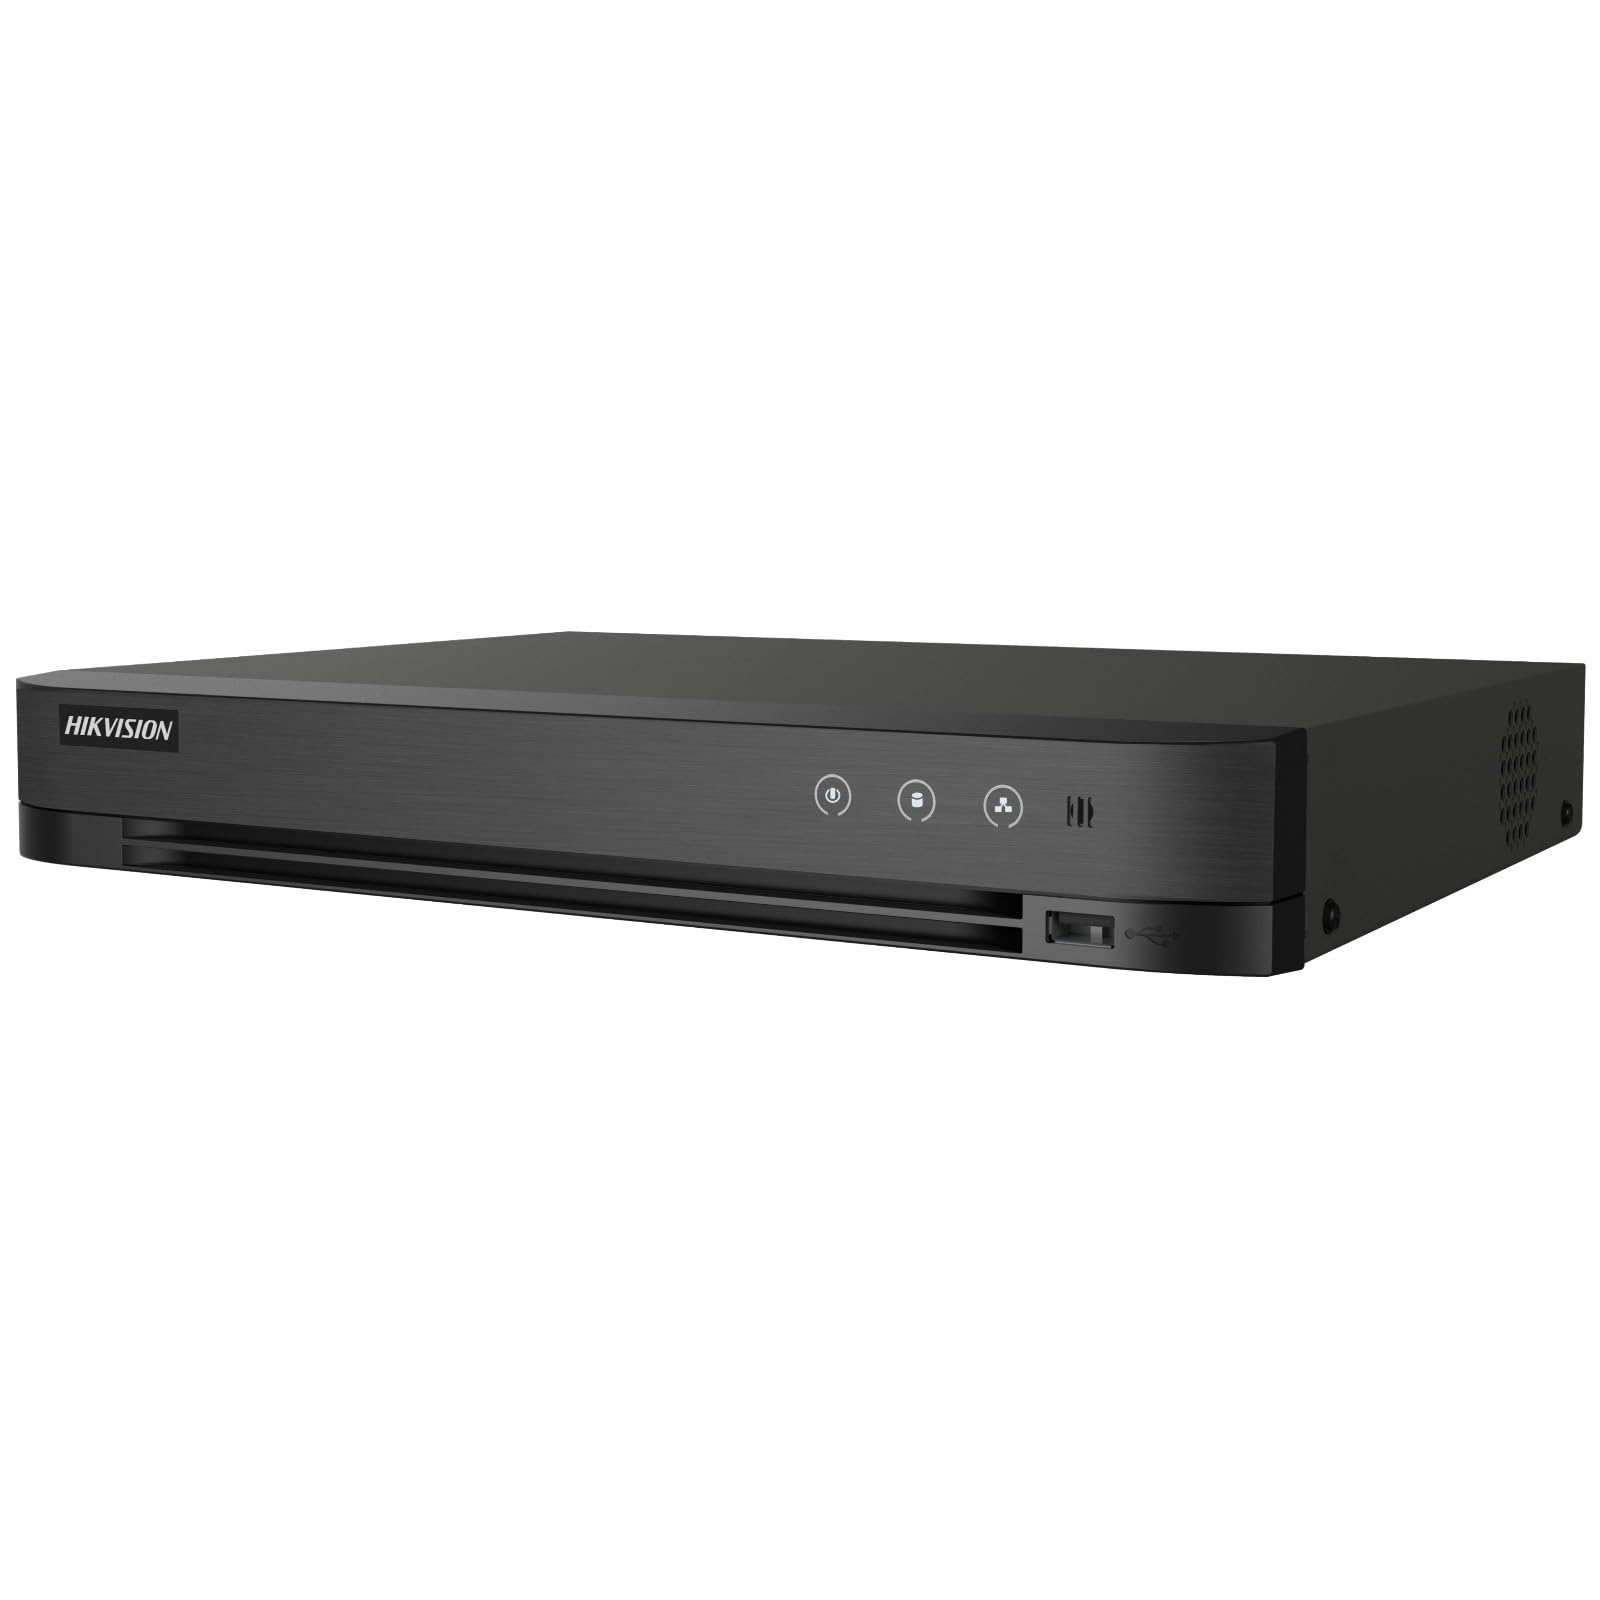
Image: The Hikvision Turbo HD DVR highlighting its support for two-way audio cameras, enabling interactive communication.
4. Fysisk grensesnitt
Familiarize yourself with the ports and indicators on the DVR unit. The following diagram illustrates the rear panel of the Hikvision IDS-7208HQHI-M1/XT DVR:

Image: Rear panel connections of the DVR, showing video inputs, audio ports, network, and power.
- Videoinngang (BNC): Connect analog HD cameras (Turbo HD, AHD, CVI, CVBS).
- Video Out (BNC): Connect to a monitor for local display.
- Lyd inn (RCA): Connect external audio input devices.
- HDMI-utgang: Koble til en HDMI-kompatibel skjerm eller TV for HD-videoutgang.
- VGA-utgang: Koble til en VGA-kompatibel skjerm.
- Lyd ut (RCA): Connect to external audio output devices.
- USB-porter: Connect a USB mouse, USB flash drive for backup, or external storage.
- LAN-port (RJ45): Koble til nettverket ditt for fjerntilgang og integrering av IP-kamera.
- RS-485: For PTZ camera control (if supported).
- 12V DC strøminngang: Koble til den medfølgende strømadapteren.
- Bakketerminal: For jording av enheten.
5. Oppsett
Follow these steps for initial setup of your DVR system:
5.1 Hard Drive Installation (if not pre-installed)
- Skru av og fjern toppdekselet på DVR-en.
- Koble SATA-datakabelen og strømkabelen til harddisken.
- Fest harddisken til DVR-kabinettet med de medfølgende skruene.
- Sett på toppdekselet igjen og fest det med skruer.
5.2 Koble til eksterne enheter
- Connect your cameras to the Video inn (BNC) ports.
- Koble en skjerm til HDMI or VGA utgangsport.
- Connect the USB mouse to a USB-port.
- Connect the DVR to your network router using an Ethernet cable plugged into the LAN-port.
- Koble strømadapteren til 12V DC strøminngang and then plug it into a power outlet.
5.3 Innledende konfigurasjon
- Upon first boot, the DVR will guide you through a setup wizard.
- Set a strong password for the administrator account.
- Configure network settings (DHCP is usually sufficient for most home networks).
- Initialize the hard drive if prompted. This will format the drive for recording.
- Adjust date, time, and other system preferences as needed.
6. Drift
Once the DVR is set up, you can begin monitoring and recording.
6.1 Live View
After logging in, the DVR will display the live view from connected cameras on the monitor. You can switch between single-camera view og flerkamerarutenett view using the on-screen controls or mouse.
6.2 Opptak
The DVR is typically configured to record continuously or based on motion detection. You can adjust recording schedules and settings through the DVR's menu system (Configuration > Record > Schedule).
6.3 Avspilling
Til review innspilt footage, navigate to the Avspilling menu. Select the date, time, and camera channel to view recordings. Use the playback controls (play, pause, fast forward, rewind) to navigate through the footage.
6.4 Remote Access (Hik-Connect App)
The Hik-Connect app allows you to access your DVR remotely from a smartphone or tablet.
- Download the Hik-Connect app from your device's app store.
- Opprett en Hik-Connect-konto og logg inn.
- Add your DVR by scanning the QR code on the DVR's label or by manually entering its serial number.
- Follow the in-app instructions to complete the device addition.
- Når du har lagt til, kan du view live feeds, play back recordings, and receive push notifications for events.

Image: Illustration of the Hik-Connect mobile application interface, demonstrating remote access to live video and recordings.
7. Vedlikehold
Regelmessig vedlikehold sikrer optimal ytelse og levetid for DVR-systemet ditt.
- Clean the DVR: Periodically clean the exterior of the DVR with a soft, dry cloth. Ensure ventilation openings are free from dust to prevent overheating.
- Fastvareoppdateringer: Sjekk den offisielle Hikvision-tjenesten website for firmware updates. Updating firmware can improve performance, add features, and fix bugs. Follow update instructions carefully.
- Harddiskens tilstand: Monitor the health of your hard drive through the DVR's system menu (HDD-administrasjon). Replace the hard drive if it shows signs of failure.
- Sikkerhetskopier viktige matvarertage: Regularly back up critical video footage til en ekstern USB-stasjon eller nettverkslagring.
- Passordsikkerhet: Change your DVR and Hik-Connect passwords periodically to maintain security.
8. Feilsøking
Denne delen tar for seg vanlige problemer du kan støte på.
8.1 Ingen videoutgang på skjermen
- Check if the monitor is powered on and correctly connected to the DVR's HDMI or VGA port.
- Sørg for at riktig inngangskilde er valgt på skjermen.
- Try connecting to a different monitor or using a different cable.
8.2 Kameraer viser ikke
- Verify that cameras are powered on and properly connected to the DVR's BNC inputs.
- Check camera power supplies.
- Ensure the camera type (TVI, AHD, CVI, CVBS) is compatible with the DVR and configured correctly in the DVR settings.
8.3 Fjerntilgang fungerer ikke
- Ensure the DVR is connected to the internet via the LAN port.
- Check network settings on the DVR (Configuration > Network).
- Verify that the Hik-Connect service is enabled on the DVR.
- Sørg for at smarttelefonen din har en aktiv internettforbindelse.
- Re-add the device to the Hik-Connect app if necessary.
8.4 Ingen opptak
- Check if a hard drive is installed and properly initialized (Configuration > HDD).
- Verify recording schedules are set correctly (Configuration > Record > Schedule).
- Sørg for at det er tilstrekkelig ledig plass på harddisken.
9. Spesifikasjoner
Detailed technical specifications for the Hikvision IDS-7208HQHI-M1/XT DVR:
| Trekk | Spesifikasjon |
|---|---|
| Modellnummer | IDS-7208HQHI-M1/XT |
| Videoinngang | 8-Channel (Turbo HD/AHD/CVI/CVBS/IP) |
| Videokomprimering | H.265 + / H.265 / H.264 + / H.264 |
| Opptaksoppløsning | Opptil 5 MP |
| Videoutgang | HDMI, VGA, BNC |
| Lydinngang/utgang | 2-Way Audio Support |
| Network Interface | 1 RJ45 10M/100M Ethernet Interface |
| USB-grensesnitt | 2 x USB 2.0 |
| HDD-støtte | 1 SATA interface (up to 10 TB capacity per HDD) |
| Strømforsyning | 12V DC |
| Dimensjoner (L x B x H) | 19.7 x 19.2 x 4.1 cm |
| Vekt | 1.5 kg |
| Produsent | HIKVISION, Prama Hikvision India Pvt. Ltd. |
10. Garanti og støtte
For warranty information and technical support, please refer to the warranty card included with your product or visit the official Hikvision webnettstedet. Ta vare på kjøpskvitteringen som kjøpsbevis for garantikrav.
For further assistance, contact Hikvision customer support or your authorized dealer.