Caroma D1 (B0FSZZL7PR)
Caroma Electric Scooter D1 User Manual
Model: D1 (B0FSZZL7PR) | Brand: Caroma
1. Introduksjon
Welcome to the Caroma Electric Scooter D1 user manual. This manual provides essential information for the safe operation, maintenance, and troubleshooting of your new electric scooter. Please read this manual thoroughly before using the scooter to ensure optimal performance and safety.

Figure 1: Caroma Electric Scooter D1 - General View (Animated)
2. Viktige sikkerhetsadvarsler
Unnlatelse av å følge disse sikkerhetsinstruksjonene kan føre til alvorlig skade eller død.
- Bruk alltid hjelm og passende sikkerhetsutstyr (knebeskyttere, albuebeskyttere) når du sykler.
- Ikke sykle i våte forhold, kraftig regn eller gjennom sølepytter.
- Avoid riding on uneven surfaces, loose gravel, or slippery terrain.
- Sørg for at alle bolter og festemidler er strammet før hver tur.
- Ikke overskrid den maksimale lastekapasiteten på 300 kg.
- Hold begge hendene på styret mens du sykler.
- Gjør deg kjent med lokale lover og forskrifter angående bruk av elektriske sparkesykler.
- Barn skal kun bruke sparkesykkelen under tilsyn av voksne.
3. Oppsett og montering
Your Caroma Electric Scooter D1 comes partially assembled. Follow these steps for final assembly and initial setup:
- Utpakking: Ta forsiktig alle komponentene ut av emballasjen. Sjekk for eventuelle skader under transport.
- Installasjon av styre: Attach the handlebar to the main stem. Ensure it is securely fastened with the provided bolts. The handlebar is designed to fold for transport; ensure it is locked in the upright position before riding.
- Setejustering: Adjust the seat height to a comfortable riding position. Ensure the quick-release lever or bolts are securely tightened.
- Kurvfeste: Secure the rear carry basket to the designated mounting points using the provided hardware.
- Dekktrykk: Inflate the 14-inch fat tires to the recommended pressure (check tire sidewall for PSI). The tires are air-filled for better shock absorption.
- Bremsesjekk: Test both front and rear disc brakes to ensure they are functioning correctly. Adjust brake tension if necessary.
- Innledende kostnad: Fully charge the scooter before its first use. Refer to the "Charging" section for detailed instructions.
Video 1: Overview of the Caroma D1 Electric Scooter, demonstrating its features and design. This video is provided by the seller and offers a visual guide to the product.
4. Bruksanvisning
To operate your Caroma Electric Scooter D1, follow these steps:
- Strøm på: Insert the key into the ignition located near the battery compartment and turn it to the "ON" position. The battery level indicator on the handlebar will light up.
- Gasskontroll: The scooter features a twist-grip throttle on the right handlebar. Gently twist the throttle towards you to accelerate.
- Bremsing: Use the brake levers on both handlebars to slow down or stop. The scooter is equipped with dual mechanical disc brakes for effective stopping power. The rear tail light will illuminate brighter when brakes are applied.
- Lys: Press the headlight button on the left handlebar to turn the front headlight and rear tail light on/off.
- Klokke: Use the bell on the left handlebar to alert pedestrians or other riders.
- Foldemekanisme: To fold the handlebar for transport, locate the folding latch near the base of the handlebar stem. Disengage the latch and fold the handlebar down. Ensure it is securely latched when unfolded for riding.
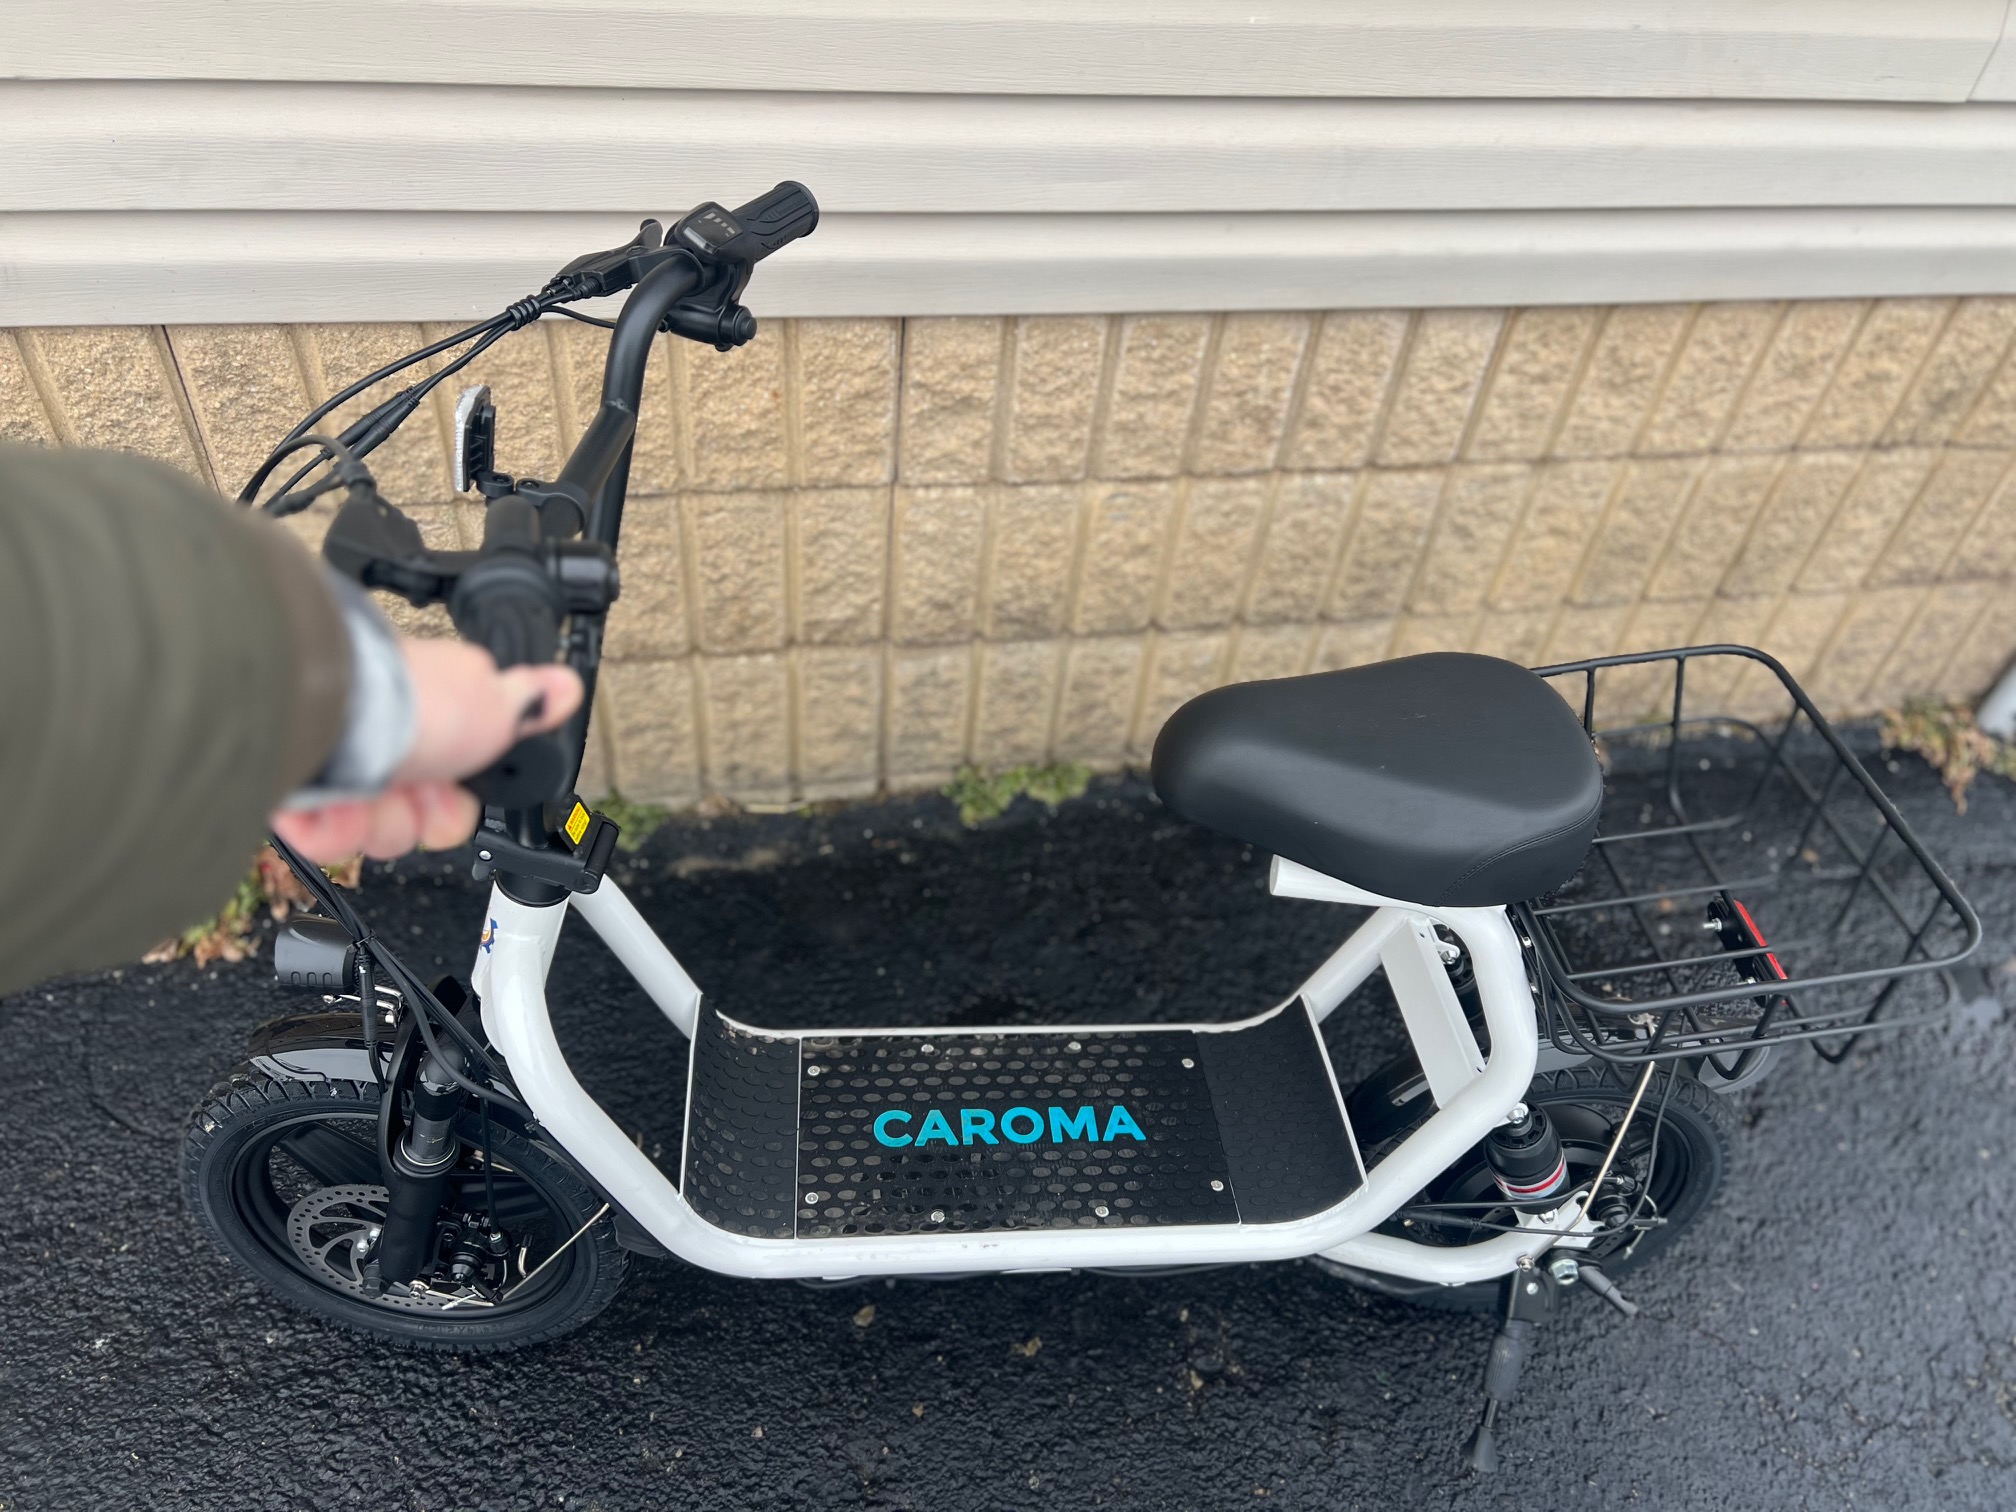
Figure 2: Handlebar Controls and Battery Indicator (Illustrative)
5. Lader batteriet
To charge your Caroma Electric Scooter D1:
- Sørg for at scooteren er slått av.
- Locate the charging port on the side of the battery compartment, near the ignition key.
- Koble laderen til ladeporten, og koble deretter laderen til en vanlig stikkontakt.
- Indikatorlampen på laderen vil vanligvis lyse rødt under lading og bli grønn når den er fulladet.
- Ladetiden er omtrent 7–8 timer for full lading.
- Always use the original charger provided with your scooter.
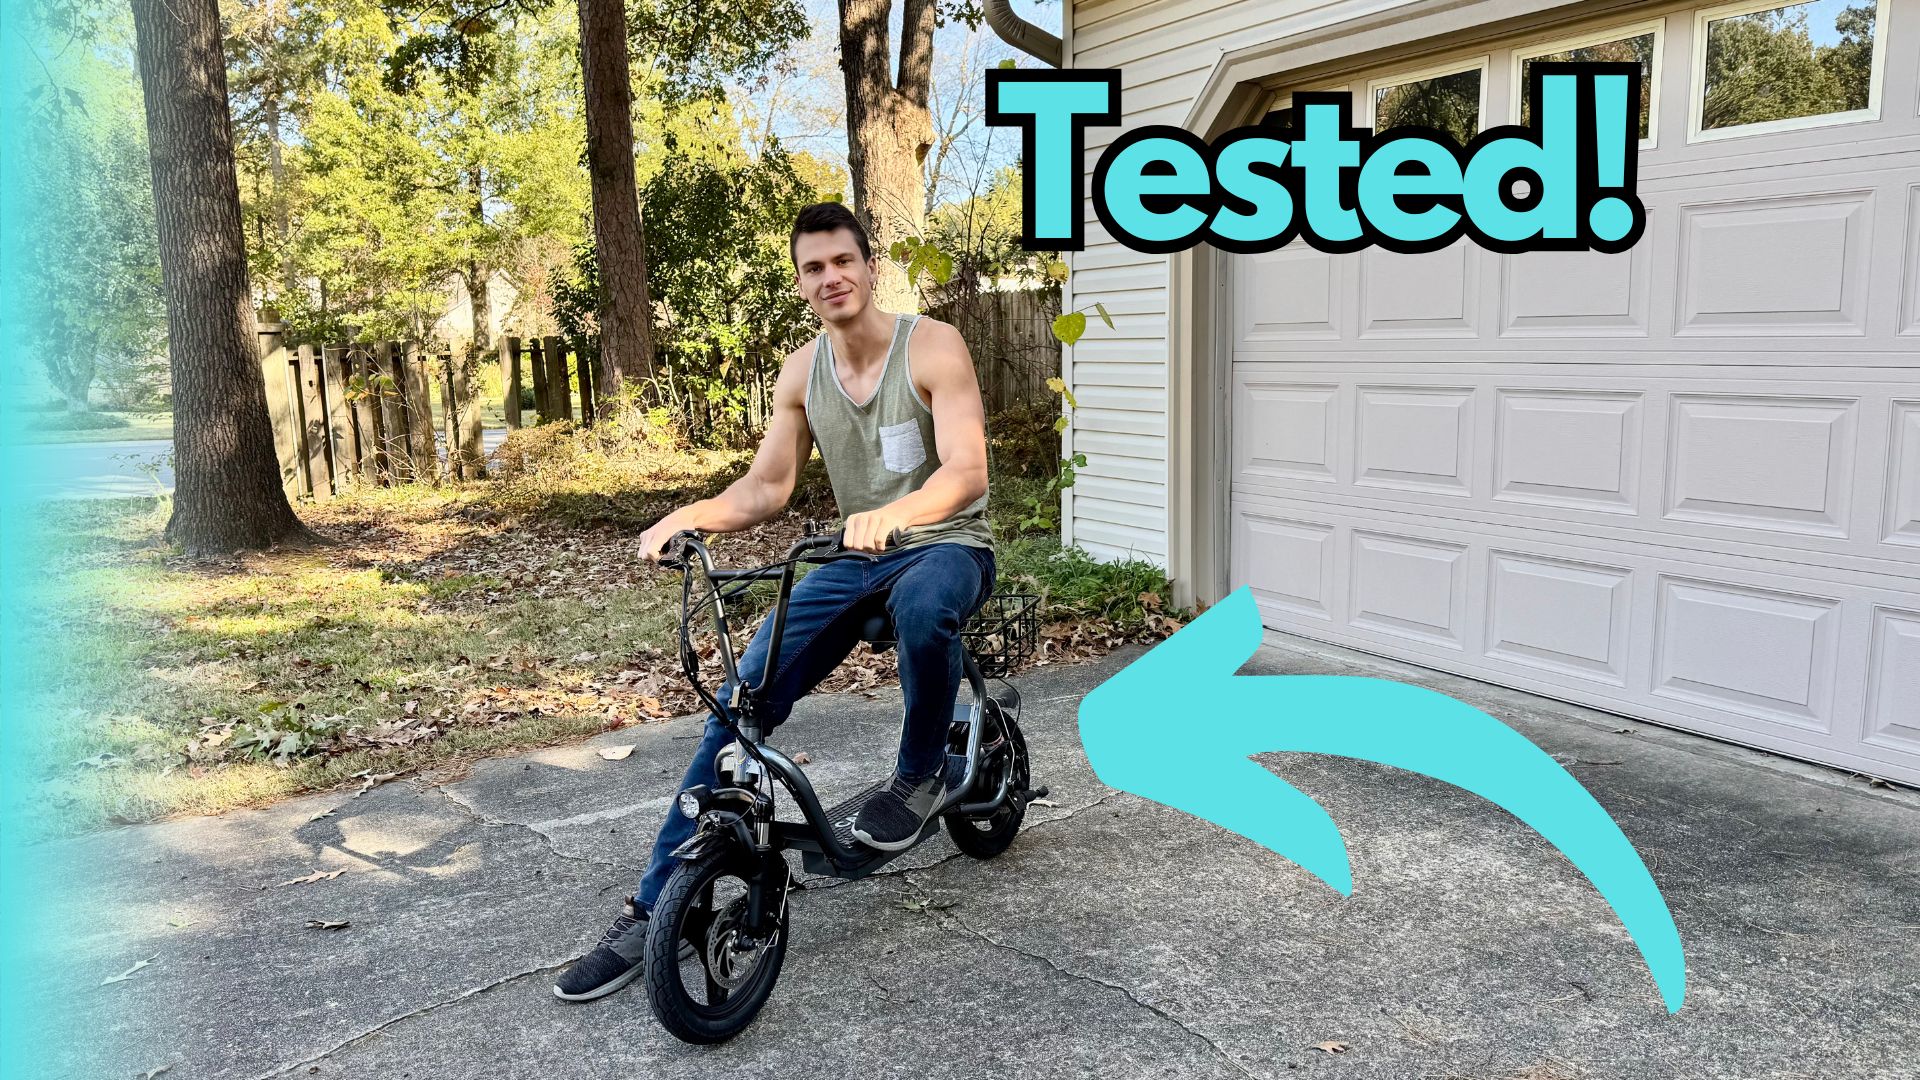
Figure 3: Charging Port and Ignition Key (Illustrative)
6. Vedlikehold
- Rengjøring: Tørk av scooteren med annonseamp klut. Ikke bruk høytrykksvann eller senk sparkesykkelen ned i vann.
- Dekk: Regularly check tire pressure and inflate as needed. Inspect tires for wear and tear.
- Bremser: Periodically check brake pads and cables for wear. Adjust brake tension to ensure responsive braking.
- Batteripleie: Store the scooter in a cool, dry place. If storing for extended periods, charge the battery to 50-70% and recharge every 2-3 months.
- Festemidler: Periodically check all screws, bolts, and quick-release mechanisms to ensure they are tight and secure.
7. Feilsøking
| Problem | Mulig årsak | Løsning |
|---|---|---|
| Scooteren slår seg ikke på | Battery is low or dead; Ignition key not in ON position | Charge the battery; Turn the ignition key to ON |
| Motoren går ikke inn | Throttle issue; Loose connection | Check throttle for obstruction; Inspect all cable connections |
| Bremsene føles løse | Brake cable tension is low; Worn brake pads | Adjust brake cable tension; Replace brake pads |
| Redusert rekkevidde/hastighet | Low tire pressure; Battery degradation; Heavy load | Inflate tires to recommended PSI; Consult support for battery check; Reduce load |
8. Spesifikasjoner
| Trekk | Detalj |
|---|---|
| Merke | karoma |
| Modell | D1 (B0FSZZL7PR) |
| Motorkraft | 800W (Rated) / 1200W (Peak) |
| Maks rekkevidde | Opp til 30 miles |
| Maks hastighet | Opptil 20 km/t |
| Dekkstørrelse | 14-inch Fat Tires |
| Bremsesystem | Doble mekaniske skivebremser |
| Suspensjon | Dobbel fjæring |
| Maks belastning | 300 lbs (136 kg) |
| Funksjoner | Foldable, Seat, Carry Basket, Headlight, Tail Light |
9. Garanti og støtte
For warranty information, technical support, or service inquiries, please refer to the warranty card included with your product or visit the official Caroma webnettstedet. Ta vare på kjøpskvitteringen som kjøpsbevis.
Caroma Store: Visit the Caroma Store on Amazon
Ask a question about this manual
Ask about setup, troubleshooting, compatibility, parts, safety, or missing instructions. Manuals+ will review the question and use this page’s manual context to help answer it.