Introduksjon
This manual provides detailed instructions for the operation and maintenance of your PUSOKEI MP3 Player. Please read this manual thoroughly before using the device to ensure proper functionality and to maximize your user experience. Keep this manual for future reference.
Pakkeinnhold
Bekreft at alle varene som er oppført nedenfor er inkludert i pakken din:
- 1 x PUSOKEI MP3 Player
- 1 x USB-kabel
- 1 par hodetelefoner
- 1 x beskyttelsesdeksel
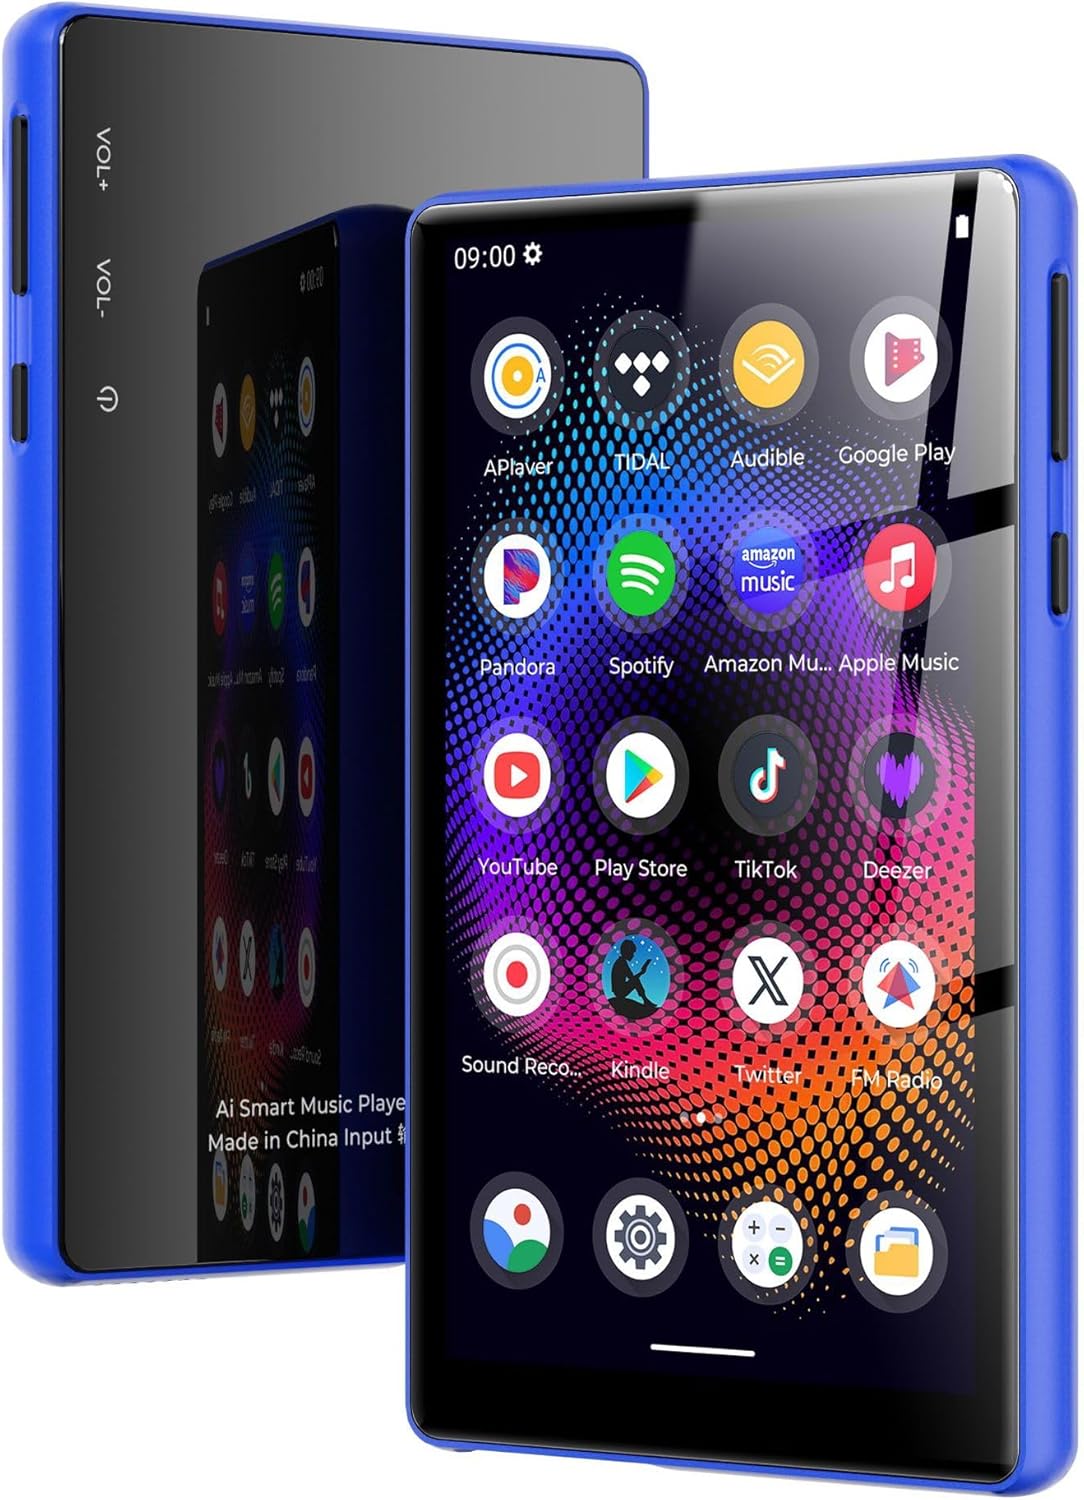
Image: PUSOKEI MP3 Player with its included accessories: USB cable, headphones, and protective cover.
Produkt overview
The PUSOKEI MP3 Player features a 5.0-inch full touchscreen, an 8-core processor, 4GB RAM, and 64GB internal storage, expandable up to 256GB with a microSD card. It supports Bluetooth 5.0 and dual-band Wi-Fi (2.4G/5G) for versatile connectivity.

Image: The PUSOKEI MP3 Player shown in different lifestyle settings, highlighting its portability and versatility for music and entertainment.

Bilde: En detaljert view of the device's 5-inch full touchscreen, emphasizing its high-definition display for an immersive viewopplevelse.
Oppsett
1. Lading av enheten
Before first use, fully charge the MP3 player. Connect the provided USB cable to the device's charging port and the other end to a USB power adapter (not included) or a computer's USB port. The charging indicator will show the charging status.

Image: An illustration depicting the 2500mAh battery capacity and estimated usage times for music and video playback, as well as standby time.
2. Slå på/av
- For å slå på: Trykk og hold inne av/på-knappen (vanligvis plassert på siden) til skjermen lyser opp.
- Slik slår du av: Press and hold the Power button, then select "Power Off" from the options that appear on the screen.
- Å starte på nytt: Trykk og hold inne av/på-knappen, og velg deretter «Start på nytt» fra alternativene.
3. Innledende konfigurasjon
Når du slår den på for første gang, følger du instruksjonene på skjermen for å konfigurere enheten:
- Velg ønsket språk.
- Connect to a Wi-Fi network (if available) to access online features and app downloads.
- Still inn dato og klokkeslett.
4. Overføring Files
For å overføre musikk, videoer eller annet files from your computer to the MP3 player:
- Koble MP3-spilleren til datamaskinen med den medfølgende USB-kabelen.
- On your computer, the device should appear as a removable storage drive.
- Open the device's storage and drag-and-drop your desired files into the appropriate folders (e.g., "Music", "Videos").
- Koble enheten fra datamaskinen på en sikker måte før du kobler fra USB-kabelen.
5. Inserting/Removing a MicroSD Card
The device supports microSD cards up to 256GB for expanded storage.
- For å sette inn: Locate the microSD card slot. Gently push the card into the slot until it clicks into place.
- For å fjerne: Gently push the inserted microSD card until it springs out, then pull it out.
Bruksanvisning
1. Grunnleggende navigering
The device operates using a full touchscreen interface. Swipe left/right/up/down to navigate between screens and menus. Tap icons to open applications or select options.
2. Musikkavspilling
Open the "Music" application. You can browse your music by artist, album, song, or playlist. The player supports various audio formats including WAV, MP3, MP2, AAC, APE, FLAC, WMA.

Image: The MP3 player screen showing a vibrant music playback interface, indicating support for various audio formats and online/offline listening.
3. Videoavspilling
Access the "Video" application to play stored video files. The device supports 720p or 1080p resolution and formats such as RM, AVI, 3GP, FLV, MP4, DAT, MKV, MPG, MOV, TS without conversion.

Image: The MP3 player screen displaying a high-definition video of an astronaut, demonstrating its 1080P full touchscreen capabilities.
4. Bluetooth-tilkobling
To connect to Bluetooth headphones, speakers, or car audio systems:
- Gå til «Innstillinger» > «Bluetooth».
- Slå på Bluetooth.
- Sørg for at Bluetooth-tilbehøret ditt er i paringsmodus.
- Velg tilbehøret ditt fra listen over tilgjengelige enheter som skal pares.
The device features Bluetooth 5.0 with bidirectional transmit support.
5. Wi-Fi-tilkobling
To connect to a Wi-Fi network for online services:
- Gå til «Innstillinger» > «Nettverk og internett» > «Wi-Fi».
- Slå på Wi-Fi.
- Velg ønsket nettverk fra listen og skriv inn passordet hvis du blir bedt om det.
The device supports dual-band Wi-Fi (2.4GHz and 5GHz).

Image: The MP3 player screen surrounded by icons representing wireless connectivity options like Bluetooth headphones, car audio, and Wi-Fi, emphasizing its wide connectivity.
6. FM-radio
Slik bruker du FM-radiofunksjonen:
- Connect the headphones (they act as an antenna).
- Åpne applikasjonen «FM-radio».
- Scan for available stations within the 87MHz-108MHz frequency range.

Image: The MP3 player screen showing the FM Radio interface tuned to 99.1, with visual representations of sound waves.
7. E-bokleser
The device includes an e-book reader application. Supported formats include PDF, TXT, EPUB, FB2. Transfer your e-book files to the device and open them through the e-book app.
8. Using Pre-installed Applications
The MP3 player comes with pre-installed applications such as Spotify and Audible. Ensure you are connected to Wi-Fi to use these online services. You may need to log in to your existing accounts or create new ones.
Vedlikehold
- Rengjøring: Bruk en myk, tørr klut til å rengjøre skjermen og enheten på enheten. Unngå bruk av sterke kjemikalier eller slipende materialer.
- Batteripleie: To prolong battery life, avoid fully discharging the battery frequently. Charge the device regularly and store it in a cool, dry place when not in use for extended periods.
- Programvareoppdateringer: Sjekk regelmessig om det finnes systemoppdateringer i enhetens innstillinger for å sikre optimal ytelse og tilgang til de nyeste funksjonene.
Feilsøking
If you encounter issues with your PUSOKEI MP3 Player, refer to the following common solutions:
- Enheten slår seg ikke på: Ensure the battery is charged. Connect the device to a charger for at least 30 minutes before attempting to power it on again.
- Skjermen reagerer ikke: Try restarting the device by holding the power button. If unresponsive, allow the battery to fully drain and then recharge.
- Kan ikke koble til Wi-Fi/Bluetooth: Ensure Wi-Fi/Bluetooth is enabled in settings. Check if other devices can connect to the network/accessory. Restart the MP3 player and the router/Bluetooth accessory.
- Ingen lyd fra hodetelefoner: Check if headphones are properly plugged in. Ensure volume is not muted or too low. Test with different headphones if possible.
- Filevises ikke: Sikre files are transferred to the correct folders. Check file formater for kompatibilitet.
- Device is slow or freezing: Close unnecessary background applications. Clear cache for frequently used apps. Consider a factory reset if issues persist (Note: A factory reset will erase all data on the device. Back up important files først.).
Spesifikasjoner
| Trekk | Spesifikasjon |
|---|---|
| Merke | PUSOKEI |
| Modellnavn | PUSOKEI23zwimn9ak-14 |
| Operativsystem | Android 11 |
| Main Chip | MTK MT6762 |
| Minne (RAM) | 4 GB |
| Intern lagring | 64GB (with 128GB pre-installed memory card) |
| Utvidbar lagring | Støtter opptil 256 GB MicroSD-kort (ikke inkludert) |
| Skjermstørrelse | 5.0 tommer |
| Skjermoppløsning | 720x1280 (supports 720p/1080p video playback) |
| Batteri | 2500mAh Li-ion batteri |
| Bluetooth-versjon | 5.0 (bidirectional transmit) |
| Wi-Fi | 2.4G, 5G |
| FM Output Frequency | 87MHz-108MHz |
| Lydformater | WAV, MP3, MP2, AAC, APE, FLAC, WMA |
| Videoformater | RM, AVI, 3GP, FLV, MP4, DAT, MKV, MPG, MOV, TS (third-party player) |
| Bildeformater | JPG, BMP, GIF, PNG |
| E-bokformater | PDF, TXT, EPUB, FB2 |
Garanti og støtte
This PUSOKEI MP3 Player is covered by a manufacturer's warranty for 90 days from the date of purchase.
For technical support, warranty claims, or further assistance, please contact PUSOKEI customer service through the retailer's platform or the official PUSOKEI website. Please have your model number (PUSOKEI23zwimn9ak-14) and proof of purchase ready when contacting support.