1. Introduksjon
Thank you for choosing the THOMSON TDF-1001P Digital Photo Frame. This device allows you to display your favorite photos and videos, play music, and utilize features like a calendar, clock, and alarm. With Wi-Fi connectivity, you can easily share media and receive weather updates. Please read this manual thoroughly before operating the device to ensure proper use and maintenance.
2. Sikkerhetsinformasjon
- Ikke utsett enheten for fuktighet, regn eller ekstreme temperaturer.
- Unngå å plassere enheten i nærheten av varmekilder eller i direkte sollys.
- Bruk kun den medfølgende strømadapteren. Bruk av uautoriserte adaptere kan skade enheten og ugyldiggjøre garantien.
- Ikke forsøk å demontere eller reparere enheten selv. Overlat all service til kvalifisert personell.
- Hold enheten unna sterke magnetiske felt.
- Clean the screen with a soft, dry cloth. Do not use liquid cleaners or sprays directly on the screen.
3. Pakkens innhold
Vennligst sjekk pakken for følgende varer:
- THOMSON TDF-1001P Digital Photo Frame
- Strømadapter
- Brukerhåndbok (dette dokumentet)
- Stativ (hvis aktuelt)
4. Produktet er overview
Gjør deg kjent med komponentene i den digitale fotorammen din.
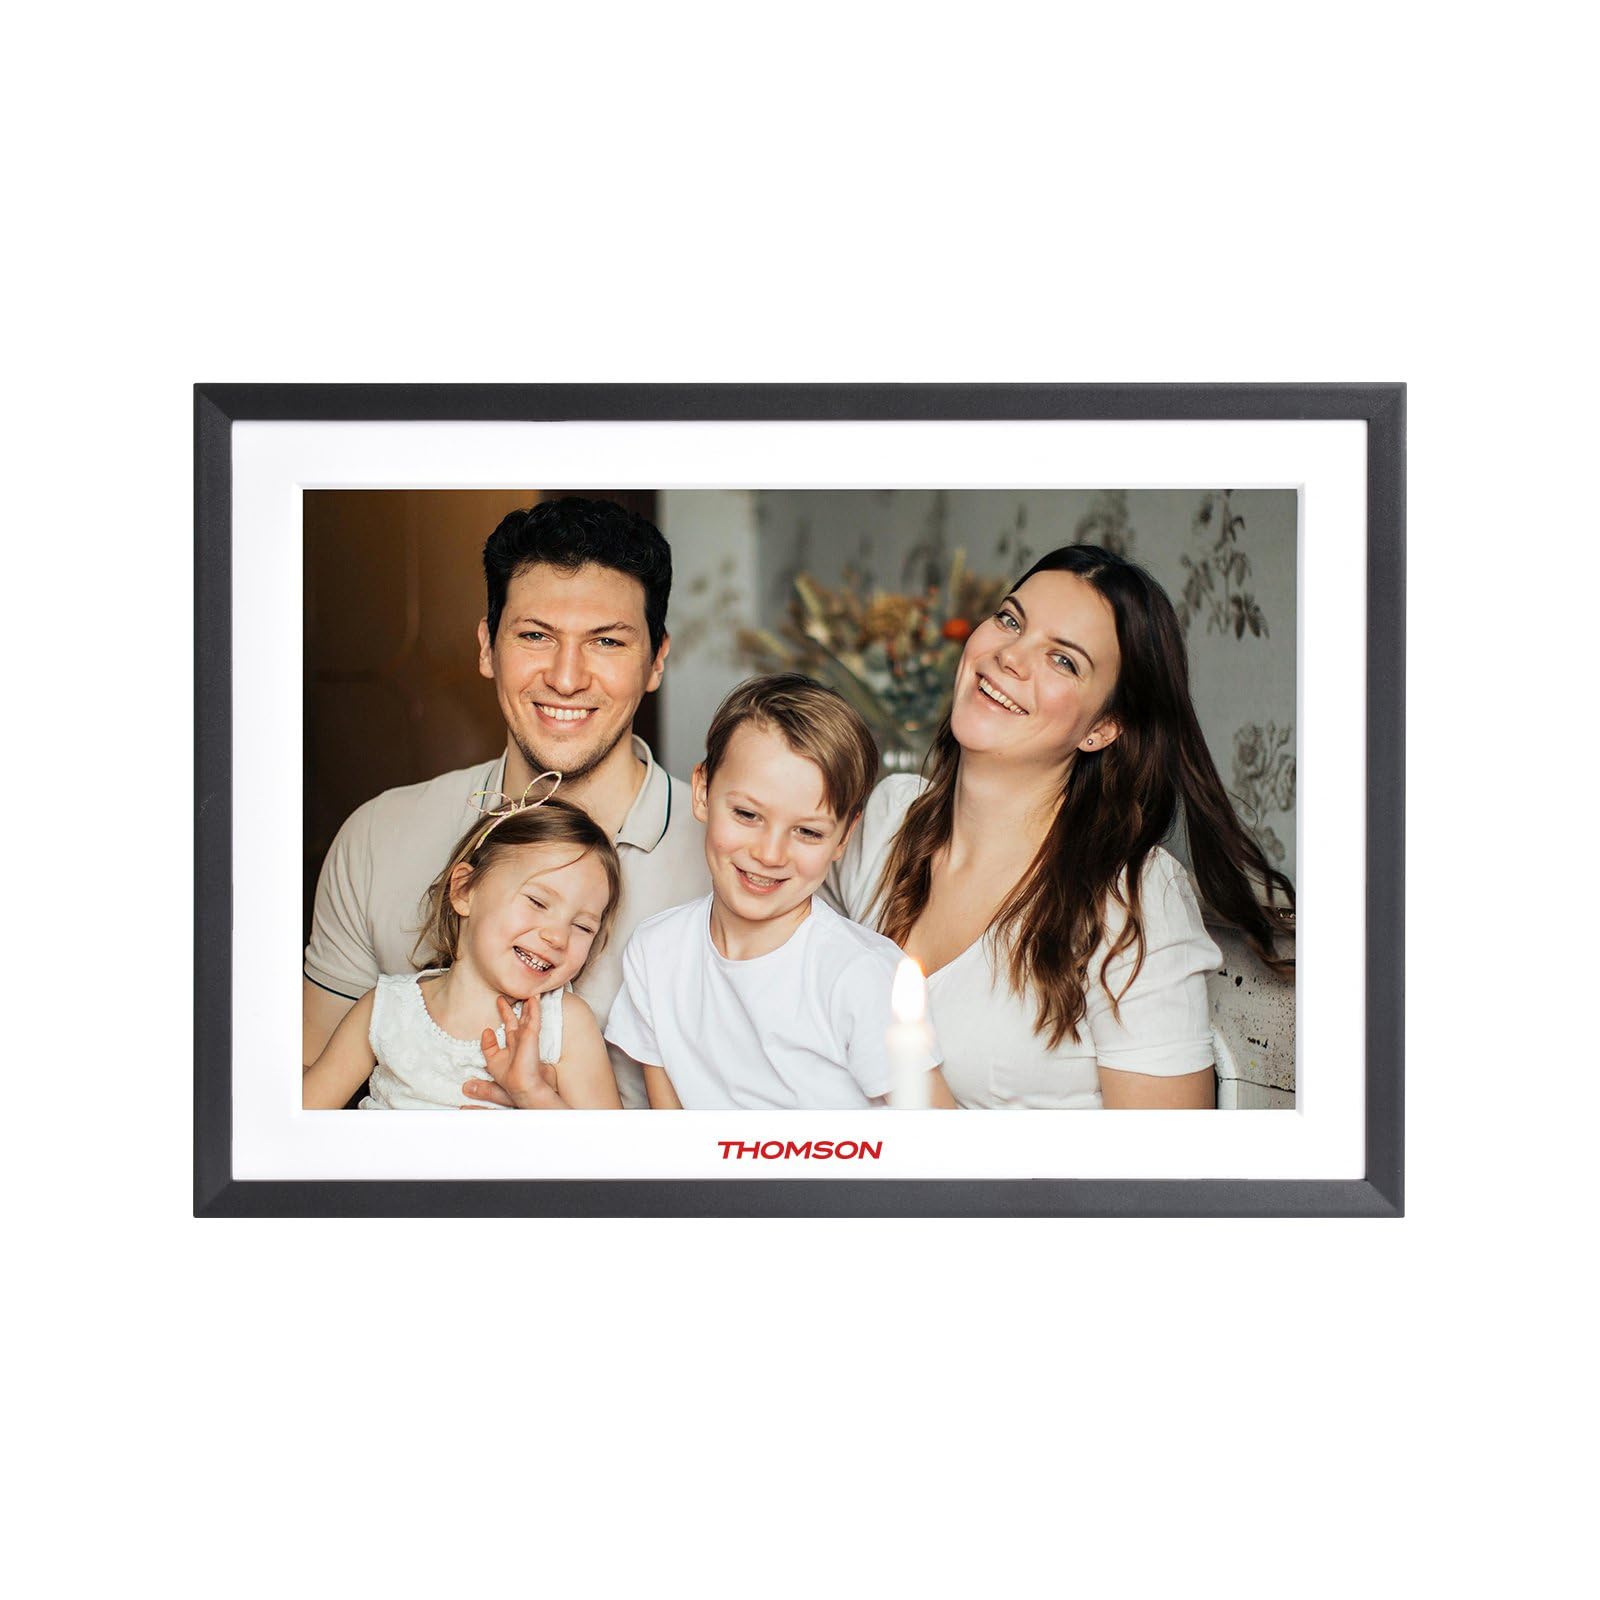
Figur 4.1: Front view of the THOMSON TDF-1001P Digital Photo Frame. This image shows the 10.1-inch IPS display with a black frame, designed for clear photo and video playback.
4.1. Frontpanel
- 10.1-tommers IPS-berøringsskjerm: The main display for viewing content and interacting with the device.
4.2. Bakpanel og porter
The rear panel typically includes various ports for connectivity and power.
- Strøminngang: Kobles til den medfølgende strømadapteren.
- USB-port: For connecting USB drives to transfer media.
- SD-kortspor: For inserting SD cards to expand storage or transfer media.
- Tilbakestill-knapp: A small pinhole button to reset the device if necessary.
5. Oppsett
5.1. Første oppstart
- Unpack the digital photo frame and its accessories.
- Attach the stand to the back of the frame, ensuring it is securely fastened.
- Connect the power adapter to the power input port on the frame.
- Koble strømadapteren til en stikkontakt. Rammen vil slå seg på automatisk.
- Følg instruksjonene på skjermen for å velge språk og region.
5.2. Wi-Fi-tilkobling
Connecting to Wi-Fi enables online features like photo sharing and weather updates.
- Fra hovedmenyen trykker du på «Innstillinger».
- Select 'Wi-Fi' or 'Network Settings'.
- Toggle Wi-Fi to 'On'. The frame will scan for available networks.
- Velg ønsket Wi-Fi-nettverk fra listen.
- Enter the Wi-Fi password using the on-screen keyboard and tap 'Connect'.
- Once connected, a Wi-Fi icon will appear on the status bar.
5.3. App Setup for Sharing
To share photos and videos via Wi-Fi, you will need to install the dedicated app on your smartphone.
- Locate the app name or QR code in the frame's settings under 'Cloud Services' or 'App Connection'.
- Download and install the app on your smartphone from your device's app store.
- Åpne appen og opprett en konto eller logg inn.
- Follow the app's instructions to pair your smartphone with the digital photo frame, typically by scanning a QR code displayed on the frame or entering a unique device ID.
- Once paired, you can send photos and videos directly from your smartphone to the frame.
6. Bruk av den digitale fotorammen
6.1. Navigere i grensesnittet
The frame features a touch screen for easy navigation. Tap icons to open applications and swipe to browse content or menus.
6.2. Avspilling av bilder og videoer
- From the main menu, tap the 'Photos' or 'Gallery' icon.
- Select the source of your media (Internal Storage, SD Card, USB Drive, or Cloud/App).
- Browse through your albums or individual files. Tap on a photo or video to view den.
- During playback, you can typically swipe left/right to navigate between files, or tap the screen to reveal playback controls (play/pause, next, previous, rotate, delete).
6.3. Musikkavspilling
- Tap the 'Music' icon from the main menu.
- Velg kilden til musikken din files.
- Browse and tap on a song to begin playback.
- Use the on-screen controls for play/pause, skip, volume adjustment, and repeat modes.
6.4. Calendar, Clock, and Alarm
- Kalender: Tap the 'Calendar' icon to view the current date and month. Some models may allow adding events.
- Klokke: The current time is usually displayed on the home screen. Time settings can be adjusted in the 'Settings' menu.
- Alarm: Access the 'Alarm' function via the main menu or 'Settings'. You can set multiple alarms with custom times and sounds.
6.5. Weather Updates
If connected to Wi-Fi, the frame can display local weather information.
- Sørg for at rammen er koblet til Wi-Fi.
- Go to 'Settings' and find 'Weather' or 'Location Services'.
- Enable weather updates and set your location (either automatically or manually).
- The weather forecast will then be displayed on the home screen or a dedicated weather widget.
7. Vedlikehold
7.1. Rengjøre enheten
- Slå alltid av og koble fra apparatet før rengjøring.
- Bruk en myk, lofri klut til å tørke forsiktig av skjermen og rammen.
- For gjenstridige flekker på skjermen, tørk lettampen the cloth with water or a screen-safe cleaning solution, then wipe gently. Do not spray liquids directly onto the screen.
- Unngå skurende rengjøringsmidler eller løsemidler.
7.2. Oppbevaring
When not in use for extended periods, store the digital photo frame in a cool, dry place, away from direct sunlight and extreme temperatures. It is recommended to keep the original packaging for storage.
8. Feilsøking
Denne delen tar for seg vanlige problemer du kan støte på.
| Problem | Mulig årsak | Løsning |
|---|---|---|
| Rammen slår seg ikke på. | Strømadapteren er ikke tilkoblet eller defekt. | Sørg for at strømadapteren er ordentlig koblet til rammen og en fungerende stikkontakt. Prøv en annen stikkontakt. |
| Kan ikke koble til Wi-Fi. | Feil passord, utenfor rekkevidde eller ruterproblem. | Verify the Wi-Fi password. Move the frame closer to the router. Restart your Wi-Fi router. |
| Photos/videos not displaying. | Støttes ikke file format, corrupted files, or incorrect source selected. | Sikre files are in supported formats (e.g., JPEG for photos, MP4 for videos). Check if the files are corrupted. Select the correct storage source (SD card, USB, internal). |
| Berøringsskjermen reagerer ikke. | Midlertidig programvarefeil. | Restart the frame by unplugging and replugging the power adapter. If the issue persists, use a pin to press the reset button on the back. |
9. Spesifikasjoner
| Trekk | Spesifikasjon |
|---|---|
| Modell | TDF-1001P |
| Skjermstørrelse | 10.1 tommer |
| Oppløsning | 800 * 1280 IPS |
| Aspektforhold | 16:10 |
| Internal Flash Storage | 32 GB |
| Berøringsskjerm | G+P Type |
| Tilkobling | Wi-Fi |
| Funksjoner | Photo, Music, Video, Calendar, Clock, Alarm, Weather, Wi-Fi Sharing |
| Materiale | Plastic black frame and white middle frame |
| Varedimensjoner (L x B) | 7.25 cm L x 10.44 cm B |
| Strømkilde | Elektrisk med ledning |
10. Garantiinformasjon
The THOMSON TDF-1001P Digital Photo Frame comes with a 1 års begrenset garanti from the date of purchase. This warranty covers manufacturing defects in materials and workmanship under normal use. It does not cover damage caused by misuse, accidents, unauthorized modifications, or external causes such as power surges.
Please retain your proof of purchase for warranty claims. For detailed warranty terms and conditions, refer to the warranty card included in your package or contact customer support.
11. Kundestøtte
If you have any questions, require technical assistance, or need to make a warranty claim, please contact THOMSON customer support. Refer to the contact information provided on the product packaging or the official THOMSON webnettstedet.
When contacting support, please have your product model number (TDF-1001P) and proof of purchase readily available.